Quickly Set Up a Lakehouse Data Development Environment for Your Team
Overview
This document aims to help you quickly set up a Lakehouse data development environment for team use. The environment includes multiple user identities that can log in and perform data development, with different data permissions and roles assigned to each user to ensure necessary permission control, resource allocation, and collaboration convenience.
1. Preparations
-
Create a Singdata Account
If you do not have a Singdata account, you can register at the Singdata official website. For registration instructions, refer to logging in.
-
Create a Lakehouse Service Instance
You need to have at least one Lakehouse service instance created. If you have not yet created a service instance, refer to the "Create a Lakehouse Service Instance" section in logging in for instructions.
-
Have the instance_admin (Instance Administrator) Role for the Lakehouse Service Instance
Lakehouse's permission management is role-based. The user who creates the Lakehouse service instance will automatically have the instance_admin (Instance Administrator) role for that service instance.
2. After Setup
After completing the setup as described in the following sections, you will have the following environment:
- An independent workspace under a Lakehouse service instance;
- Multiple user identities with permissions to perform data development in the workspace;
- A SQL task that is submitted for periodic execution.
3. Steps
3.1 Create Users
When you register a Singdata account, the first user under that account is created by default and has all operational permissions under the account. When multiple people in a team use Lakehouse for development, using multiple user identities and distinguishing permissions can effectively manage data and resources, enhance security, reduce the risk of operational conflicts, and enable effective auditing and tracing of individual operations.
To achieve the above management goals, you need to create independent users for each developer or each integrated service to prepare for subsequent role assignments.
Log in to the Singdata product using the default user created during account registration, go to the management center page, and switch to the "User Management" function:
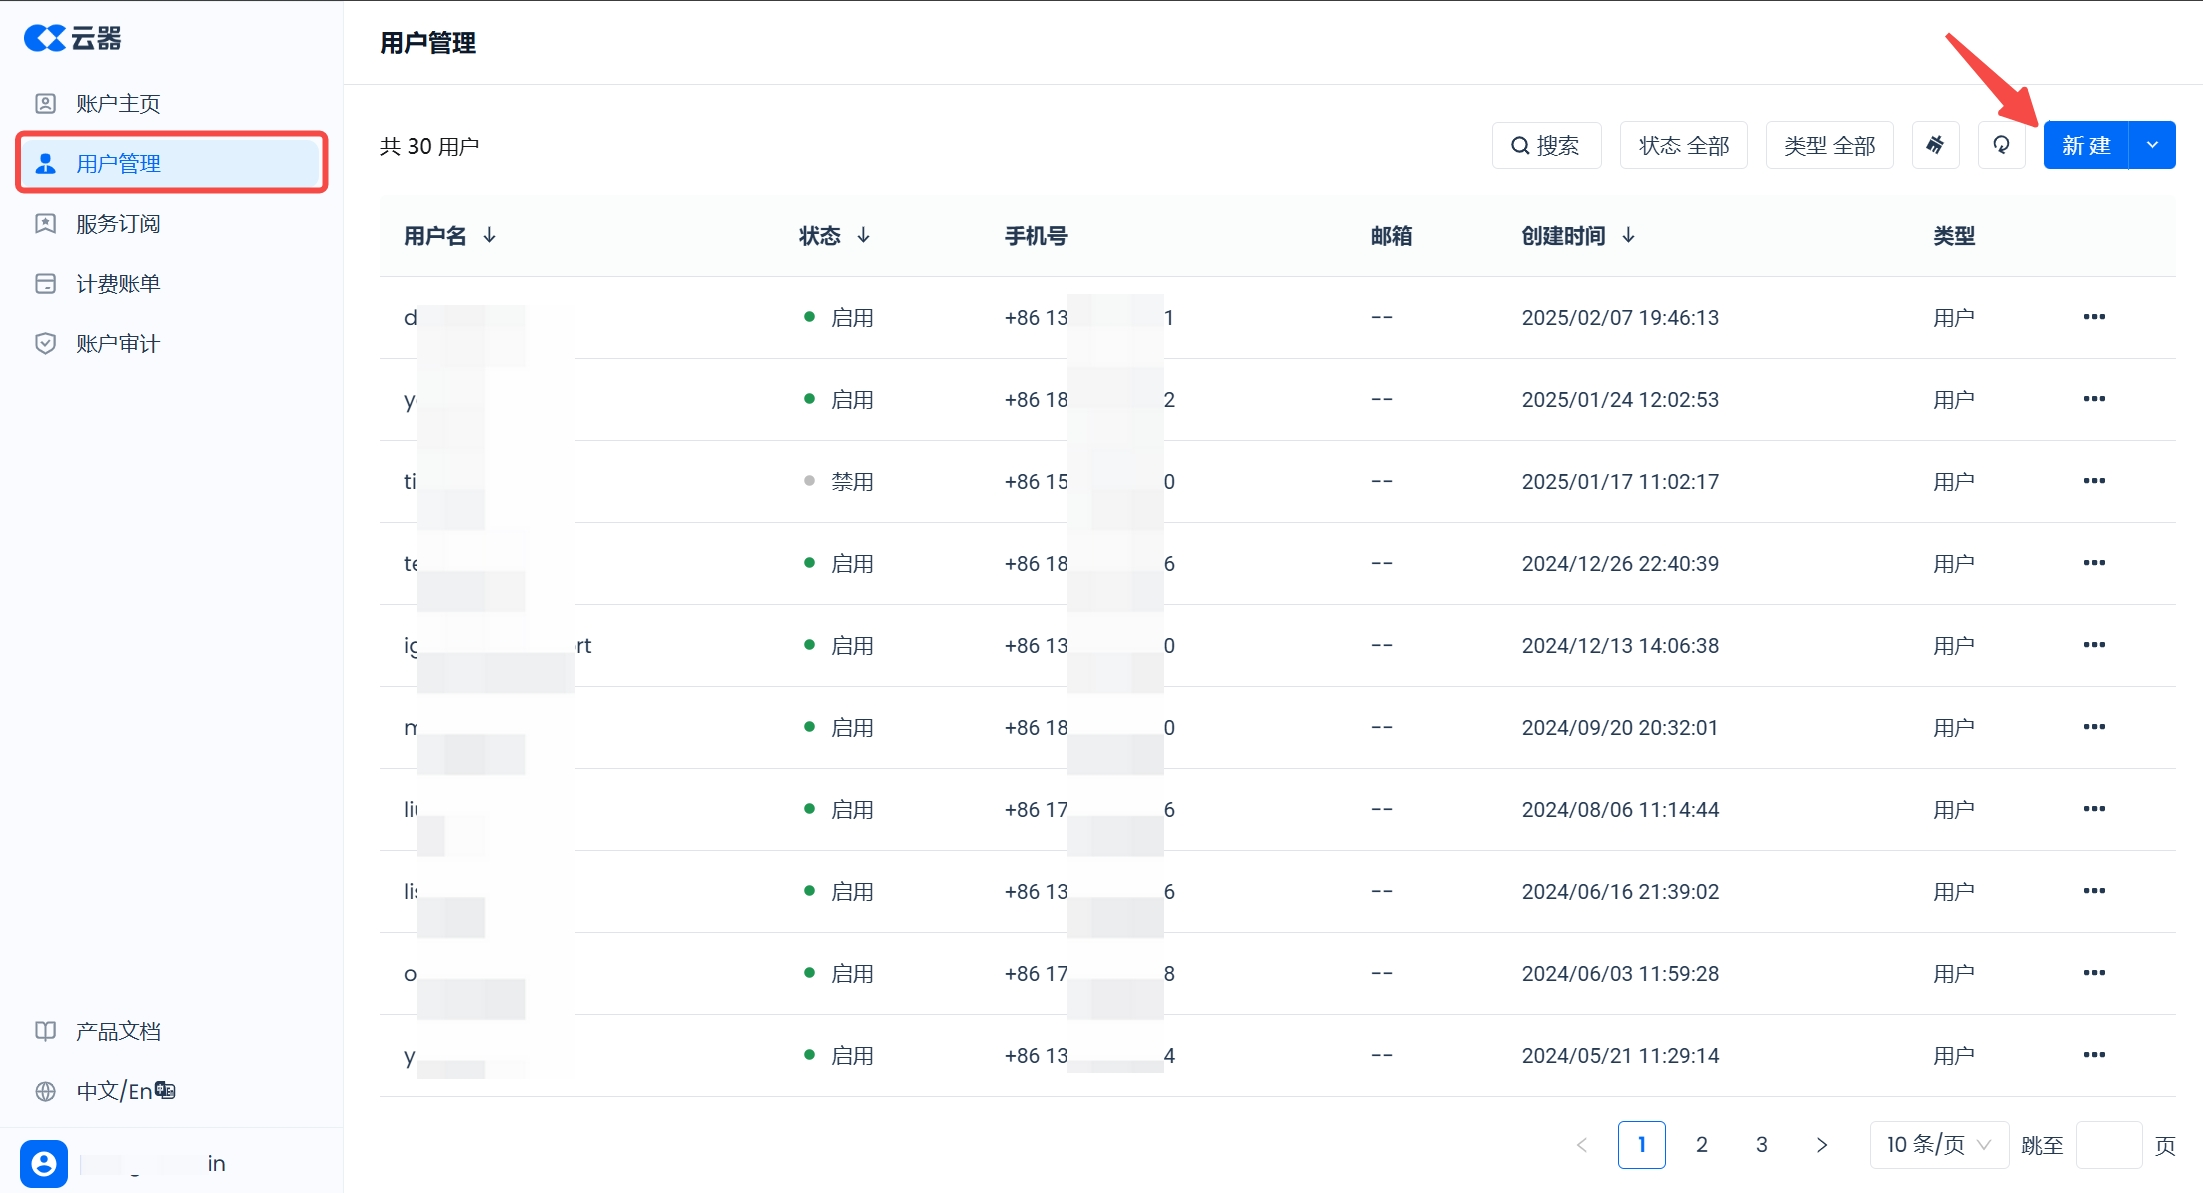
Click the "New" button in the upper right corner and select "New User." Here, create two users: developer and analyst, as shown below:
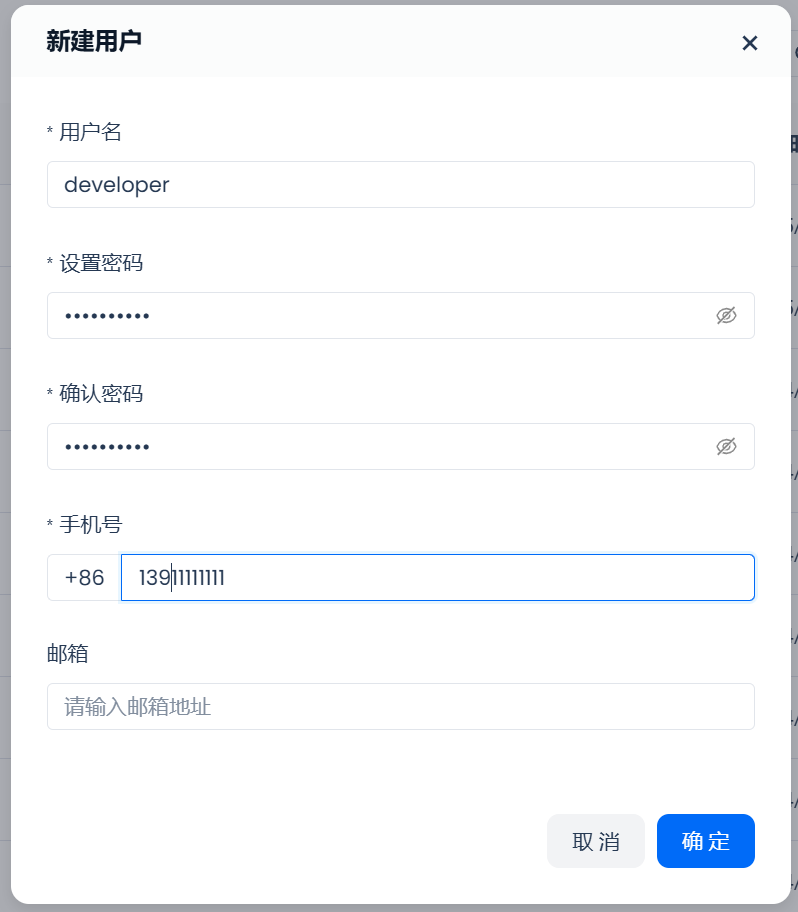
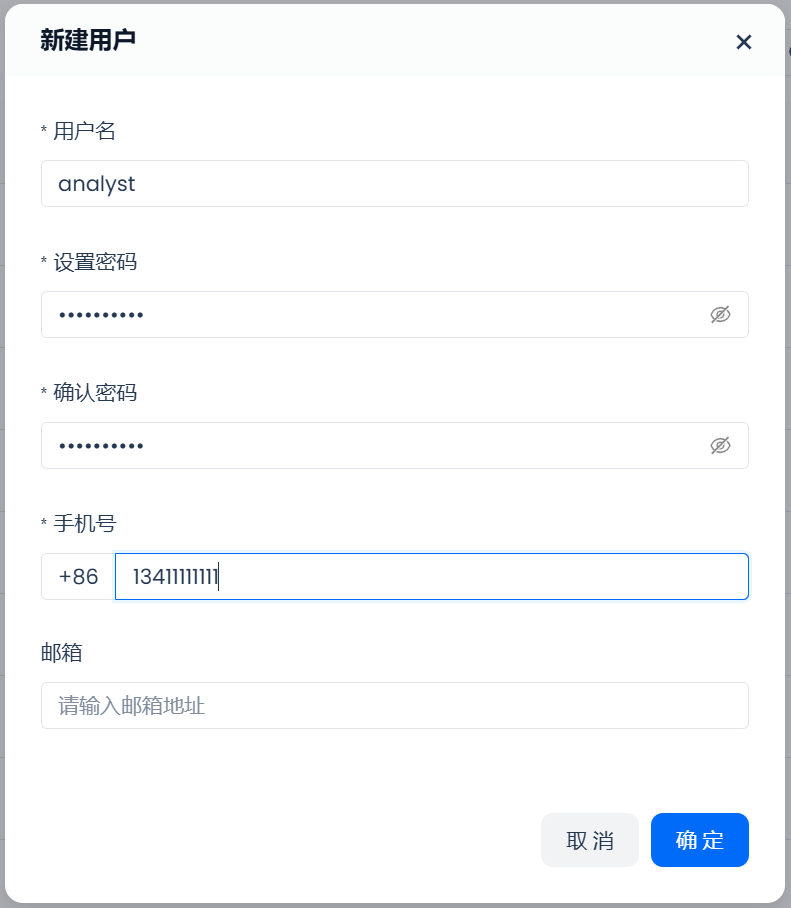
After successful creation, you can see these two users in the user list under user management.
3.2 Create a Workspace
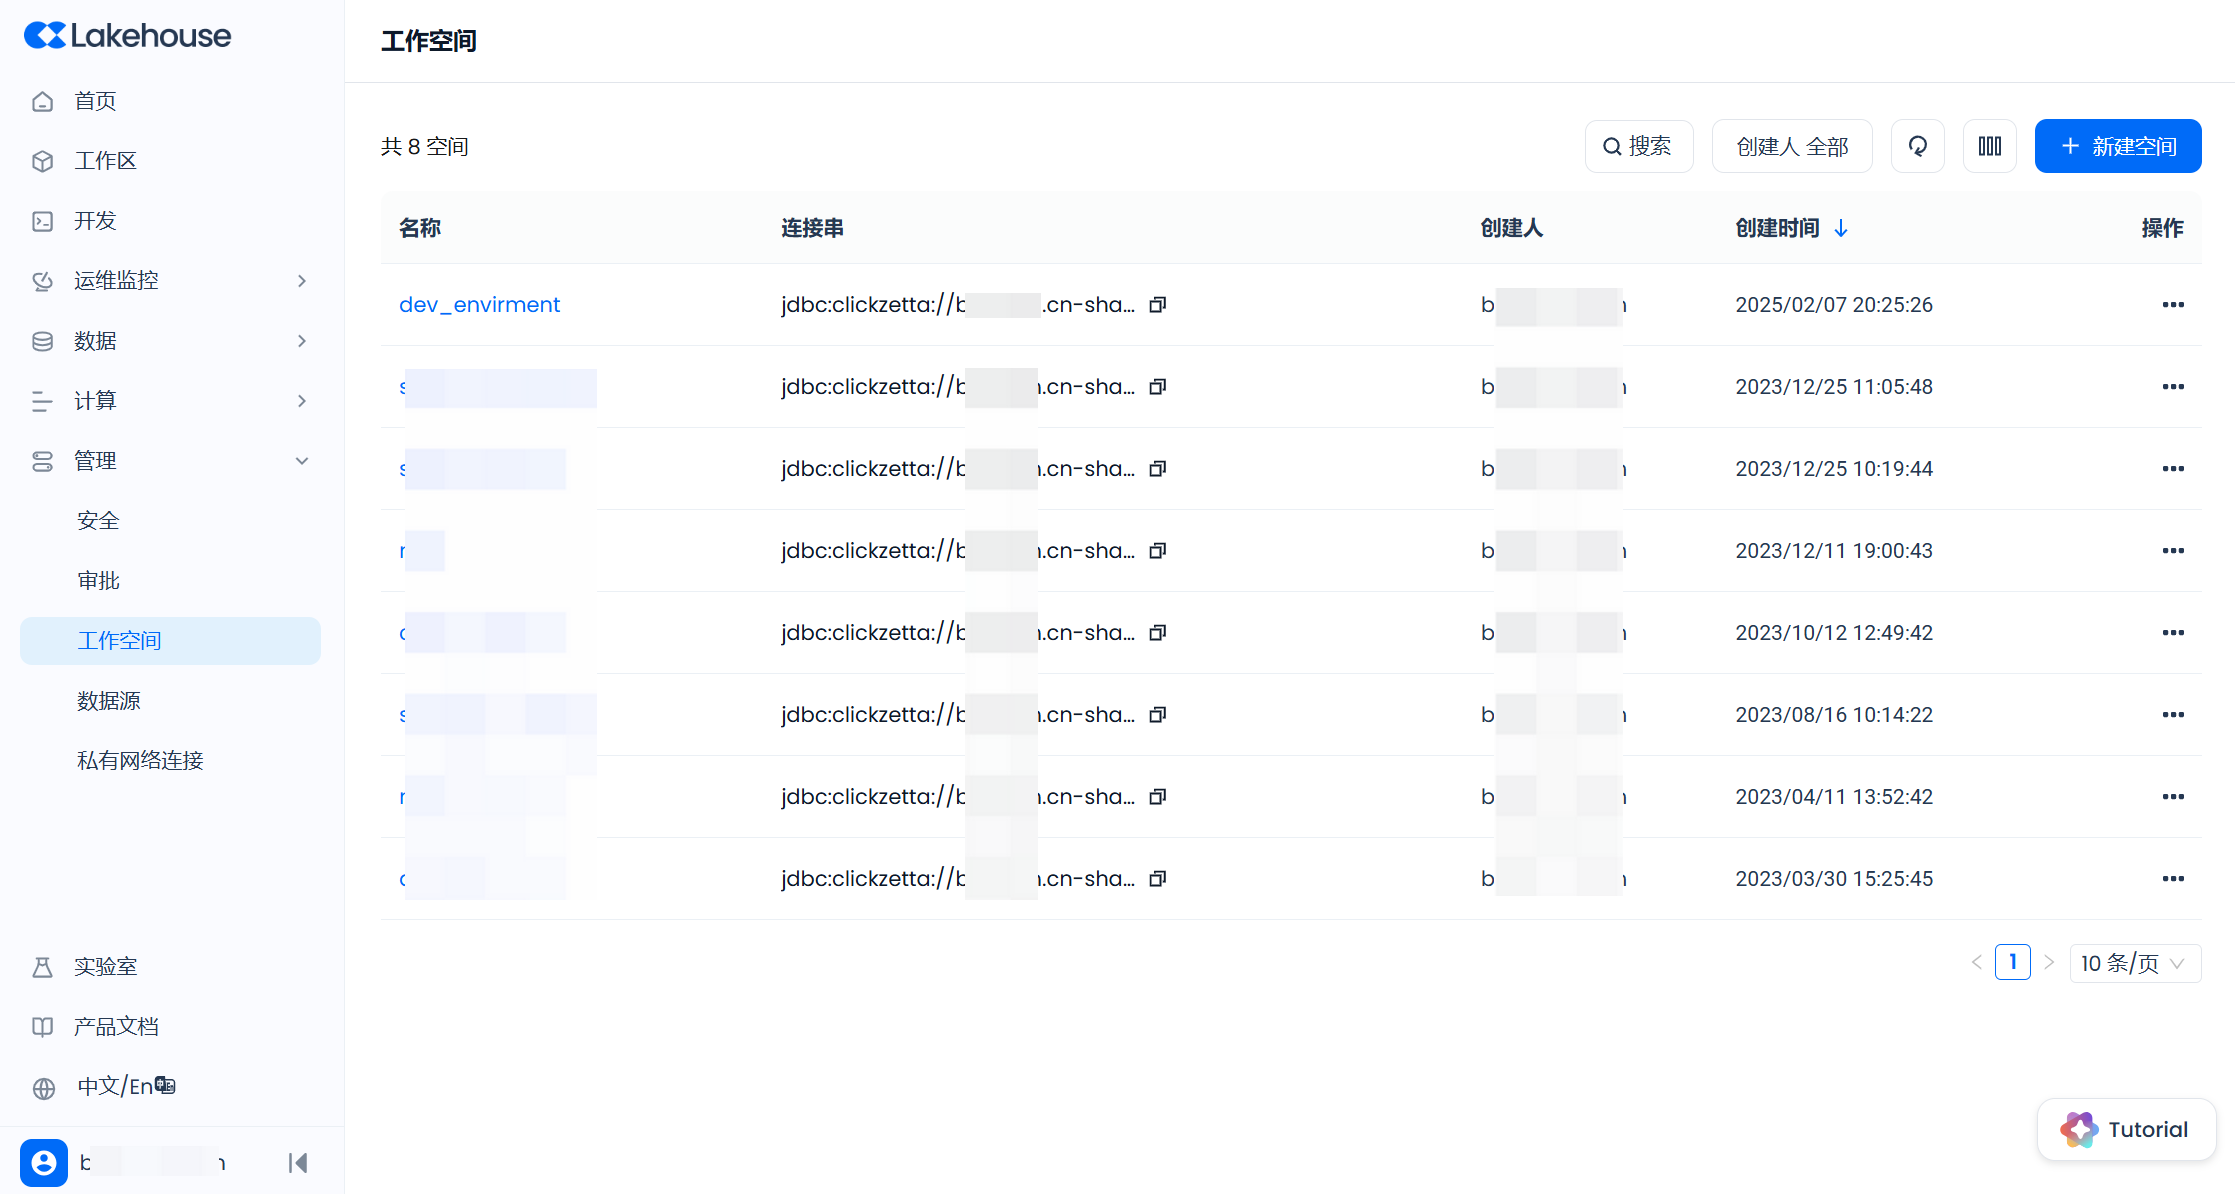
In Lakehouse, a workspace is used to isolate computing resources and data, forming a relatively independent data development environment to avoid resource conflicts or data misoperations. After opening a Lakehouse service instance, the system will create a workspace named quickstart by default. Here, to fully introduce the team usage method, we will create another workspace: dev_envirment:
Log in using the user created during tenant registration, and click the name of the opened service instance in the management center to enter the service instance homepage.
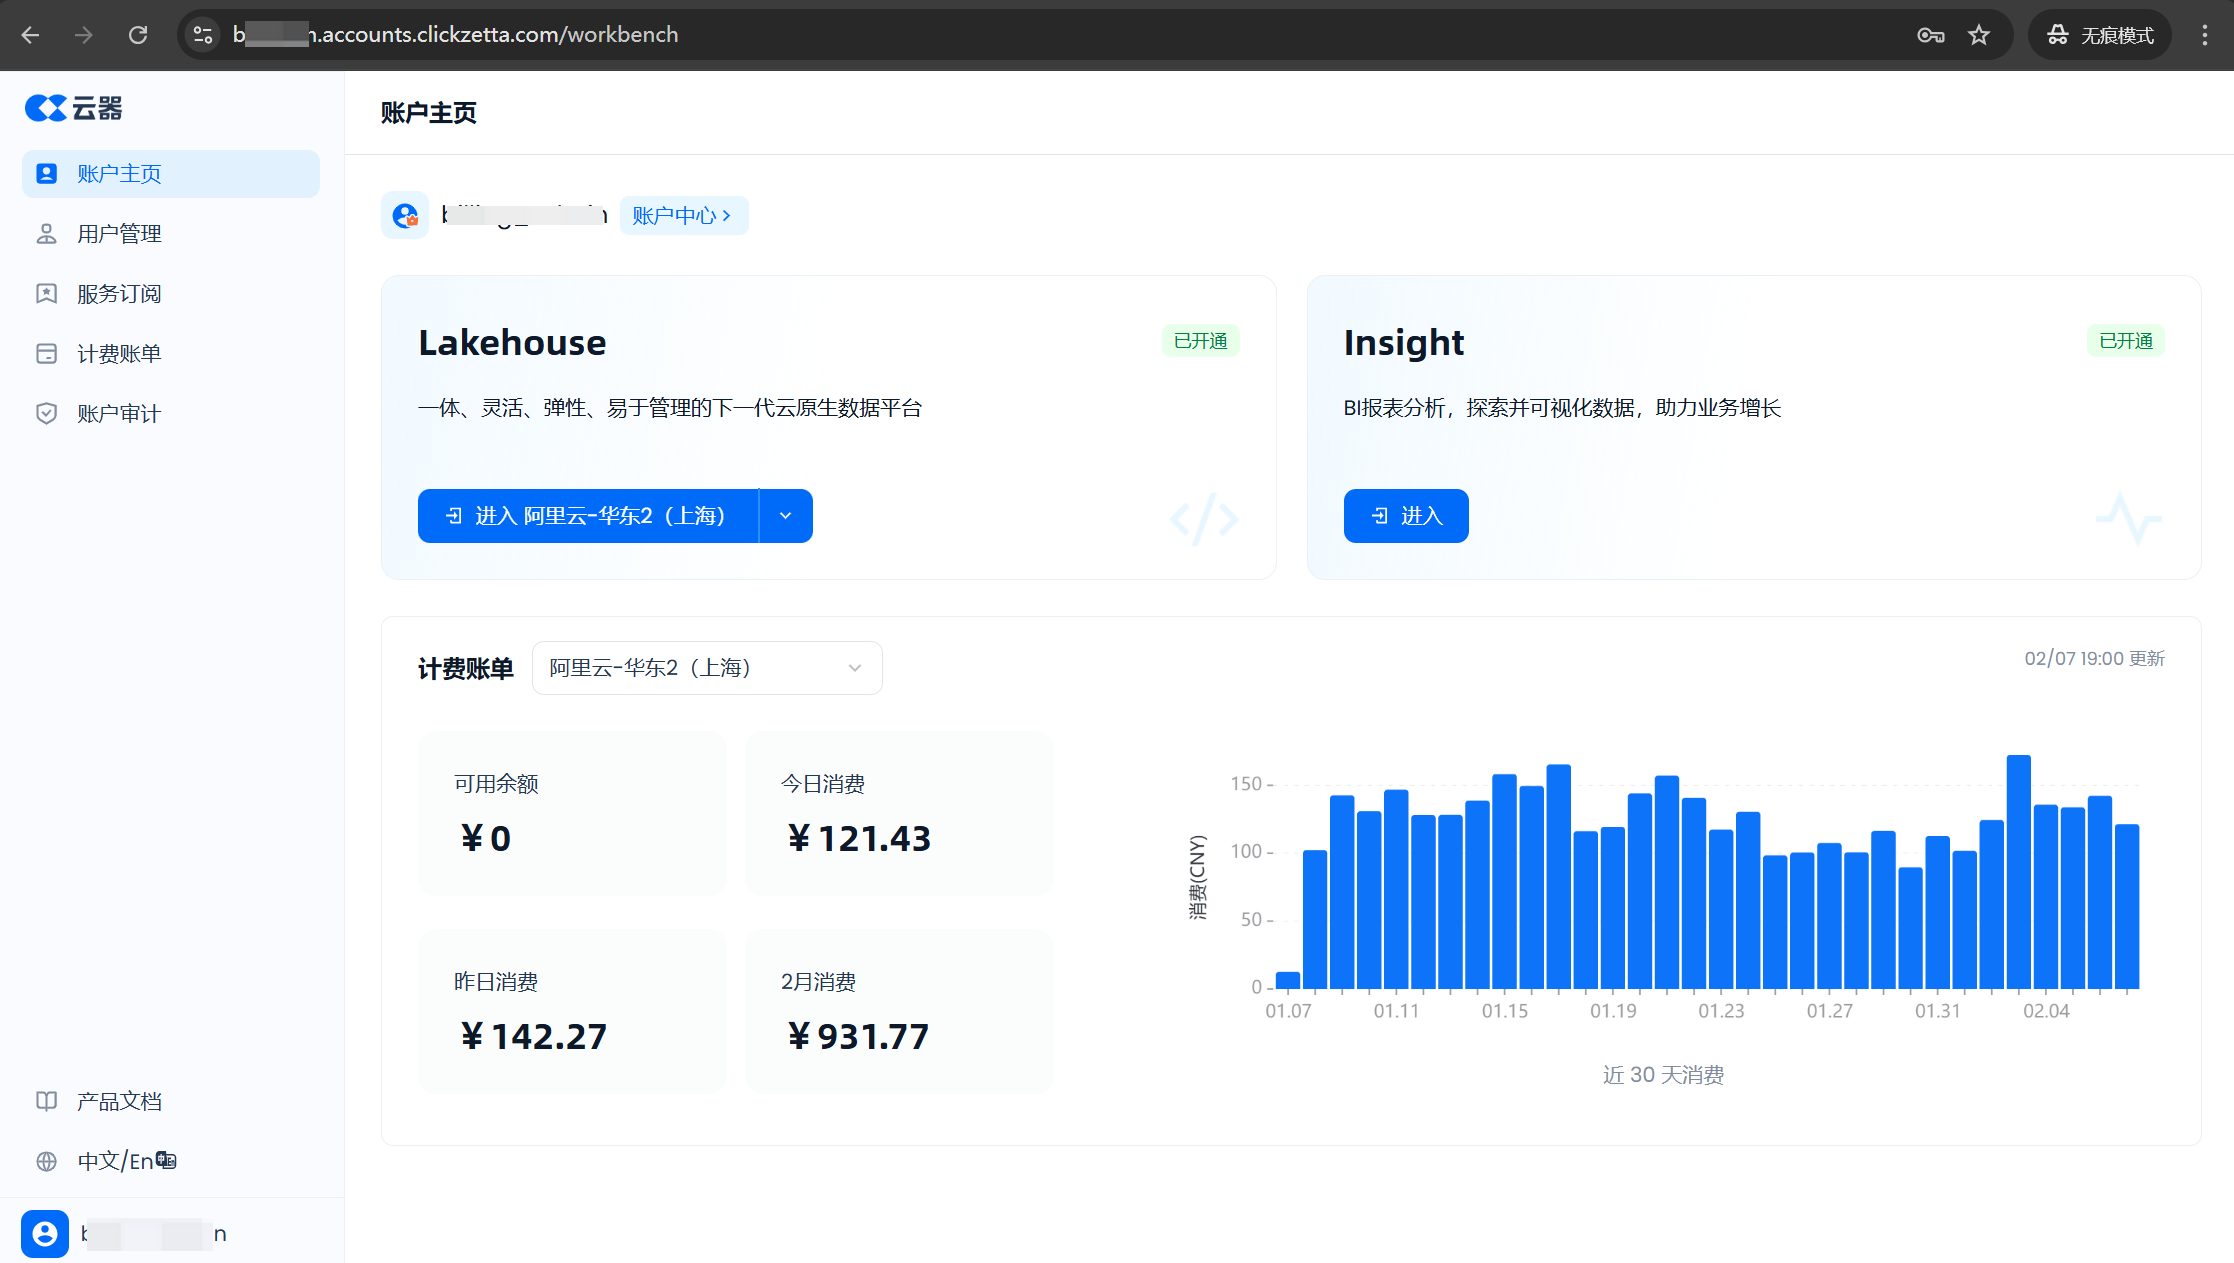
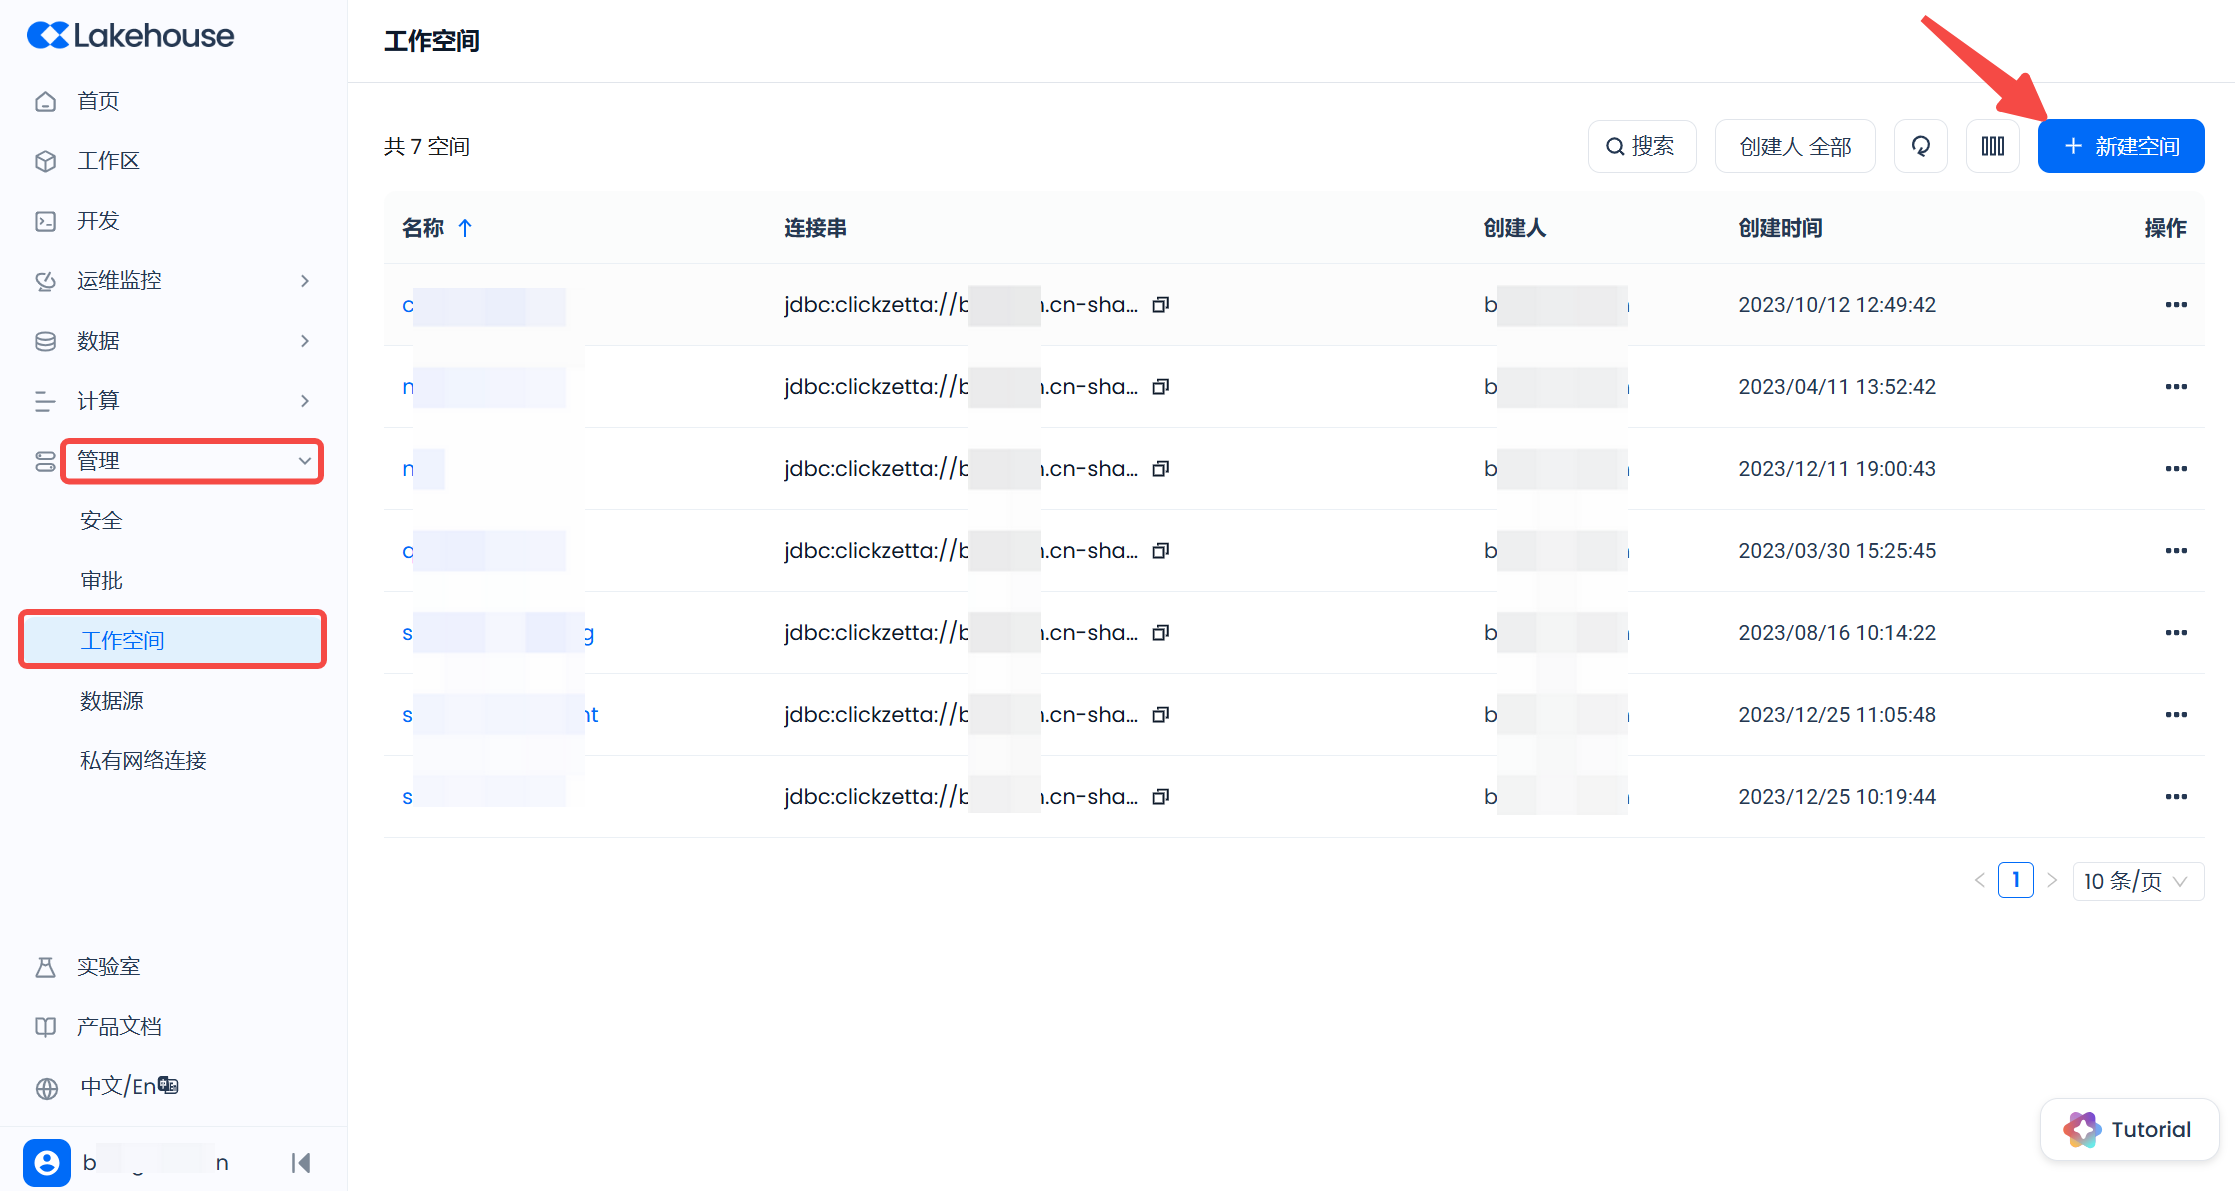
On the service instance homepage, click "Management" - "Workspace" in the left menu to enter the workspace management page. Click the "+ New Space" button in the upper right corner:
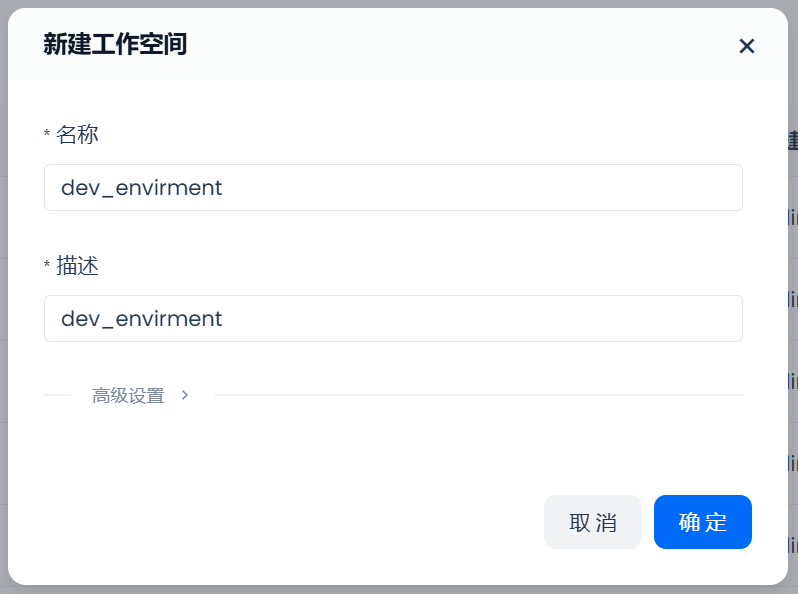
Enter the workspace name in the pop-up window and click "OK" to complete the workspace creation:
3.4 Create Schema and Table
In the Lakehouse workspace, schema is used to further categorize data tables and views. You can plan the schema hierarchy based on team size and business needs. First, create three schemas: STG, CORE, and ADS.
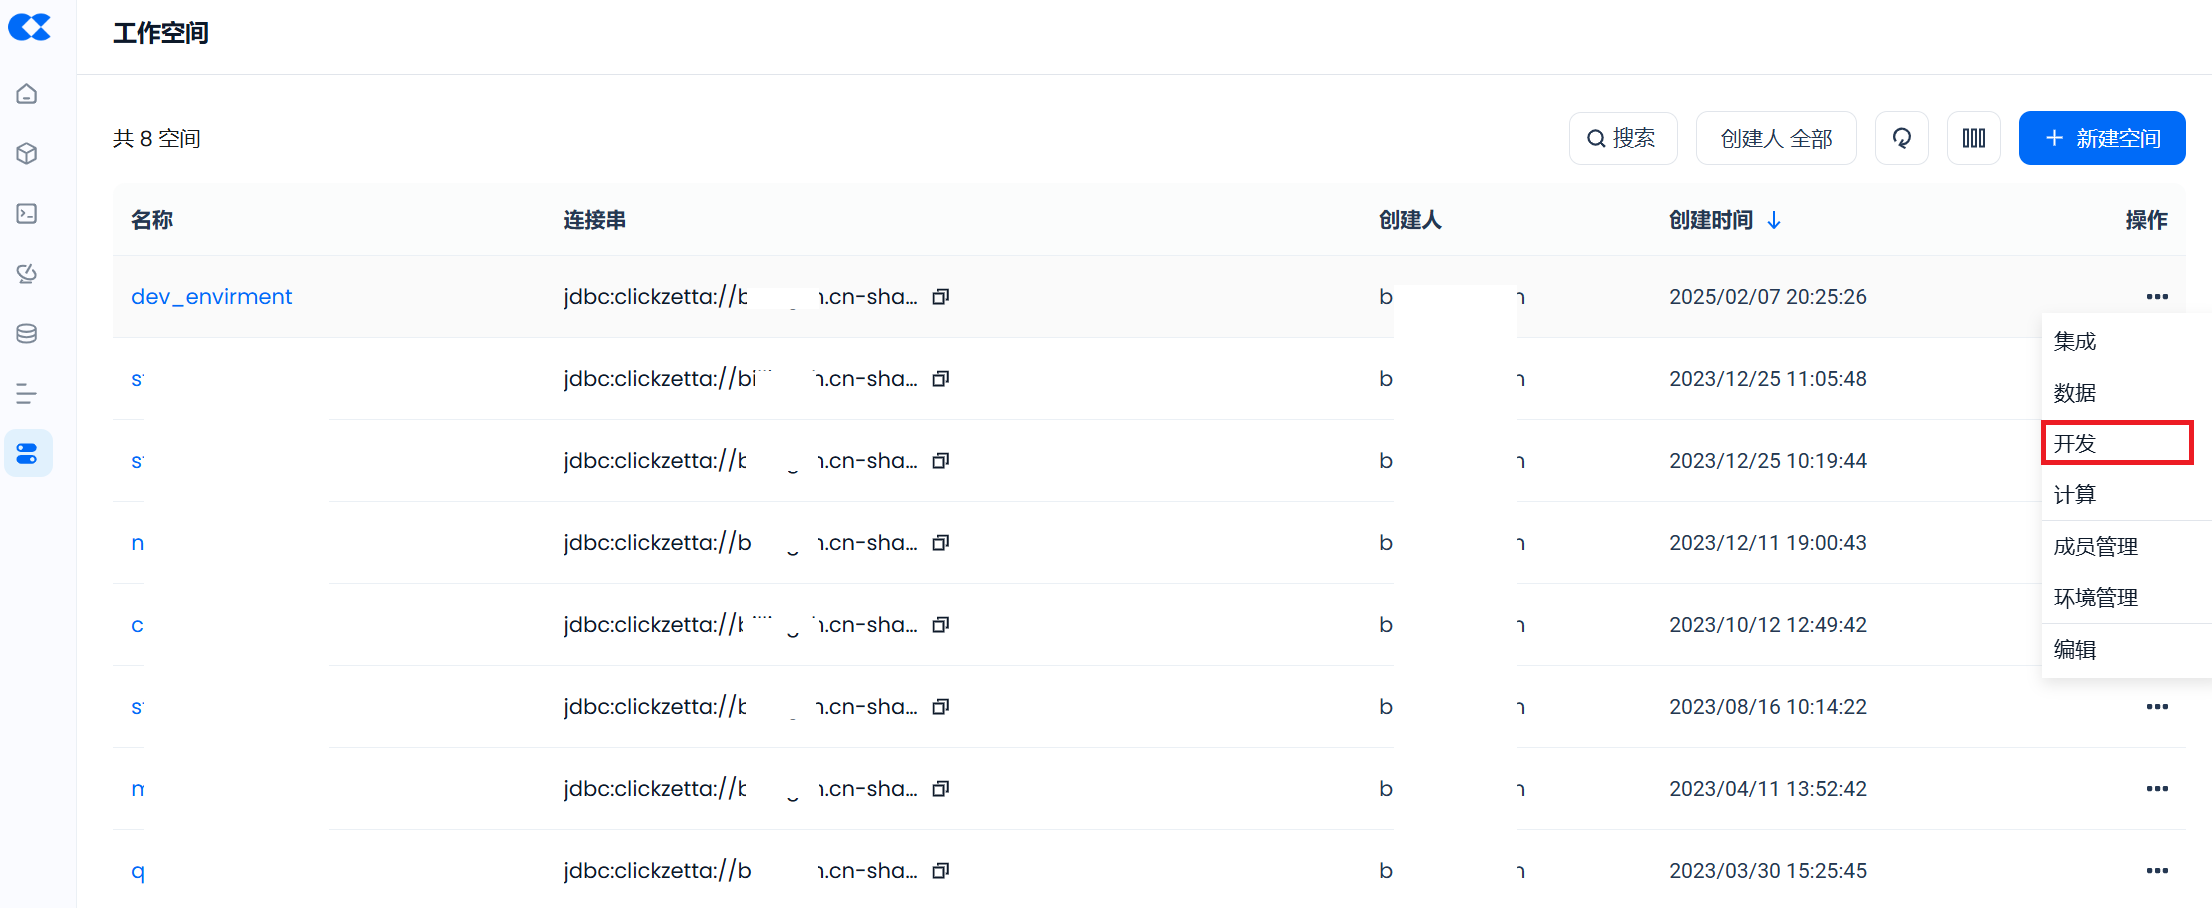
First, click "Develop" on the right side of the newly created dev_envirment workspace to enter the development page, and execute the following SQL to create the schema:
Create two tables in Schema STG and insert some sample data:
3.5 Adding Team Members to the Workspace and Granting Permissions
The two users created above: developer and analyst, by default, do not have any permissions for data operations and resource usage. They need to be authorized by a user with the workspace_admin role before they can perform any operations.
Assuming we want the permissions for these two users to be:
developer user, can use the "development" feature; can read and write all data under the dev_environment workspace, and can create and delete objects such as tables and views; can use all computing cluster resources under the dev_environment workspace; can submit and maintain periodic tasks under the dev_environment workspace.
analyst user, can use the "development" feature; has read-only permissions for all tables and views under the schema ADS, and has read-only permissions for the table stg.employees; can use all computing cluster resources under the dev_environment workspace.
To achieve the above, continue using the user who created the dev_environment workspace, open the "development" feature, create a new SQL script, and execute the following authorization statements:
The above authorization operations, including adding users to the workspace and granting roles, can also be completed through the WEB page.
Web-based workspace addition operation
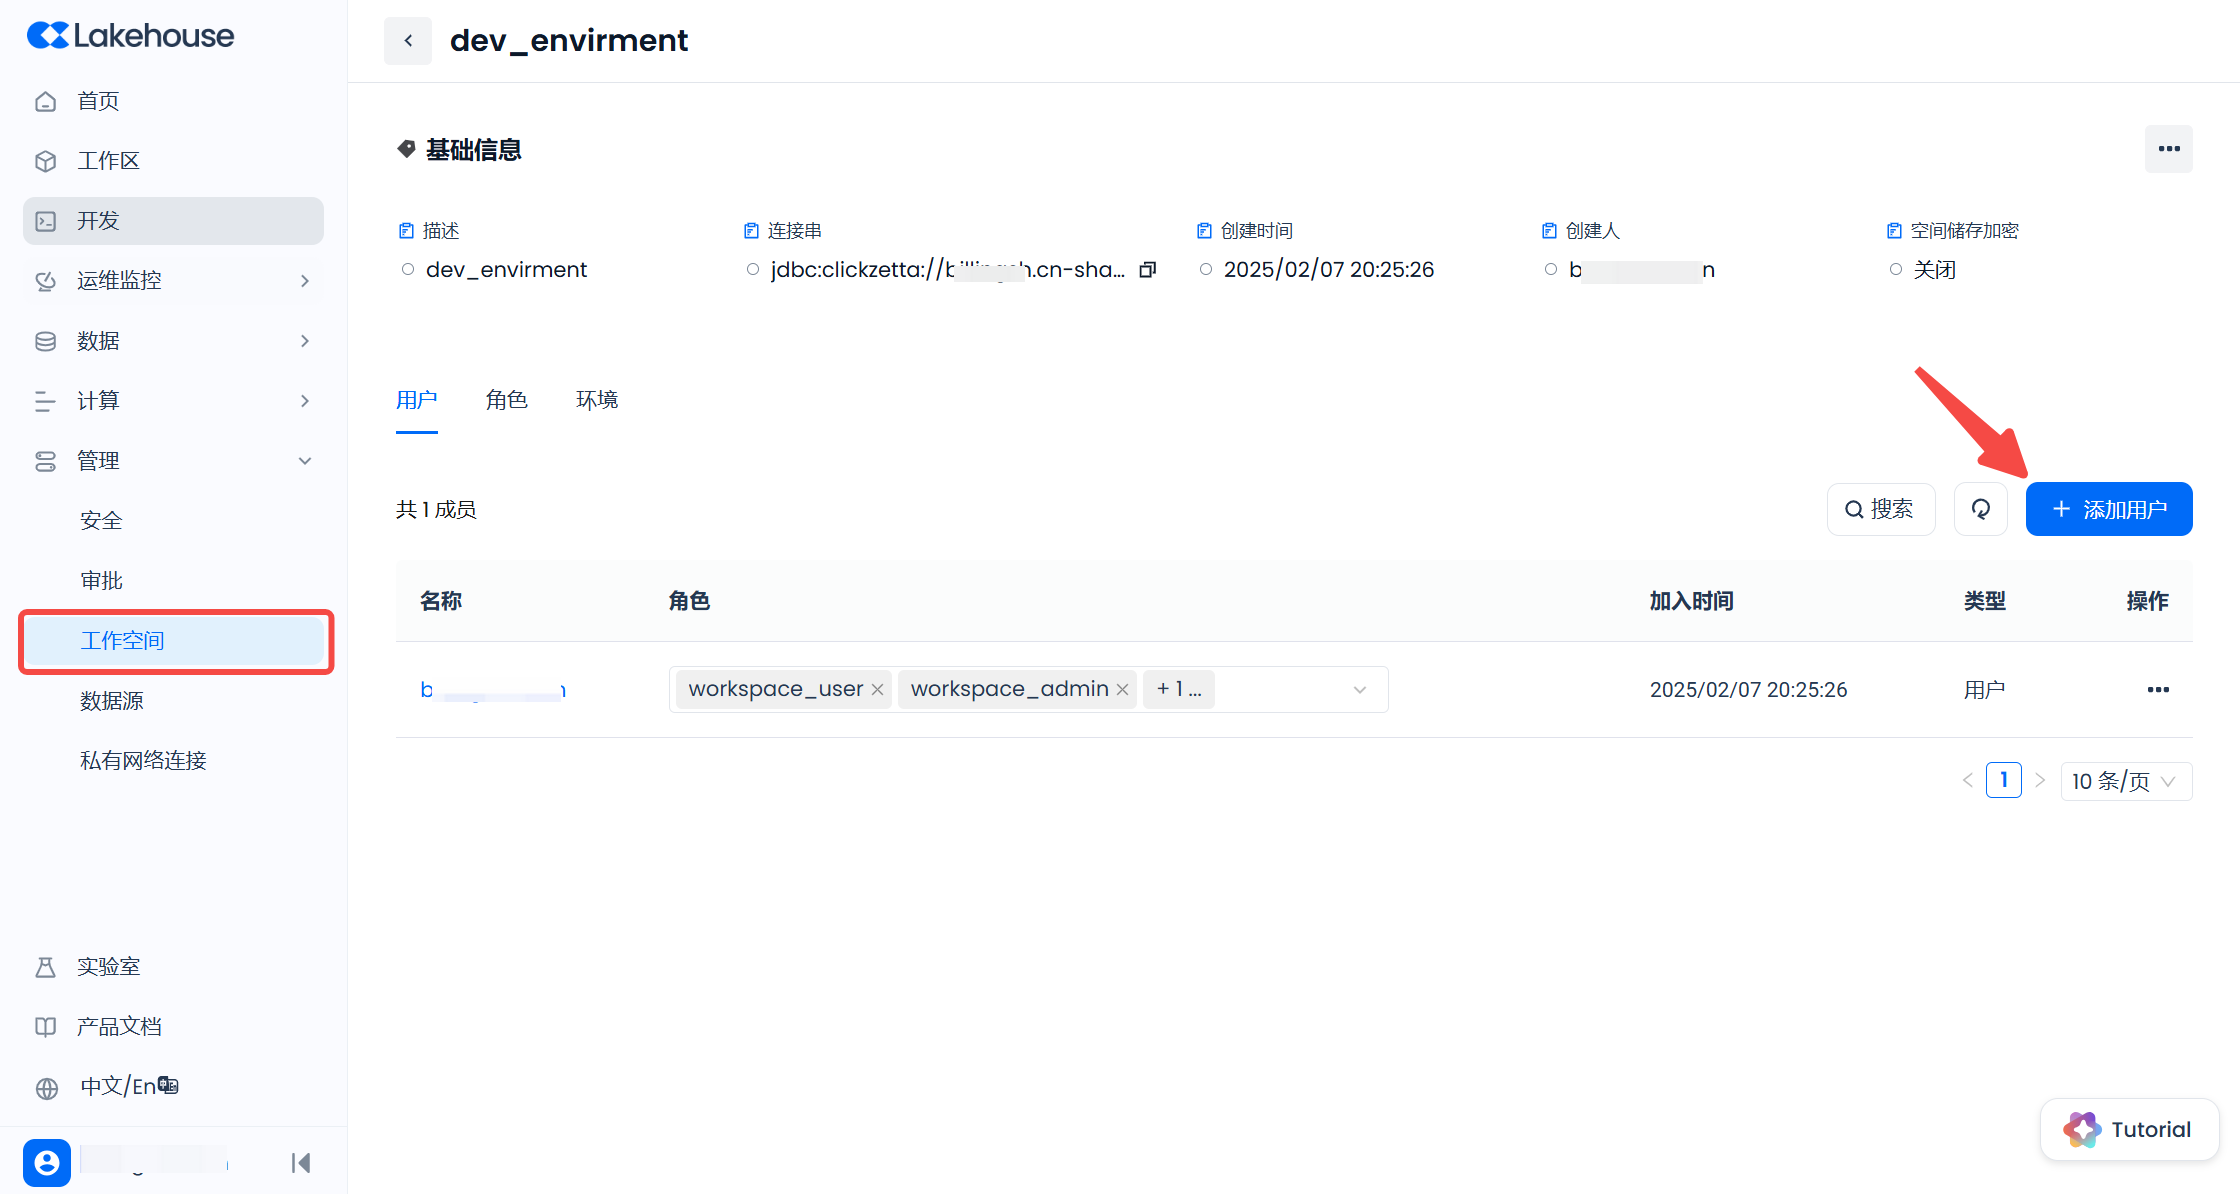
Continue using the user who created the dev_environment workspace, click on "Management" - "Workspace" in the left menu to enter the workspace list, find the dev_environment workspace, and click to enter. On the "Users" tab of the workspace details page, click the "+ Add User" button on the right:
In the pop-up window, find the user developer and check the box (you can also find the analyst user and check the box together. However, since the permissions to be granted to the two users are different, operate separately here, only add the developer user first).
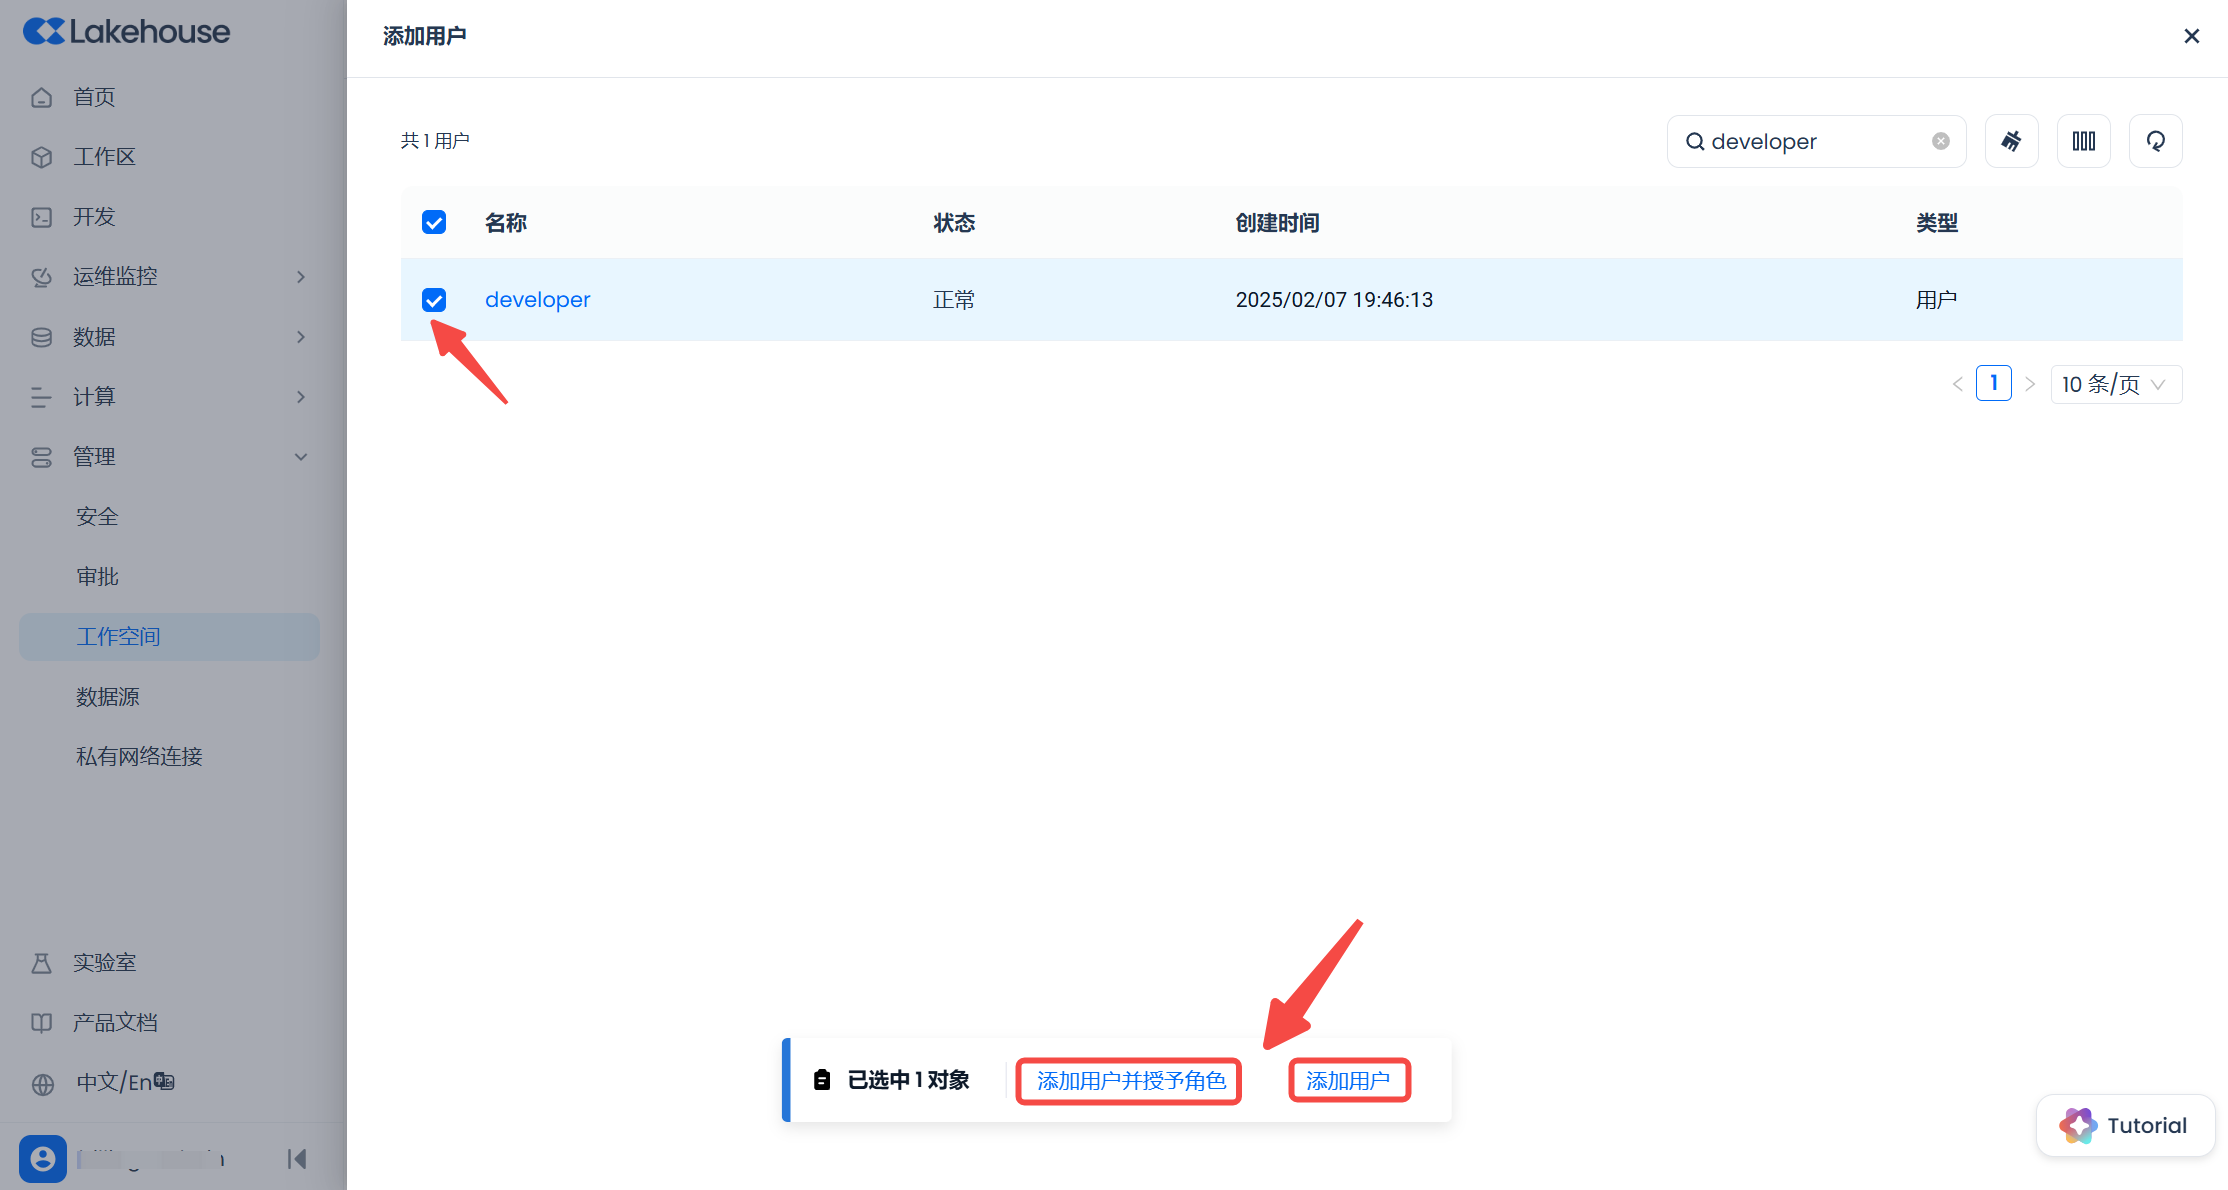
At this point, there are two buttons below, click the right "Add User" button to only perform the operation of adding the user to the workspace without any authorization. Click the left "Add User and Grant Role" button to further select the role to be granted. Suppose we click the left "Add User and Grant Role" button:
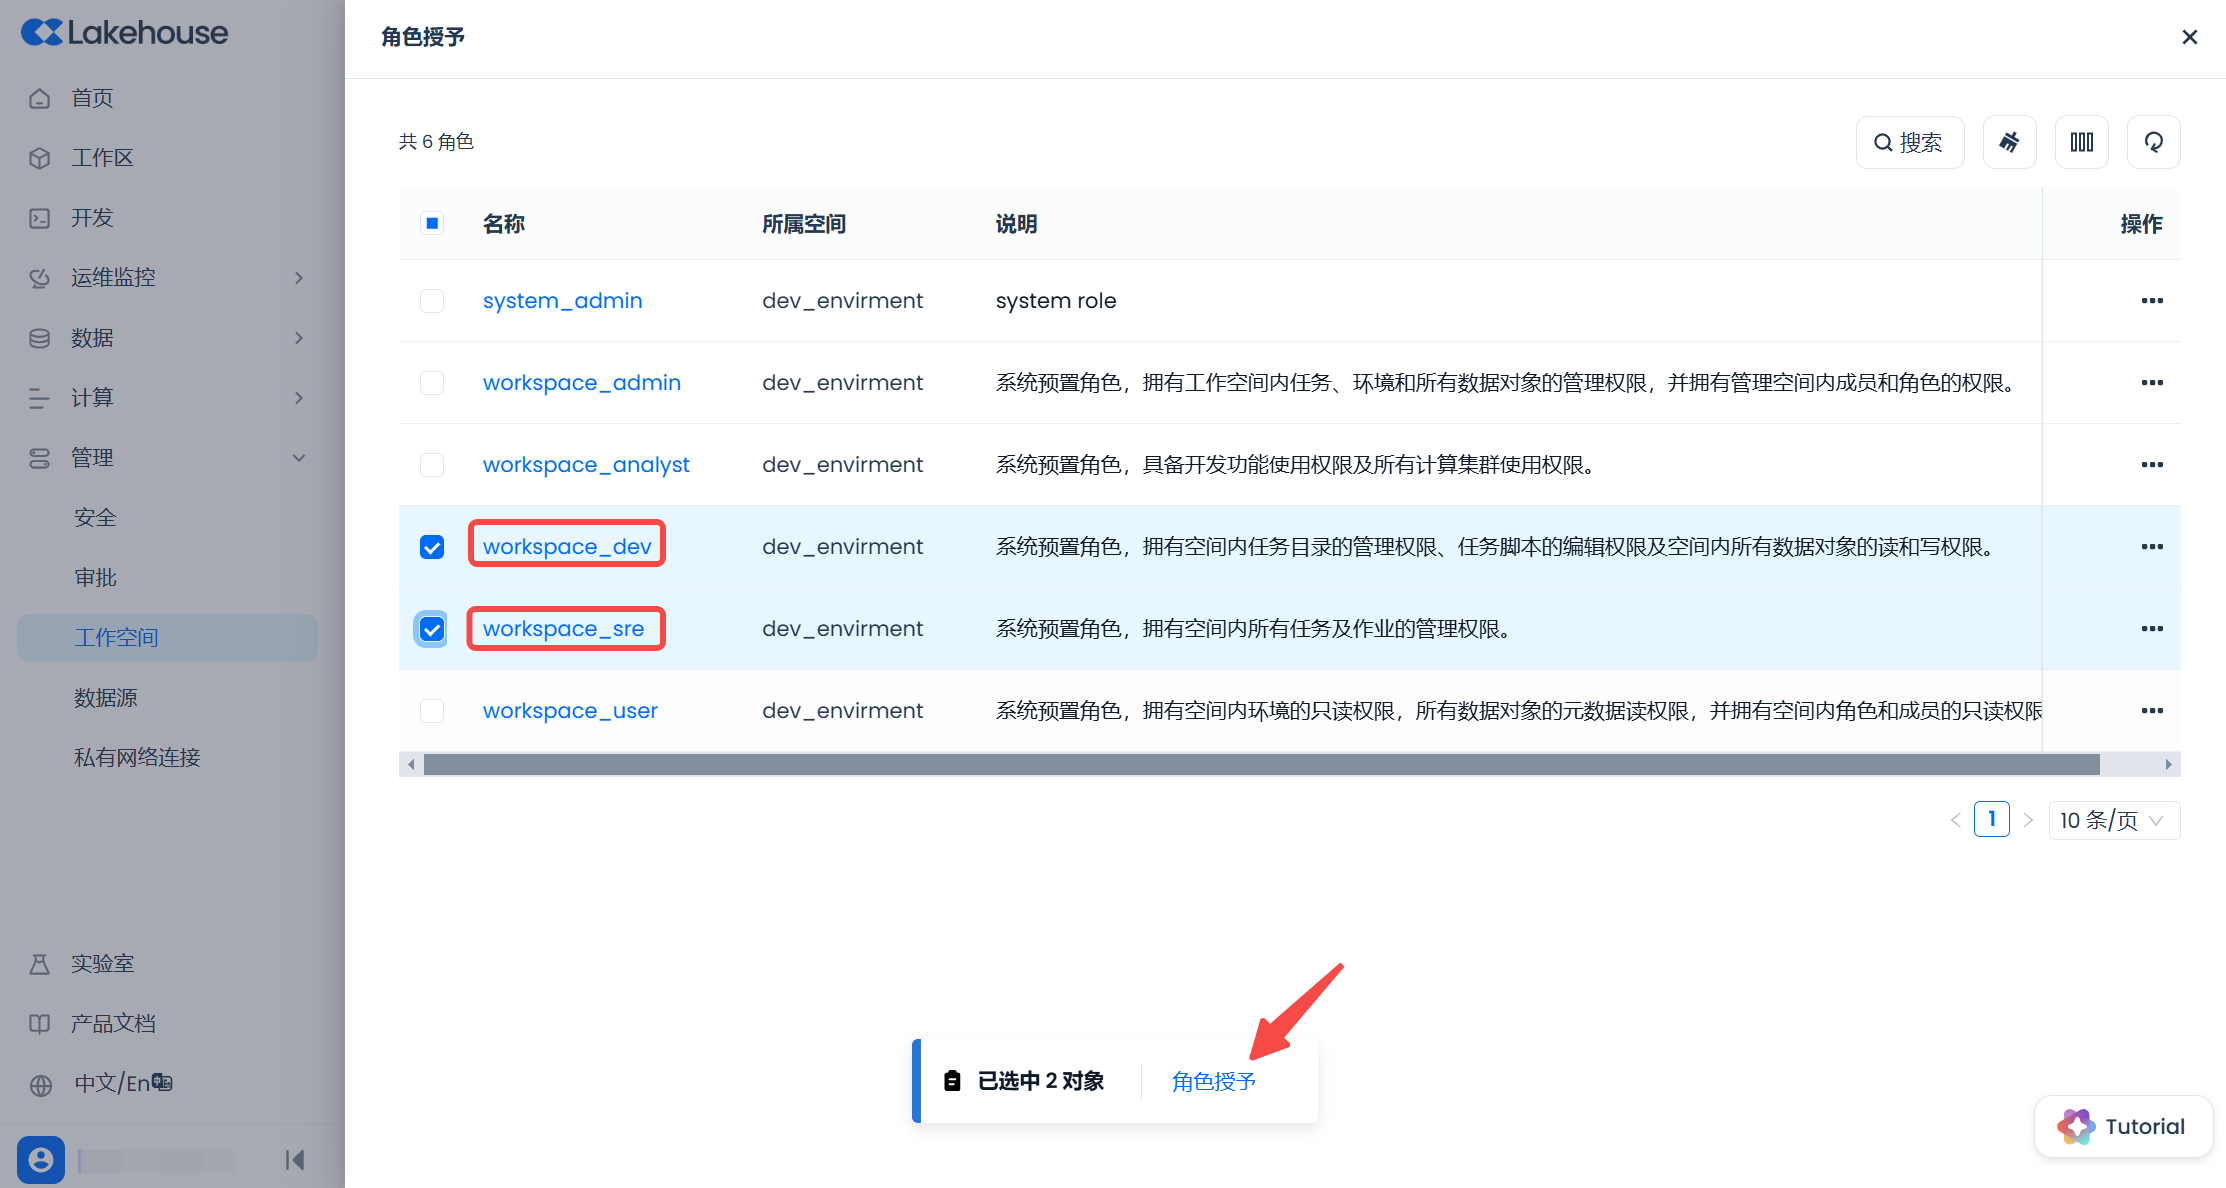
Among the roles that can be granted, we select the "workspace_dev" role, check the box, and click "Grant Role".
After completing the above operations, we have completed the operations of adding the developer user to the workspace and granting authorization. The effect is equivalent to the authorization executed by the above SQL.
For the authorization operation of the analyst user, since it includes the operation of "separately granting partial data permissions", it is recommended to use the SQL GRANT statement to perform the authorization, which is more convenient.
3.6 Check Authorization Results
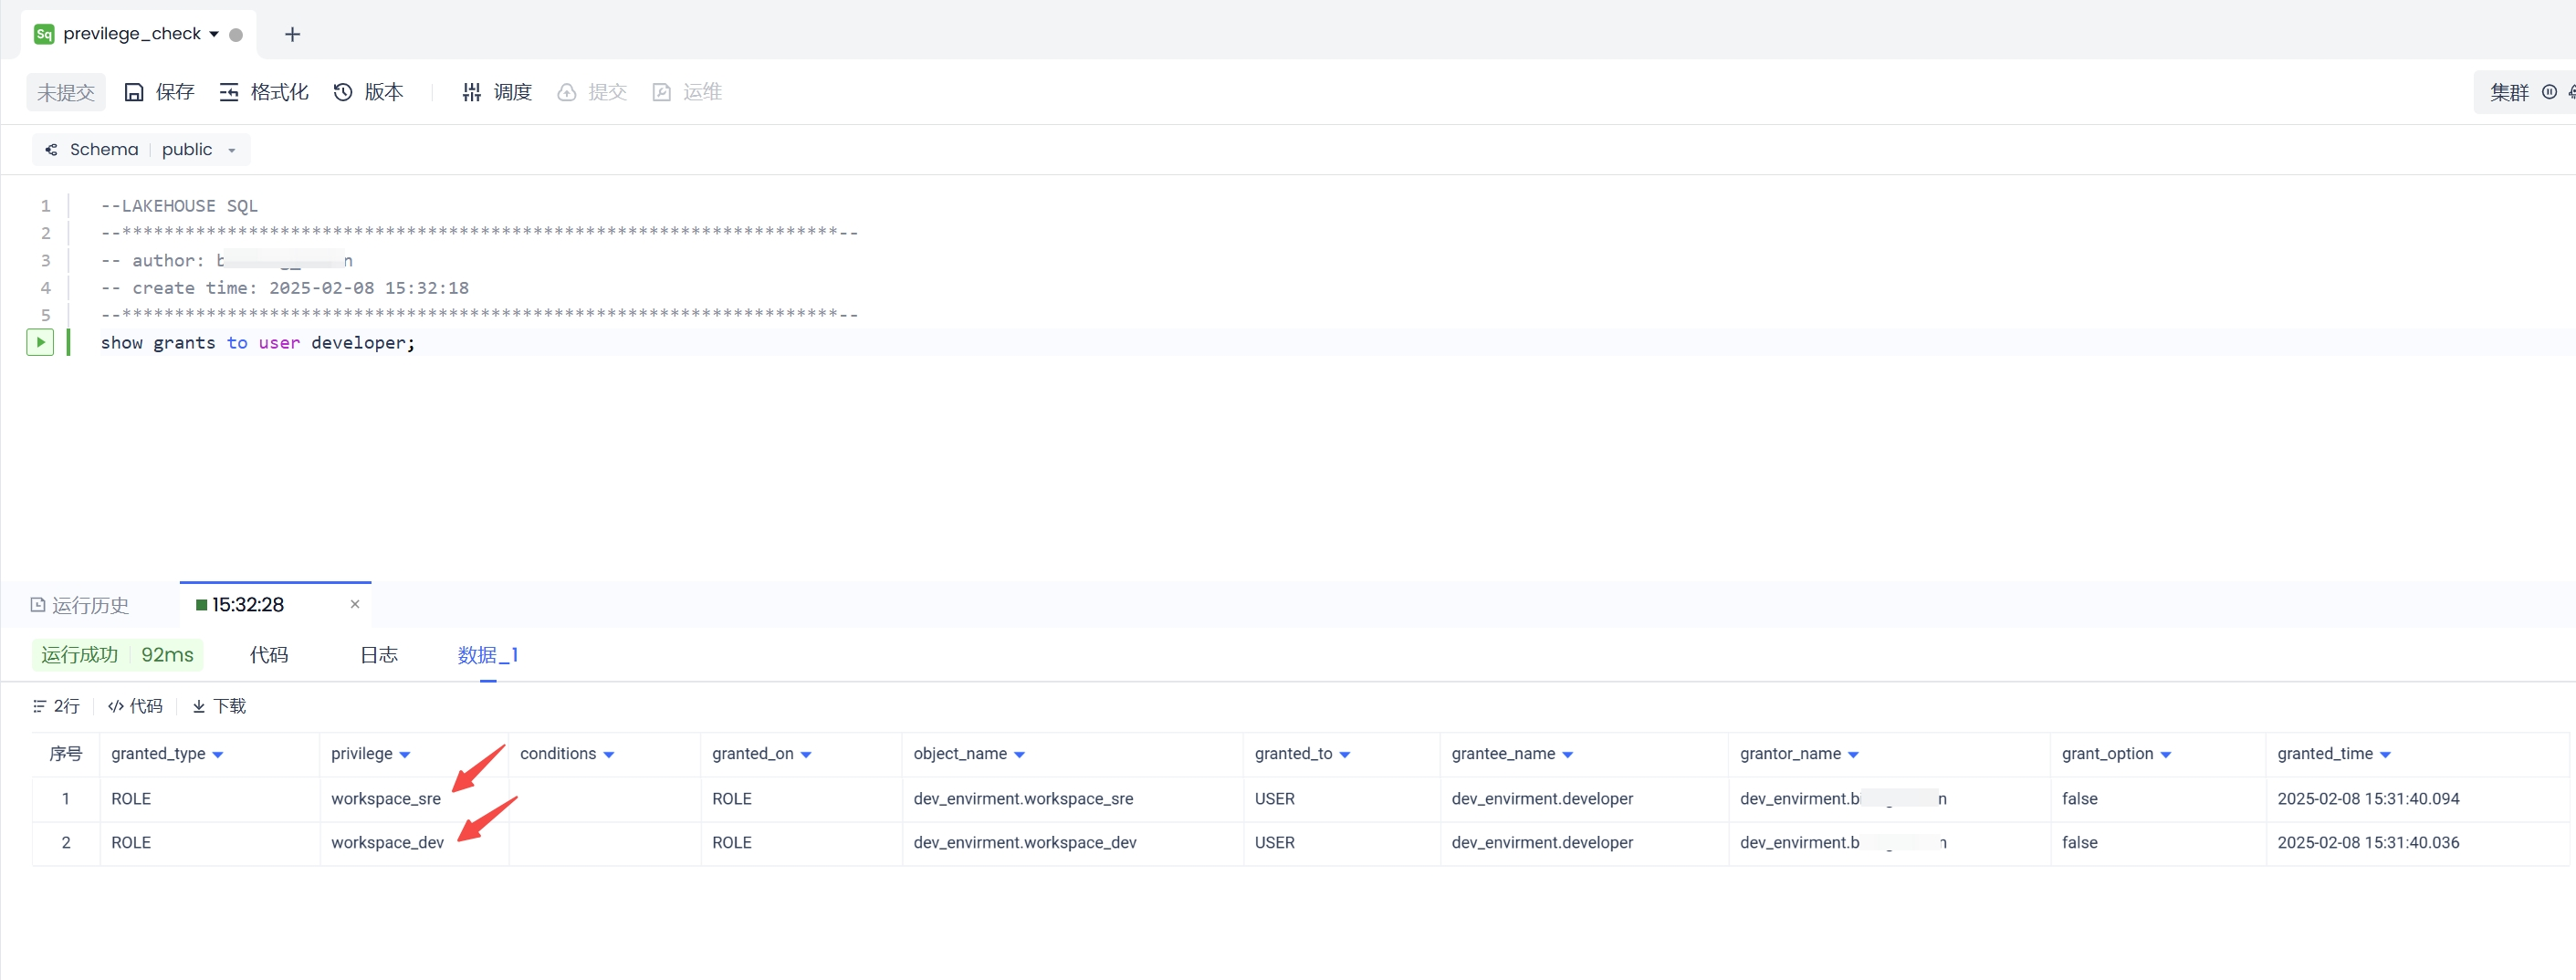
Lakehouse supports using the SHOW GRANTS statement to query the permissions granted to users.
Execute the following statement in the development function:
The results are as follows:
3.7 Team Member Login to the System
After completing the above operations, both the developer and analyst users can log in to Lakehouse and have the corresponding permissions to perform data development or queries. Below, we will use the developer user to log in to the system.
Return to the Singdata login page https://accounts.singdata.com/login, and sequentially enter the account name, username, and password. The account name is provided after the account registration is successful and can be obtained from the URL after any user of the account logs in.
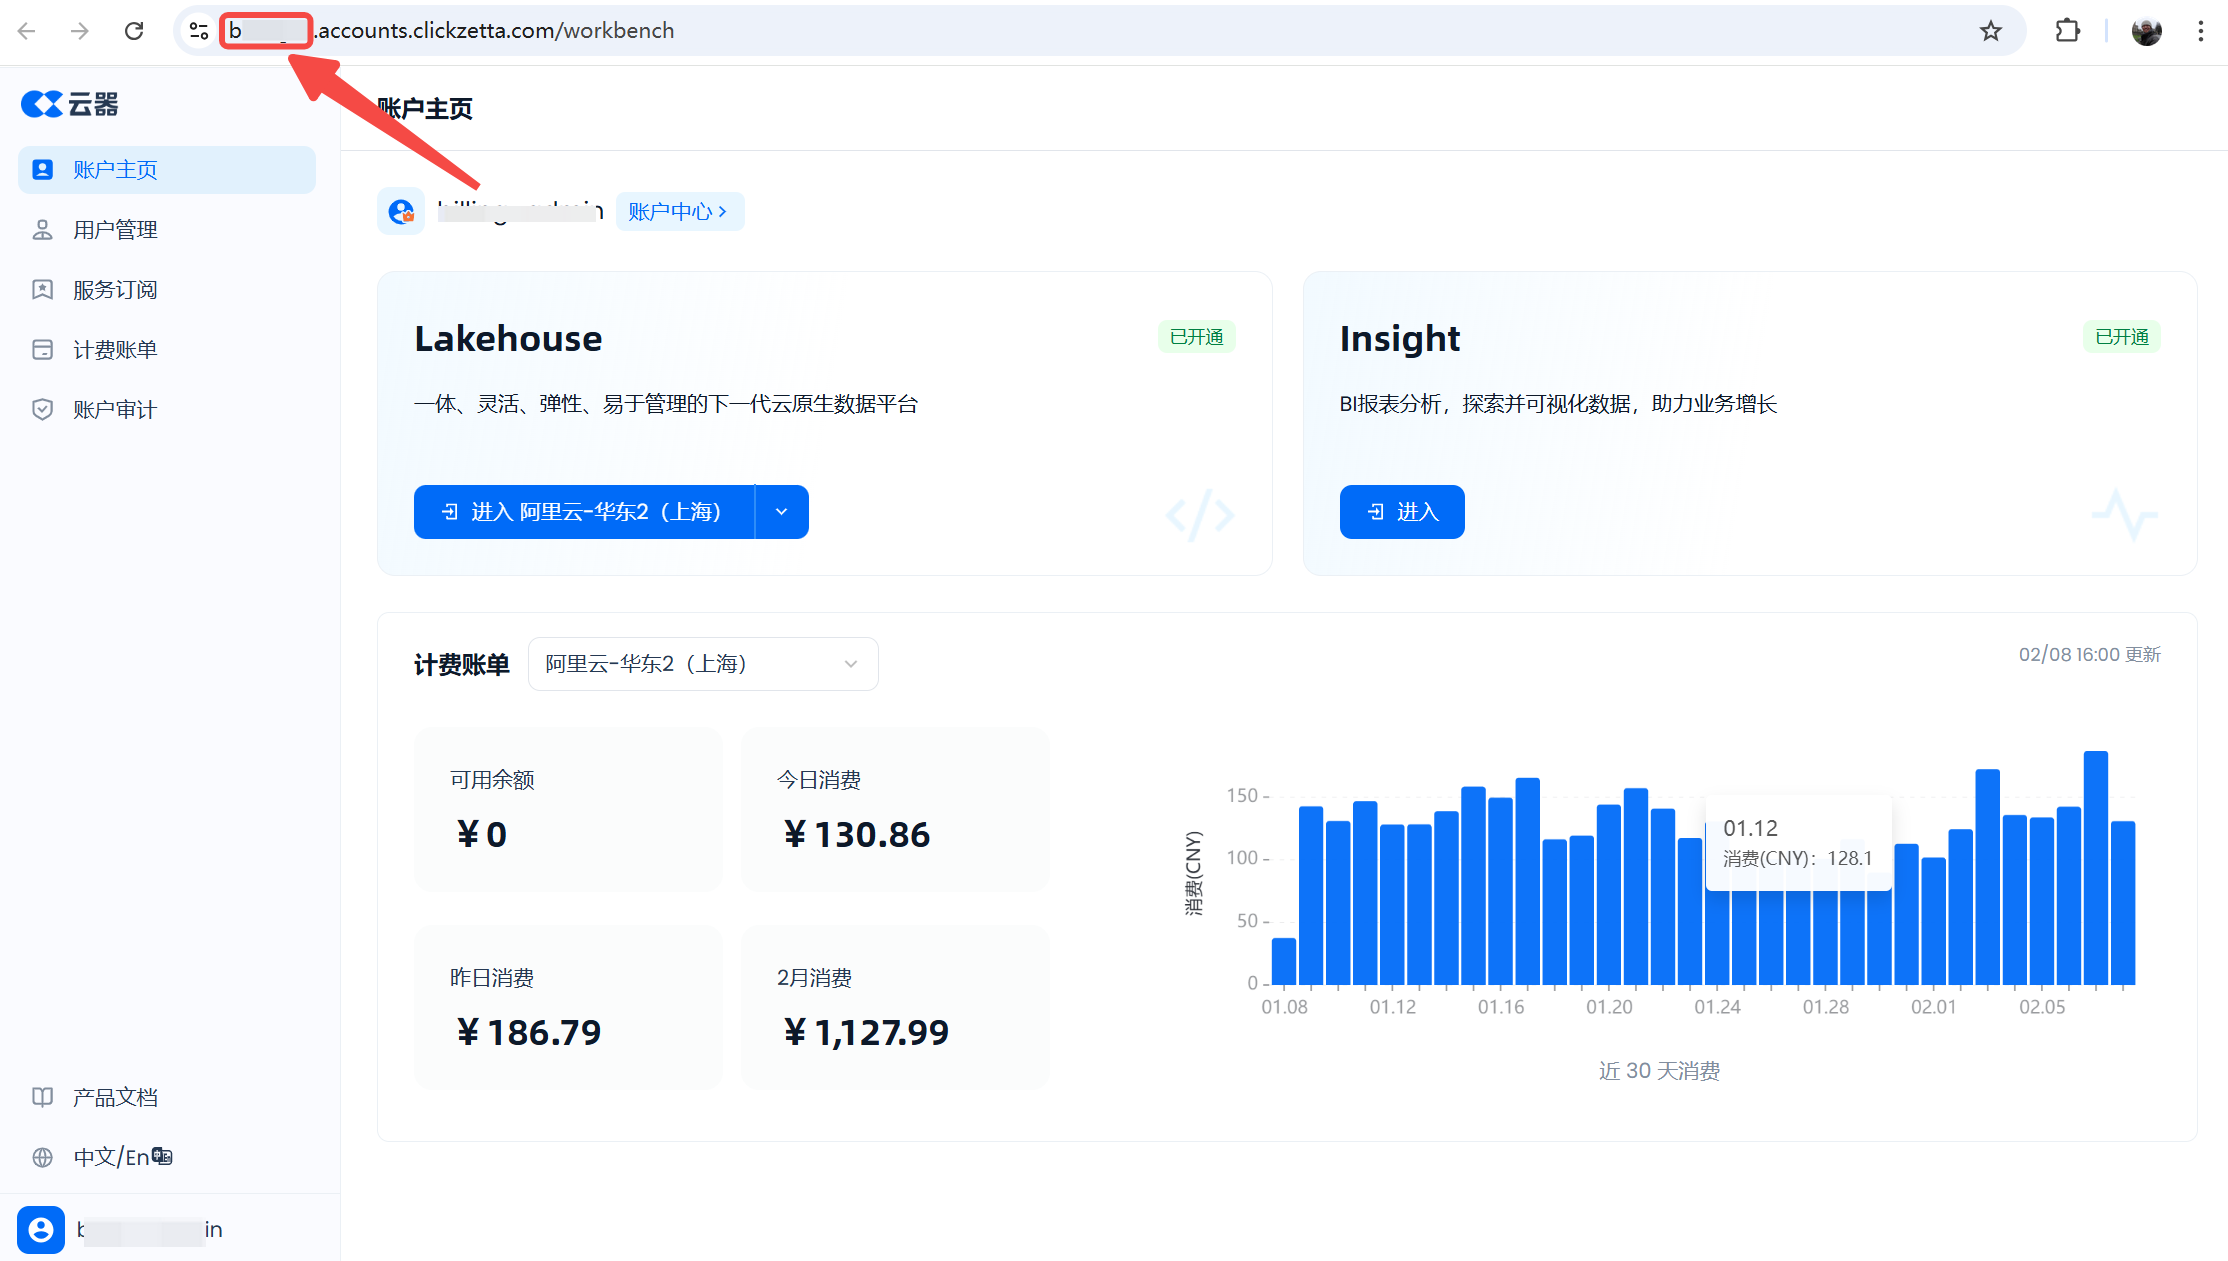
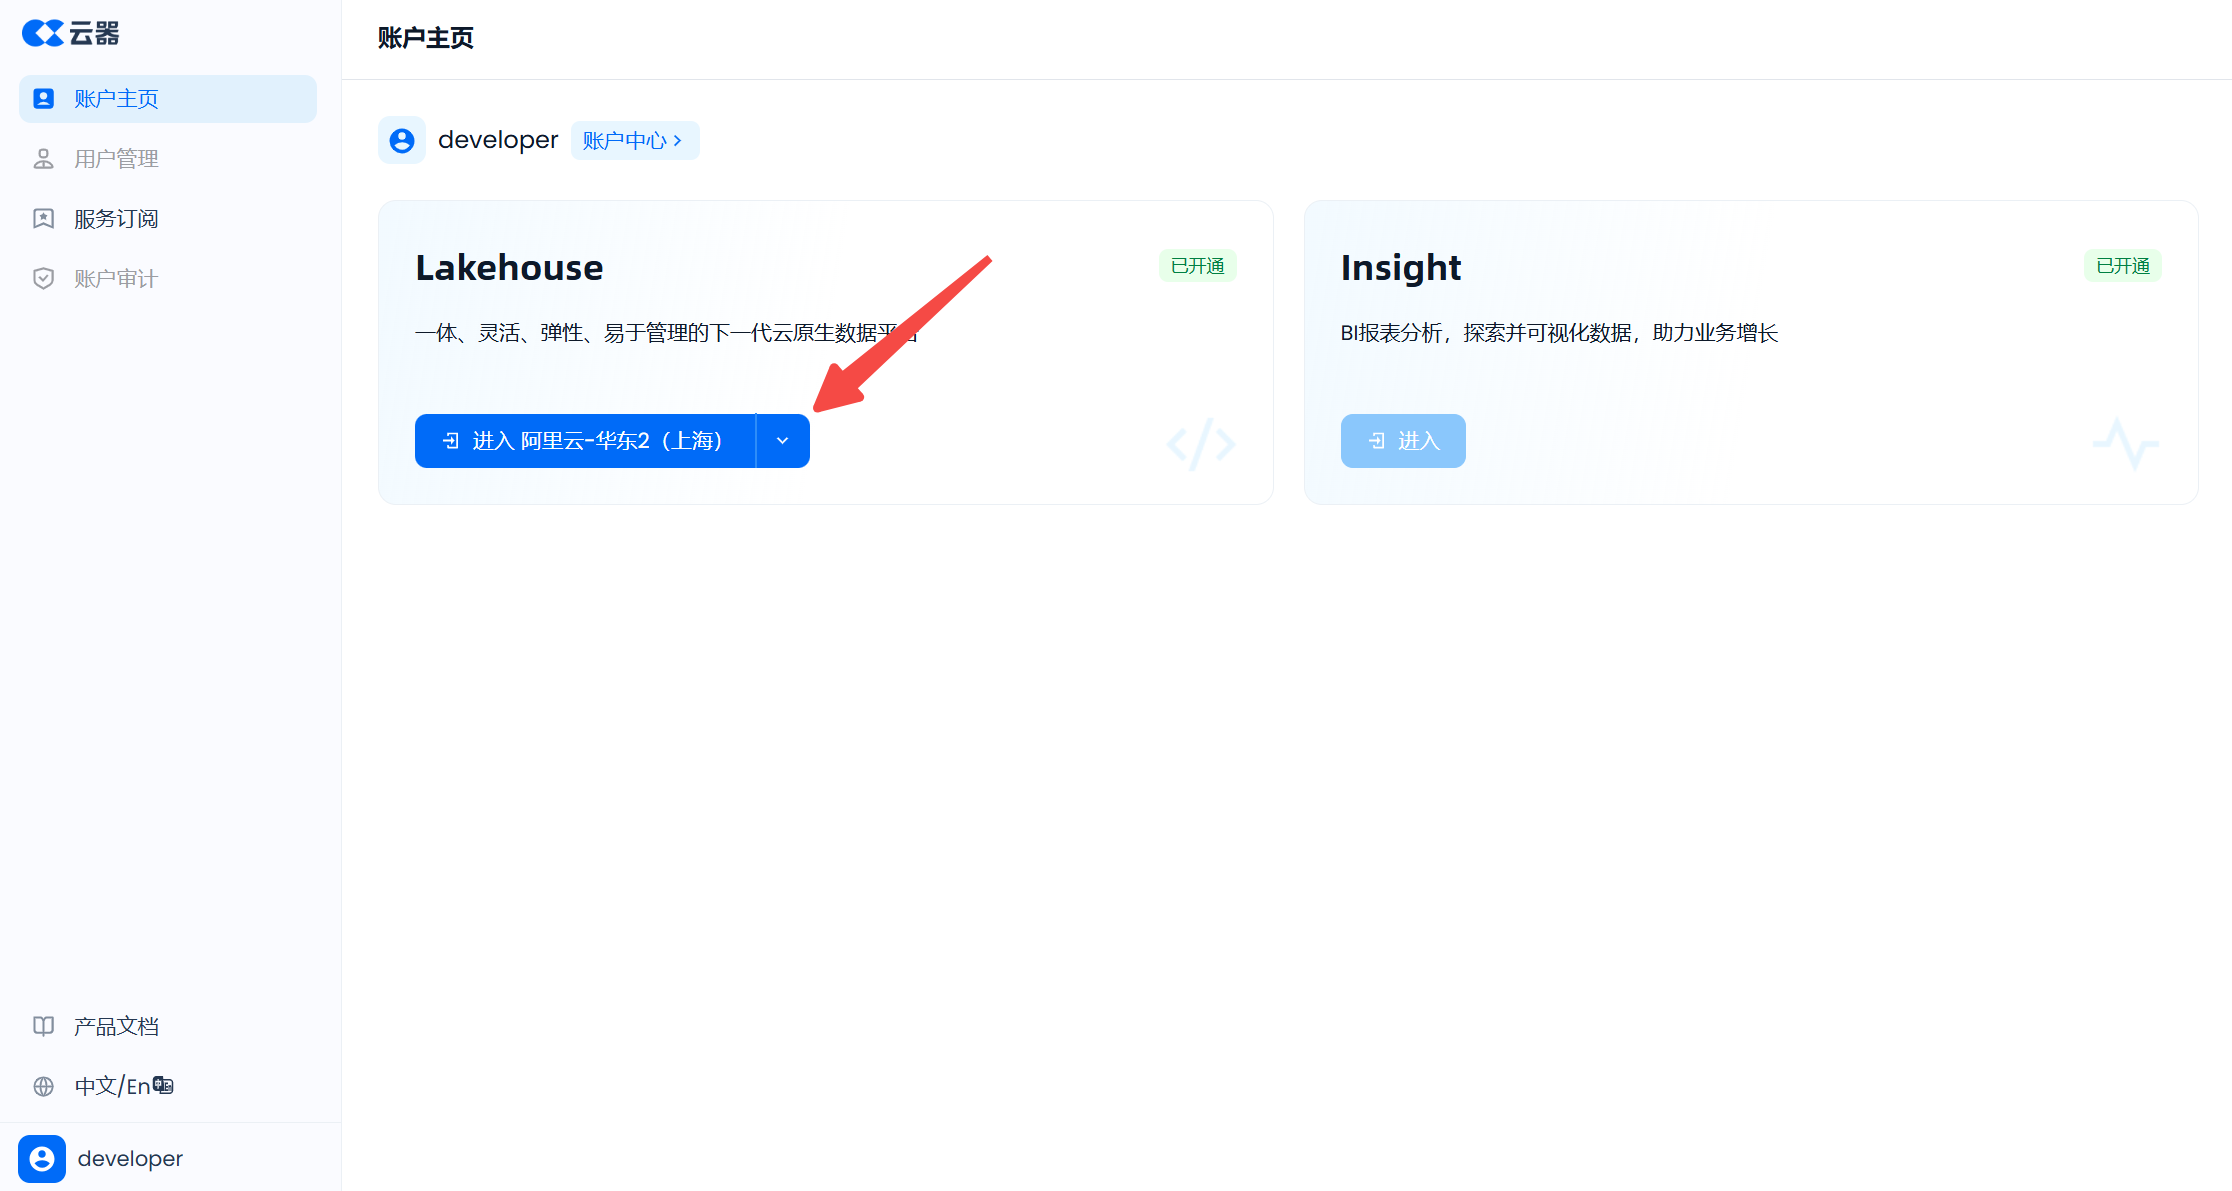
Now, use the developer user to log in at the .accounts.clickzetta.com/login URL, and click the "Enter" service instance button under the "Lakehouse" product to enter the Lakehouse service instance.
3.8 Team Member Writing Development Tasks
After the developer user logs in, go to the "Development" page in the left menu. Since the current developer user has only joined the dev_environment workspace, there is no need to switch workspaces. If multiple workspaces are joined, you can switch to the required workspace for development in the upper right corner.
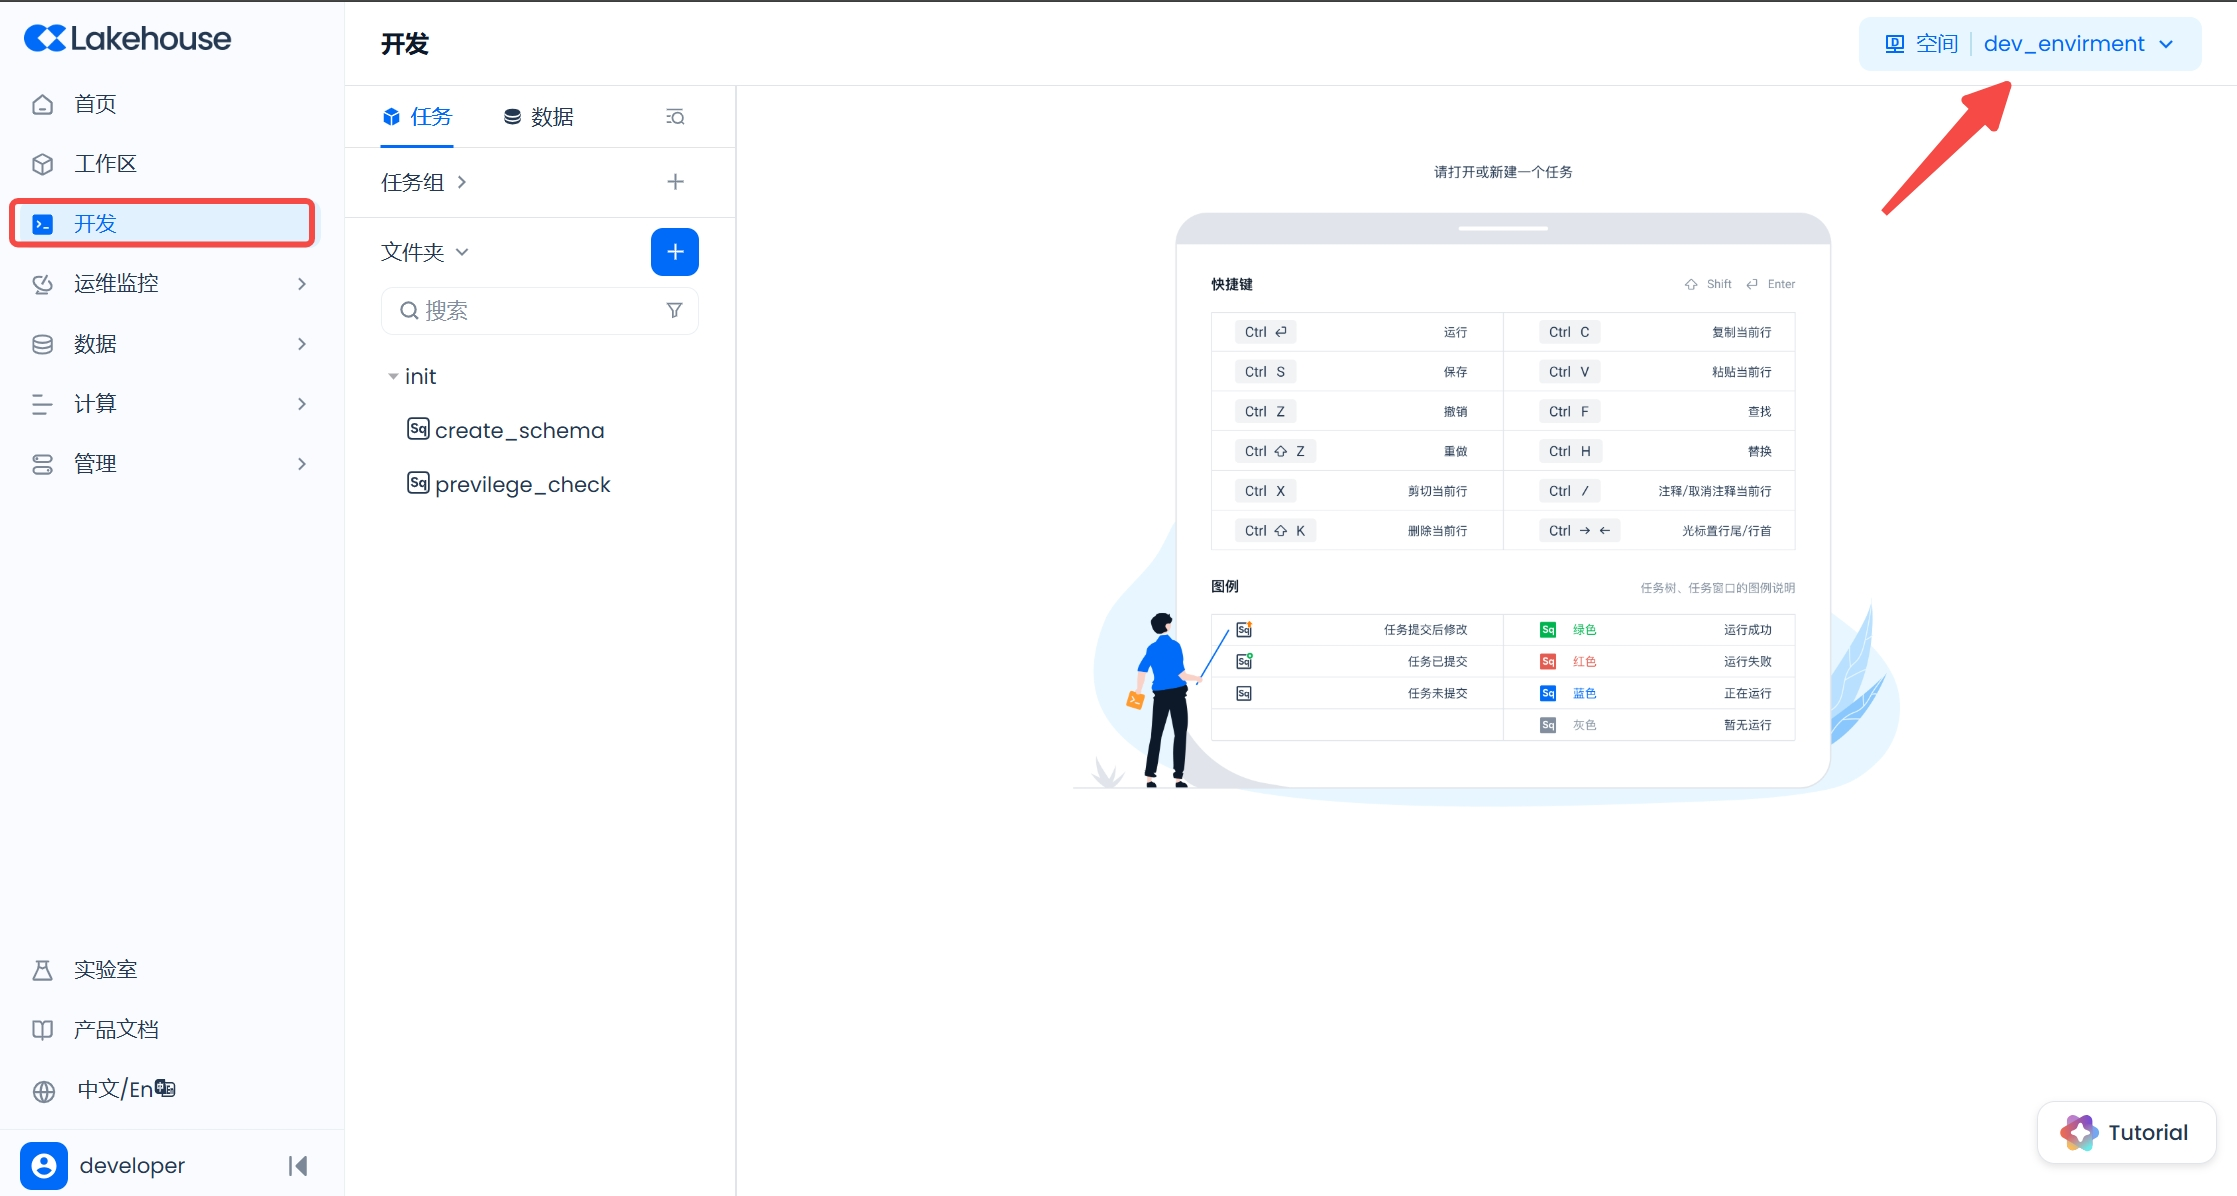
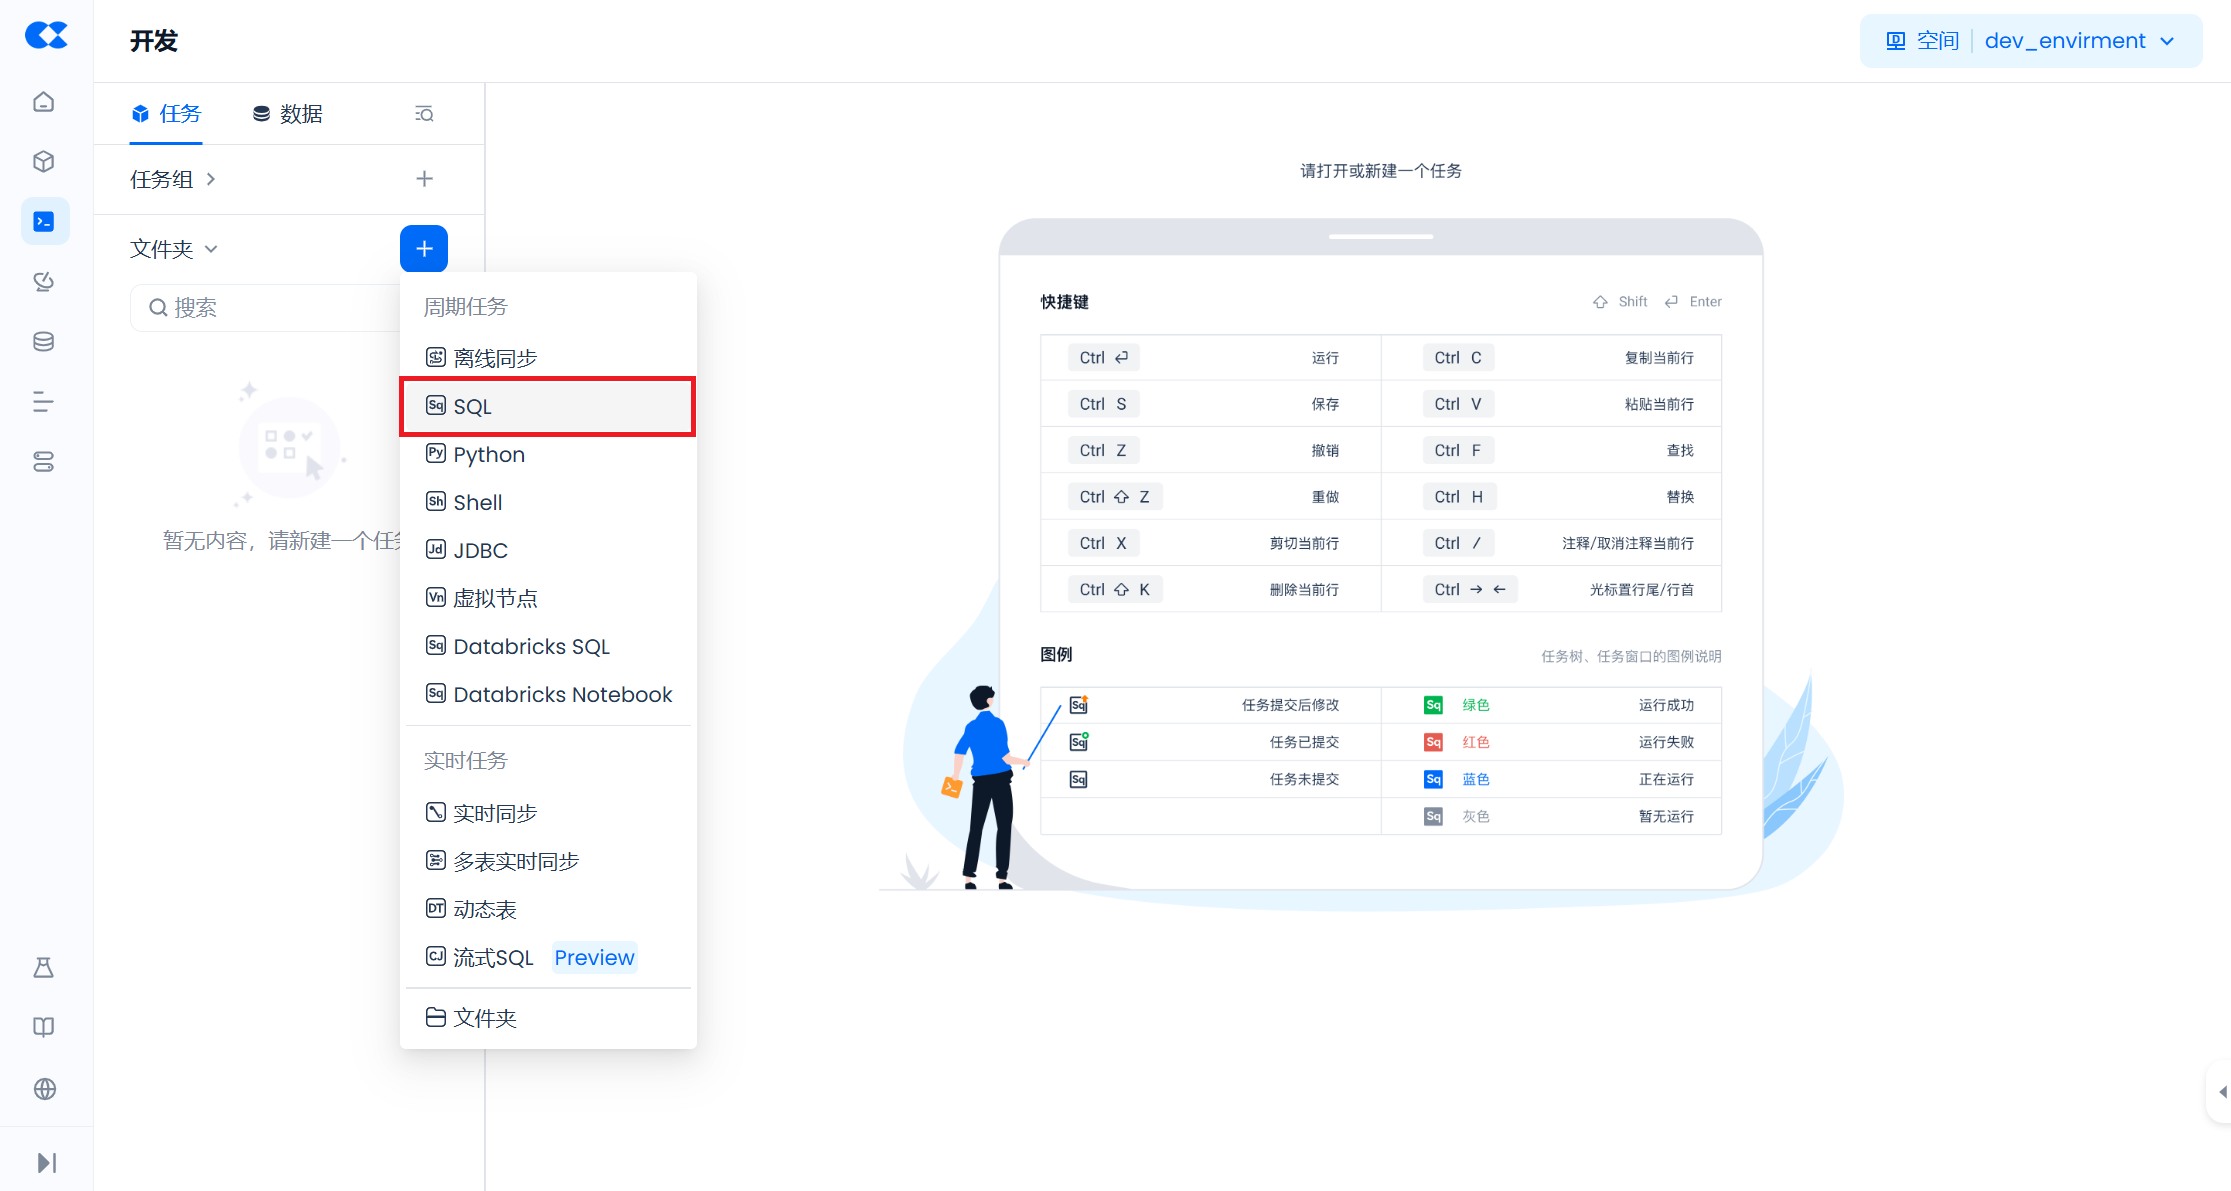
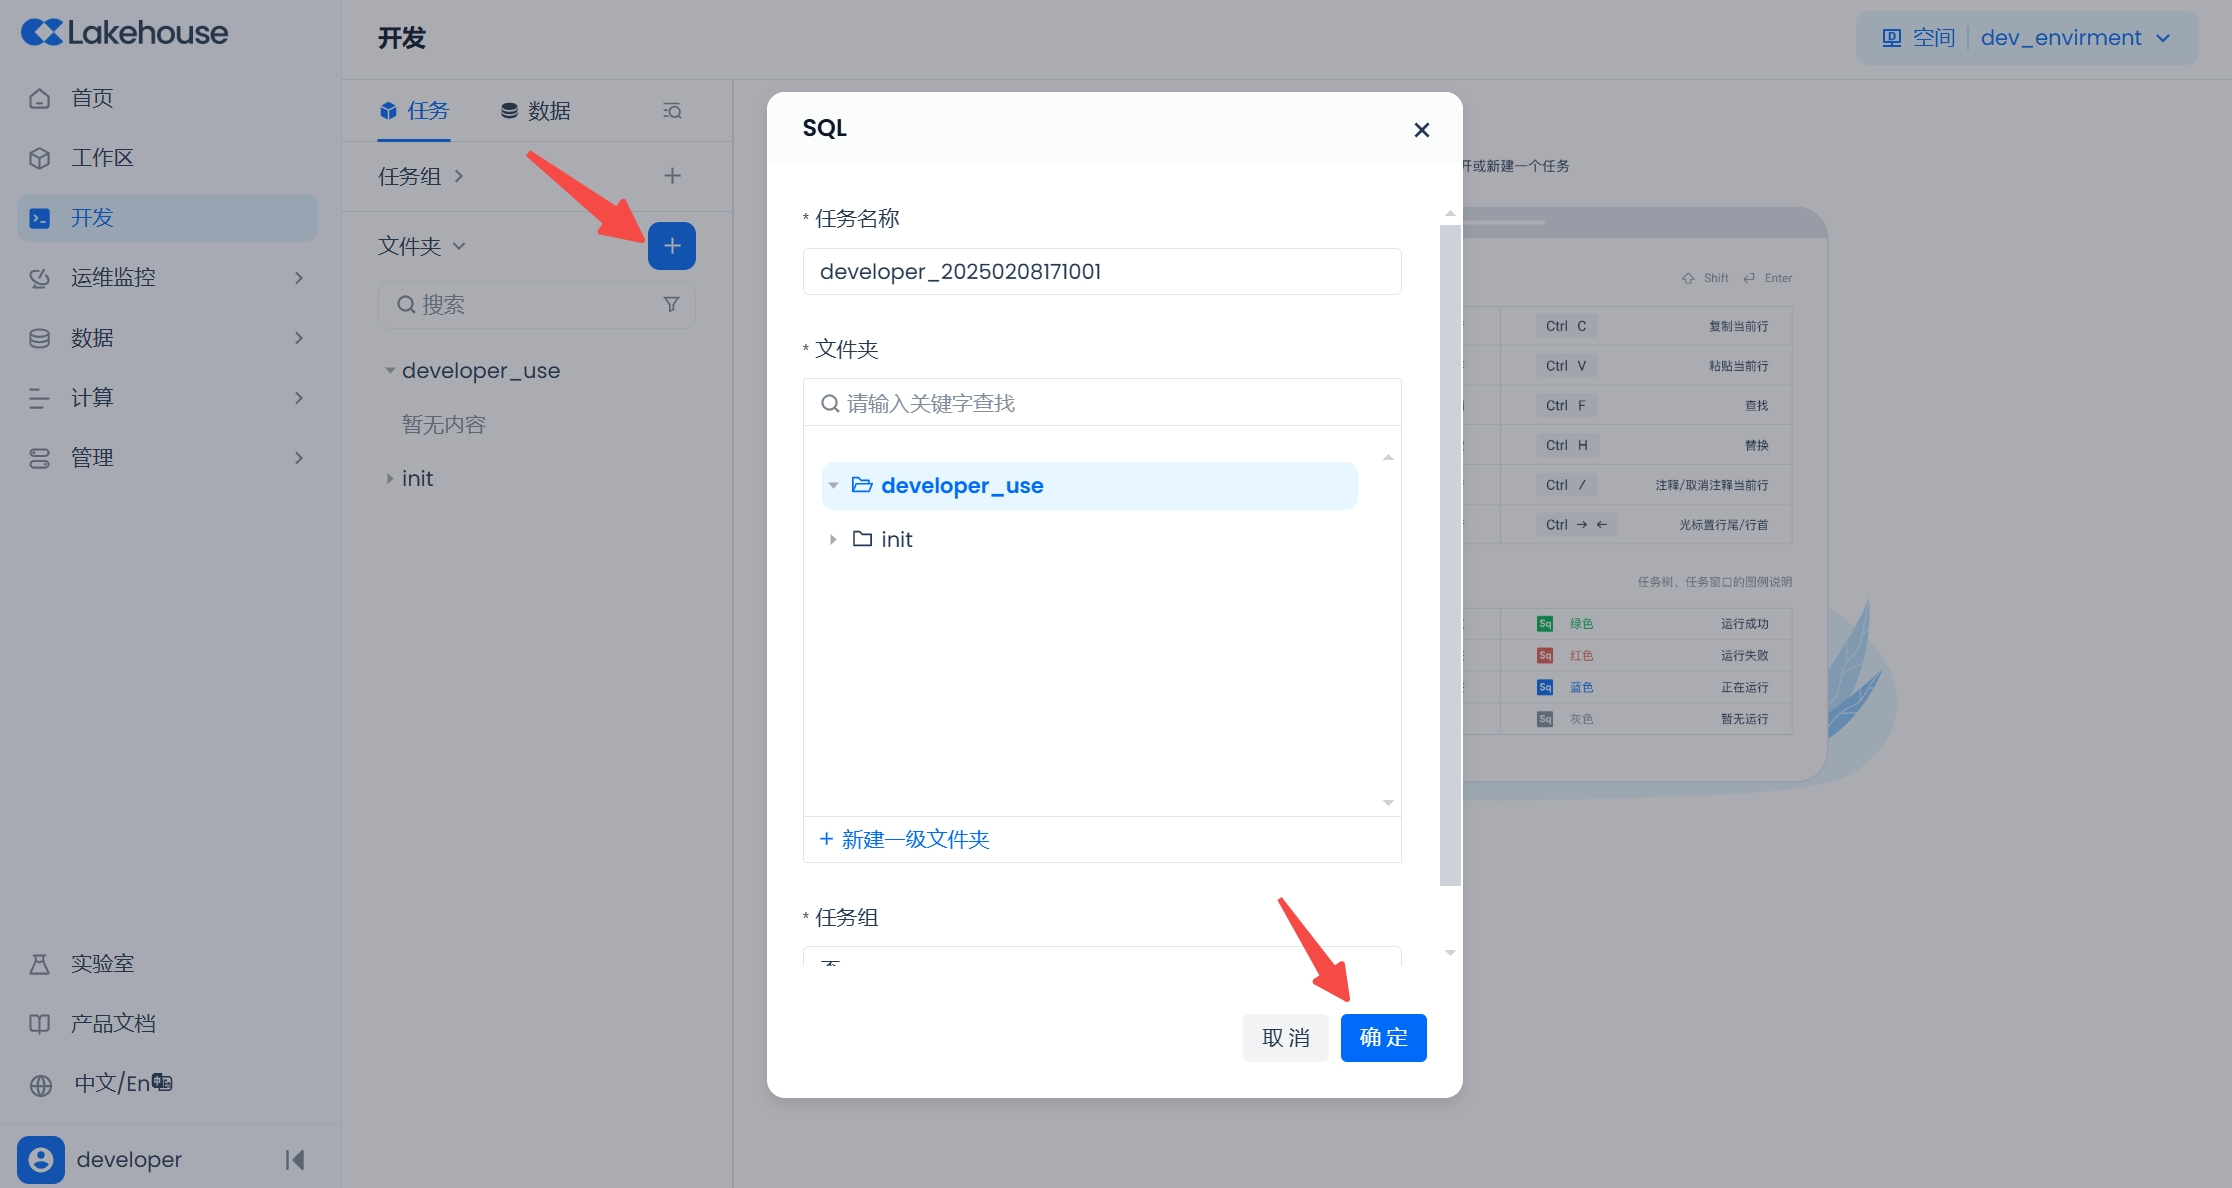
Click the "+" to create a new SQL script in the "Development" function, and write a query statement to query the data in the stg.employees table.
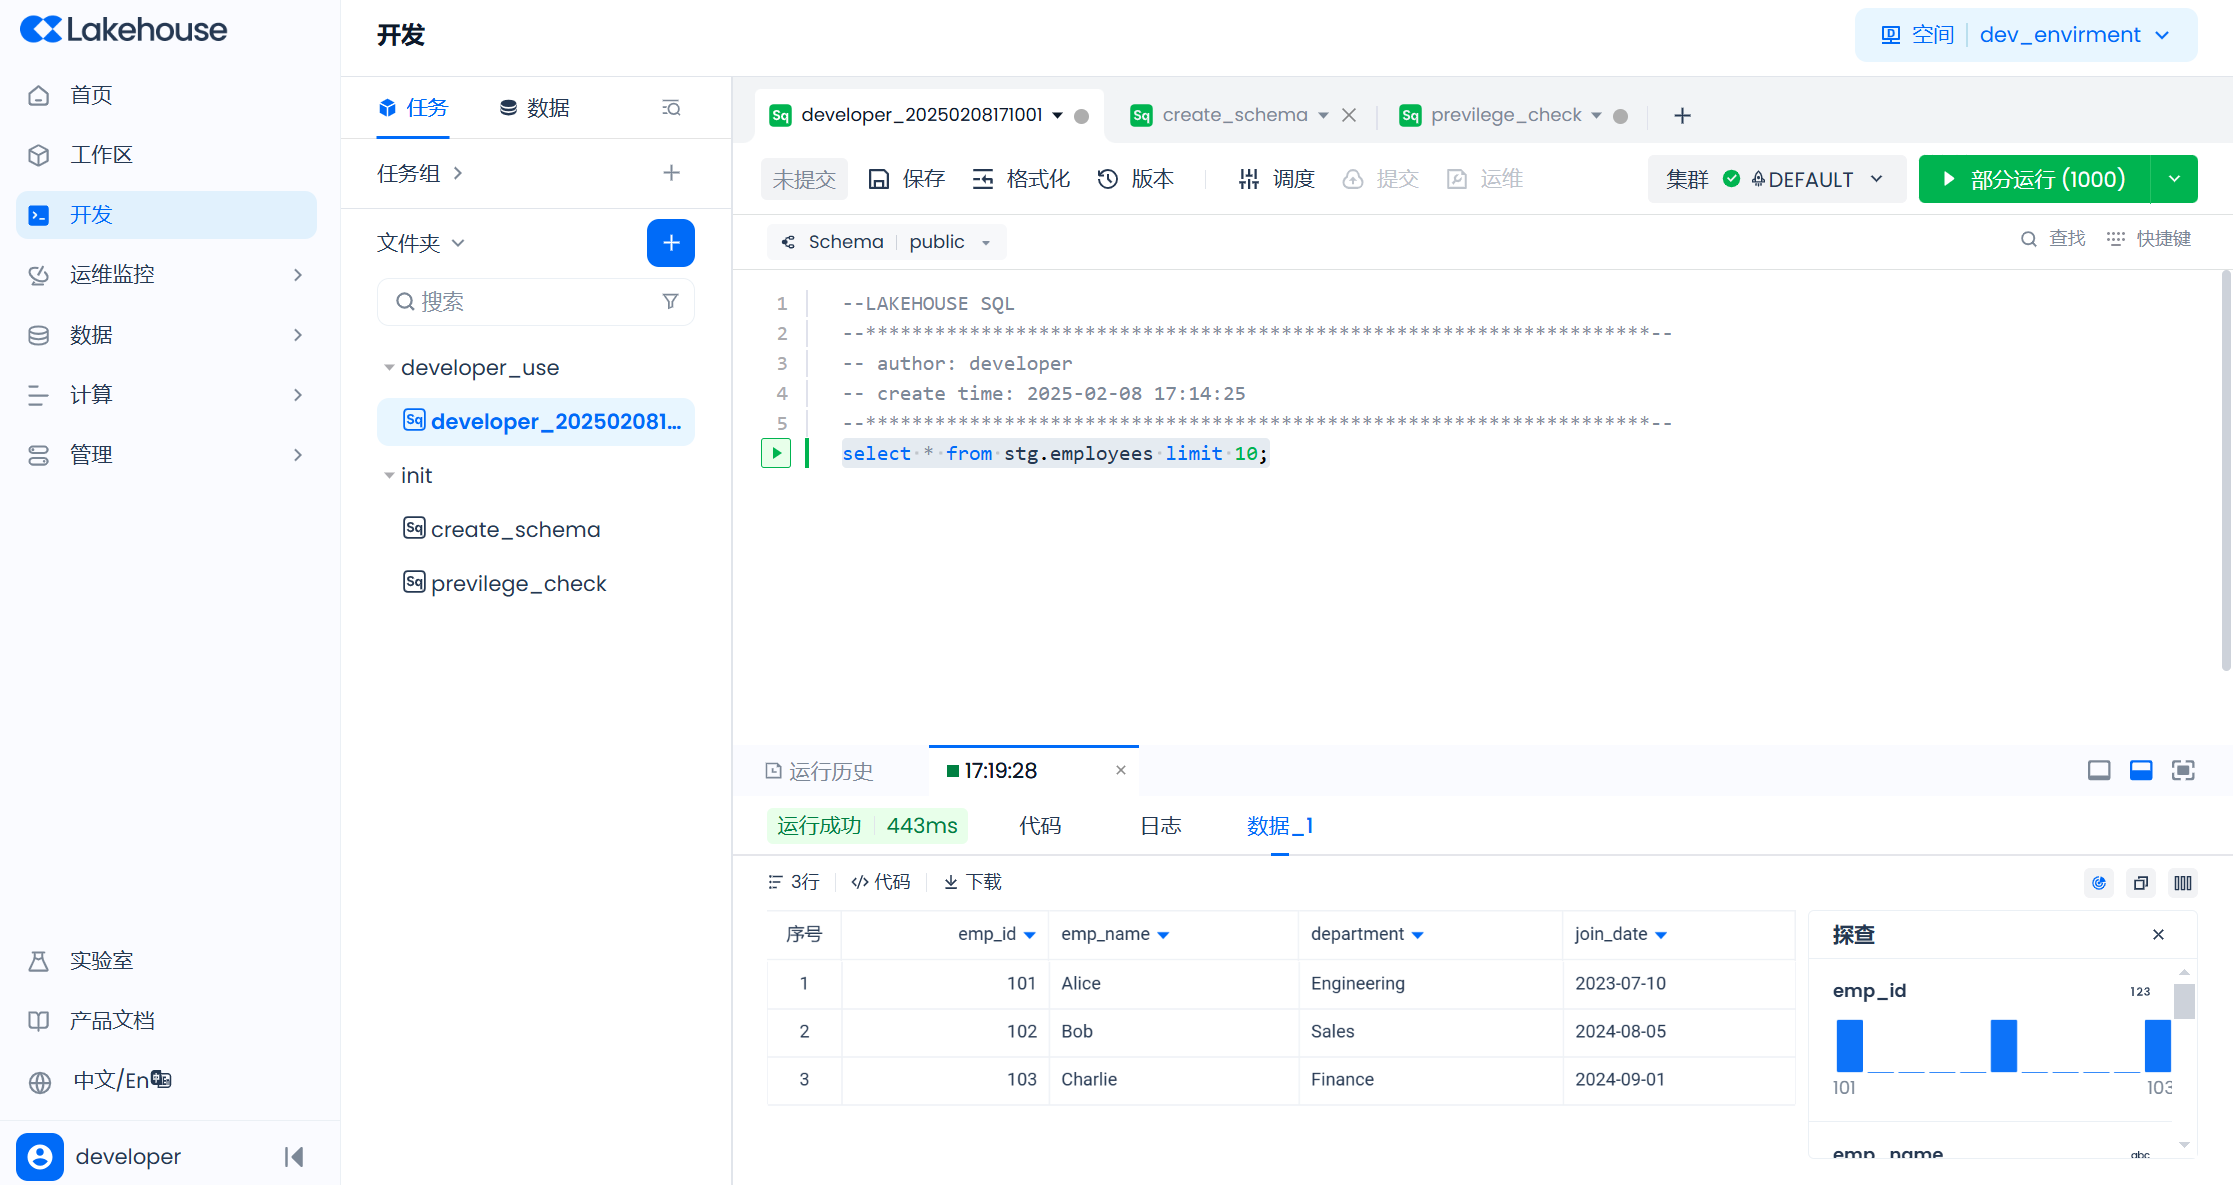
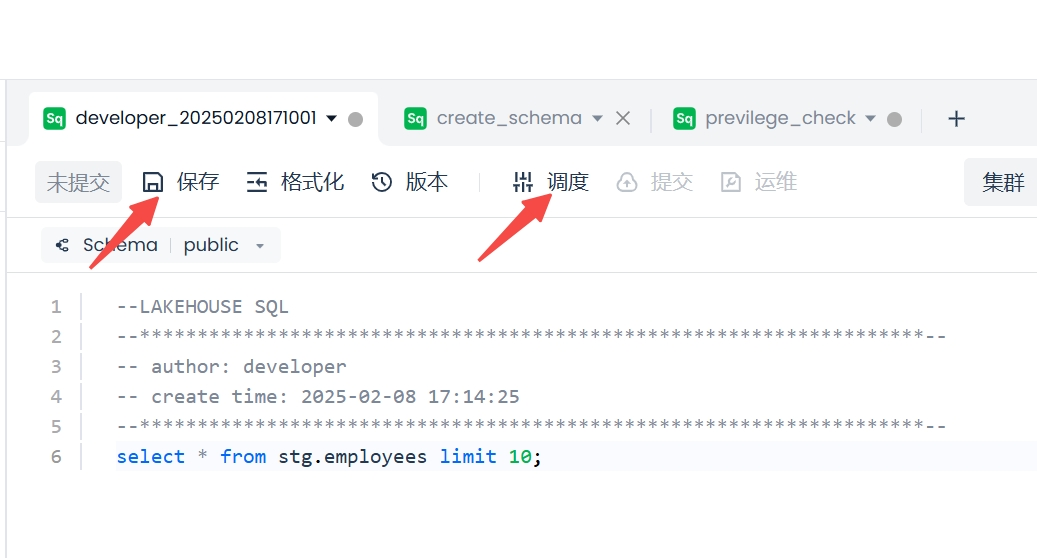
Click the "Save" button to save the task code, and the "Schedule" button to open the schedule configuration popup.
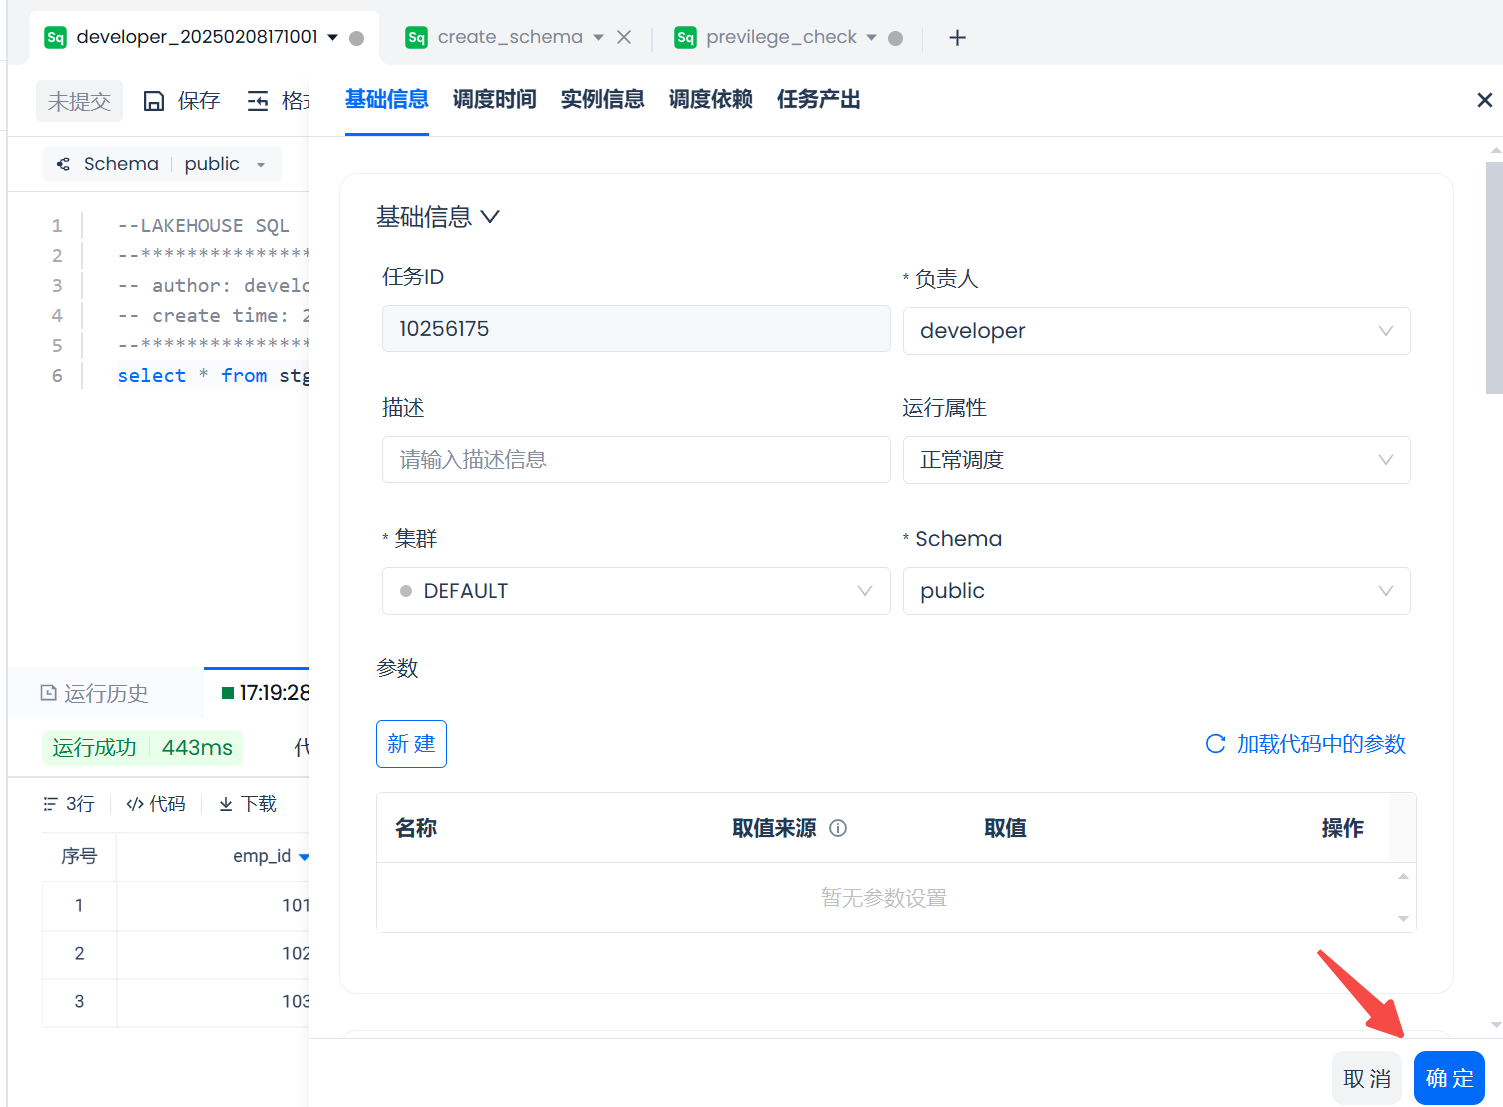
In the popup, configure the scheduling task's cycle, rerun method, and other information, then click the "OK" button to complete the scheduling configuration operation for the task.
After successfully configuring the schedule, the "Submit" button becomes clickable. After clicking "Submit," the task is submitted for periodic scheduling.
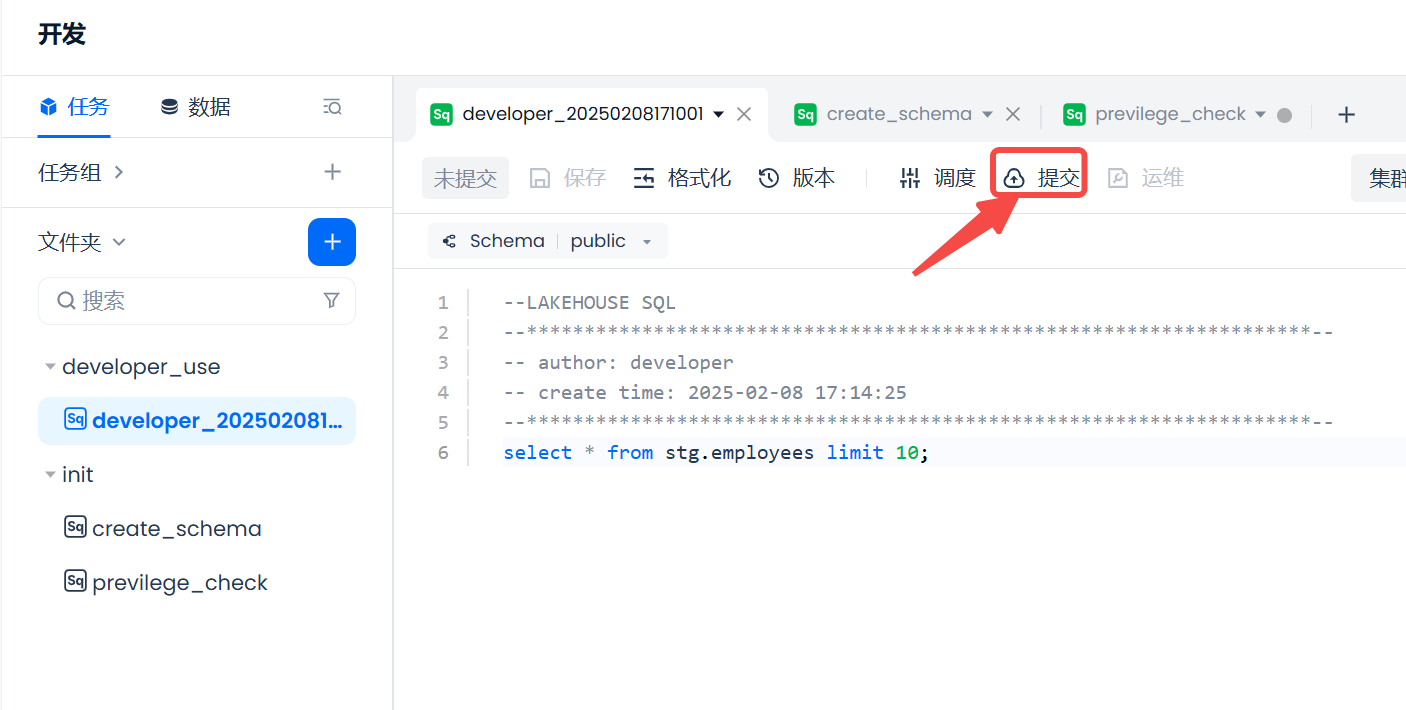
The above completes the process from creating a user, authorizing, to using the new user to develop SQL tasks and submitting them for periodic scheduling.
