Batch Sync Tasks
The "Development" module of the Singdata Lakehouse workspace integrates the capabilities of defining and scheduling data sync tasks. With the data sync task editor in the data development module, you can quickly create data sync tasks. The following explains the creation and use of Batch Sync tasks.
Create a New Data Sync Task
You can create a new sync task from both the workspace and the development entry.
-
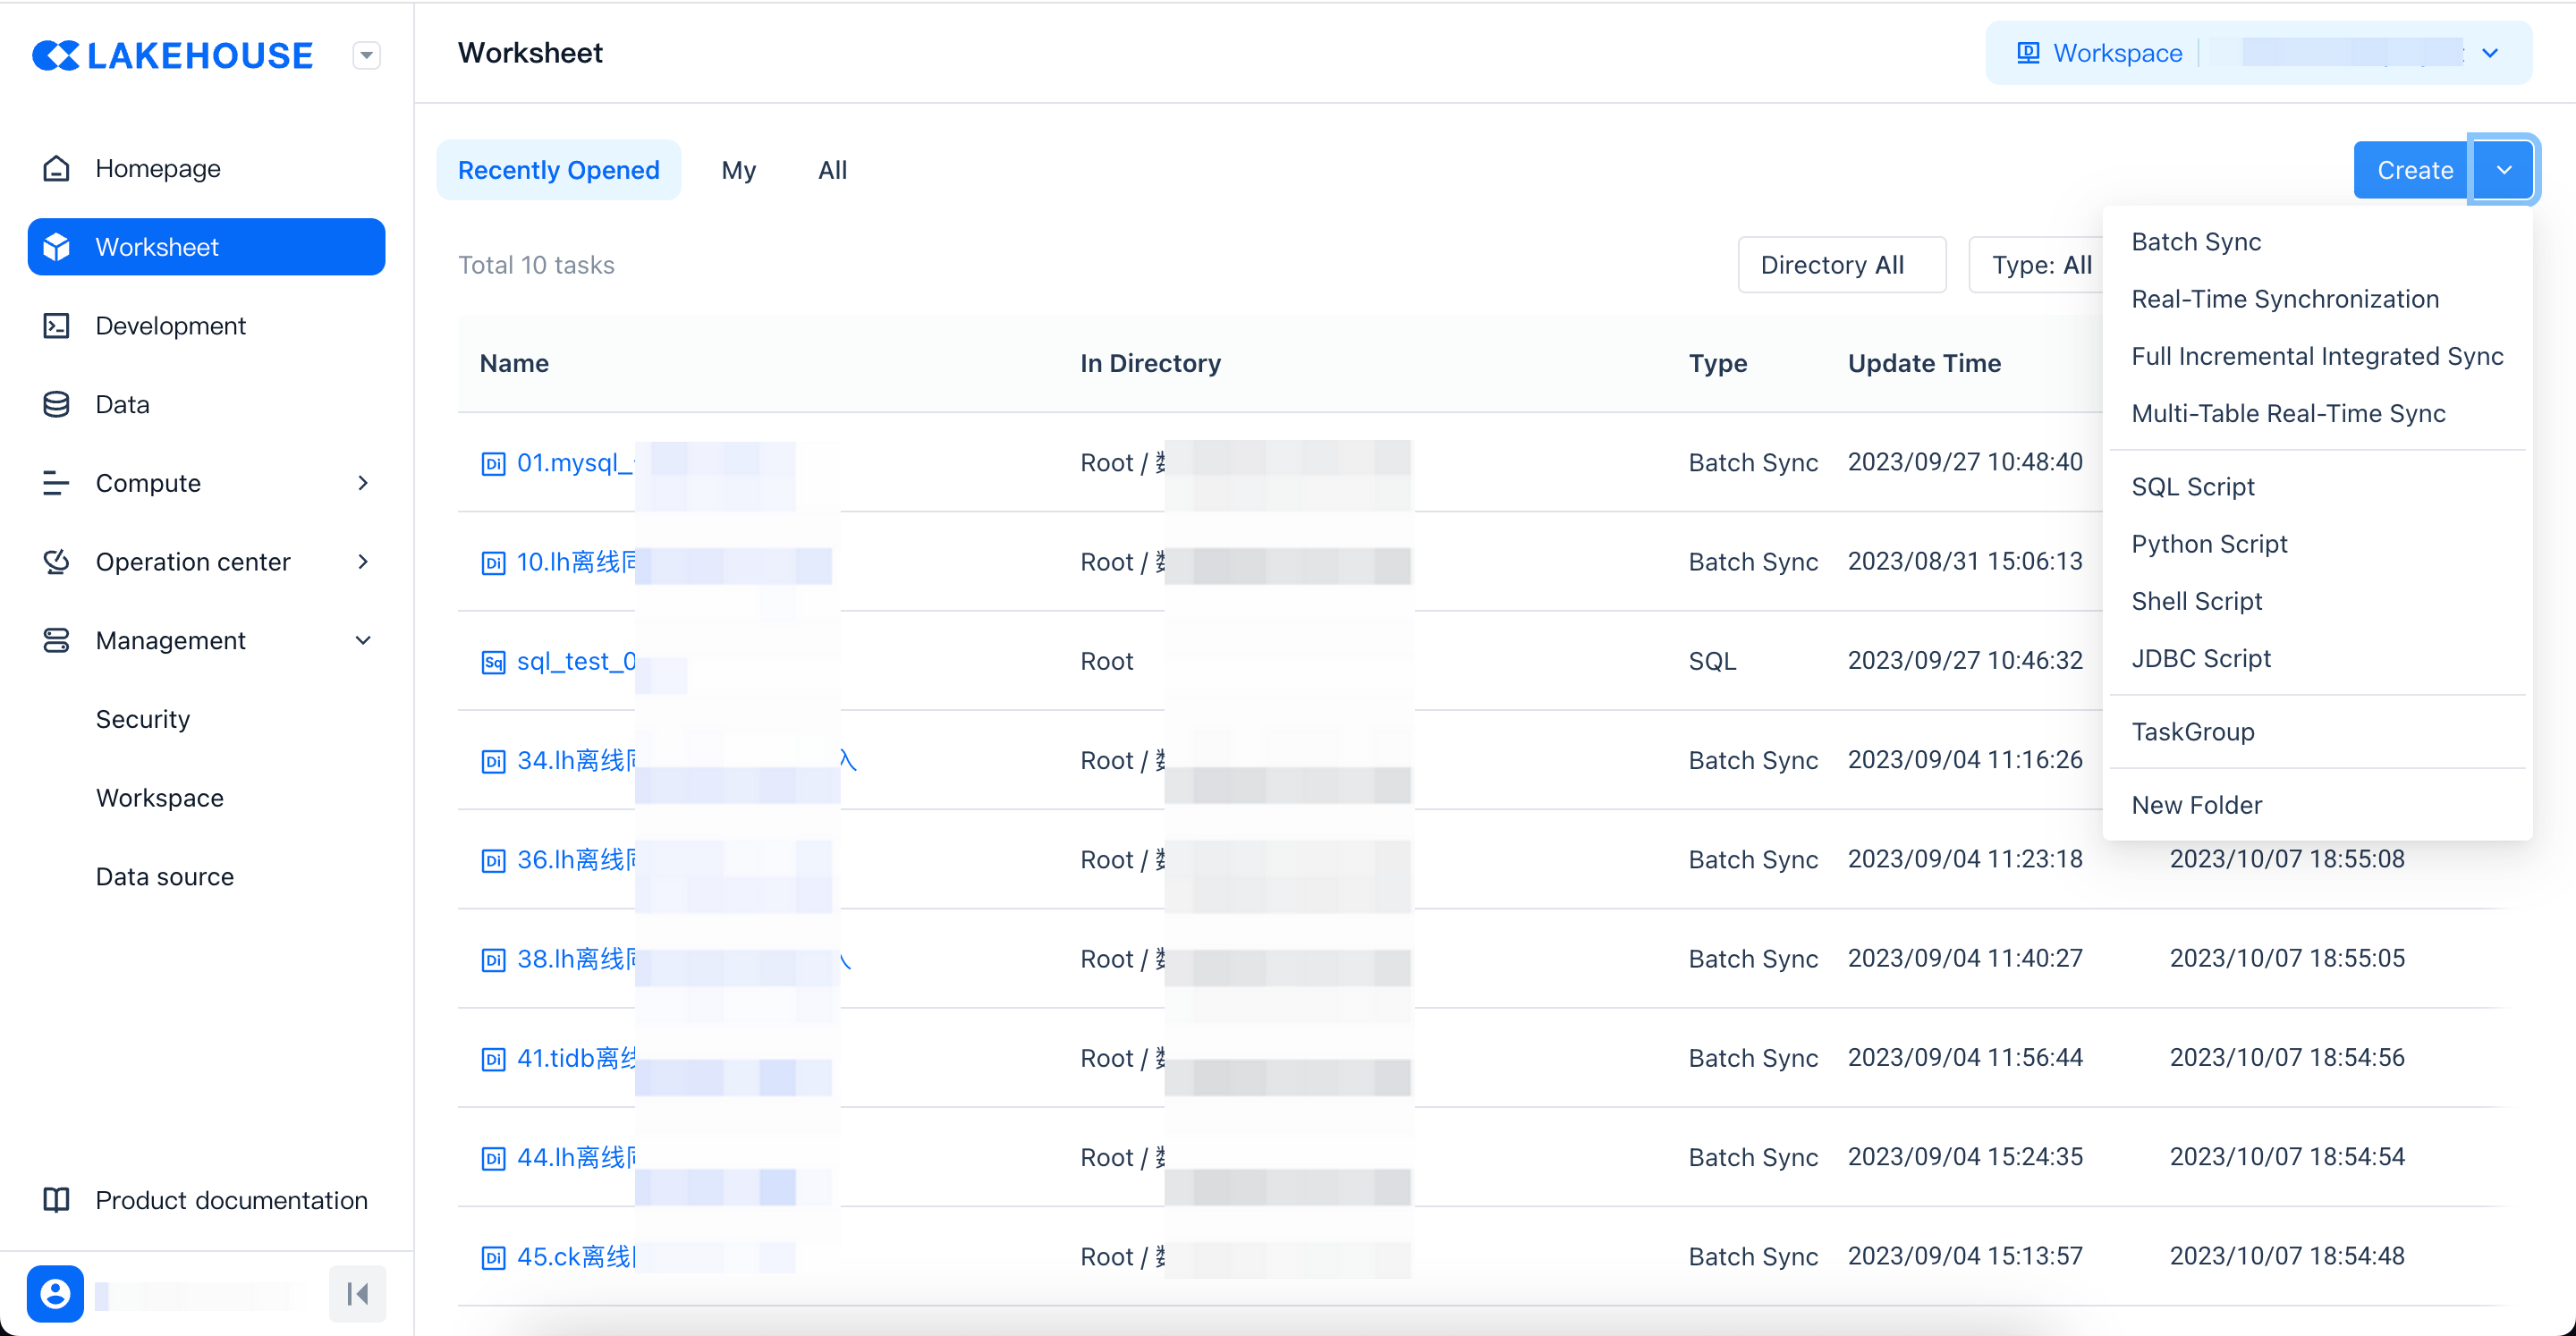
Create from Workspace Through the "Workspace" entry in the console, select "New Batch Sync" or "Real-time Sync Task" under the "New" button on the right.
-
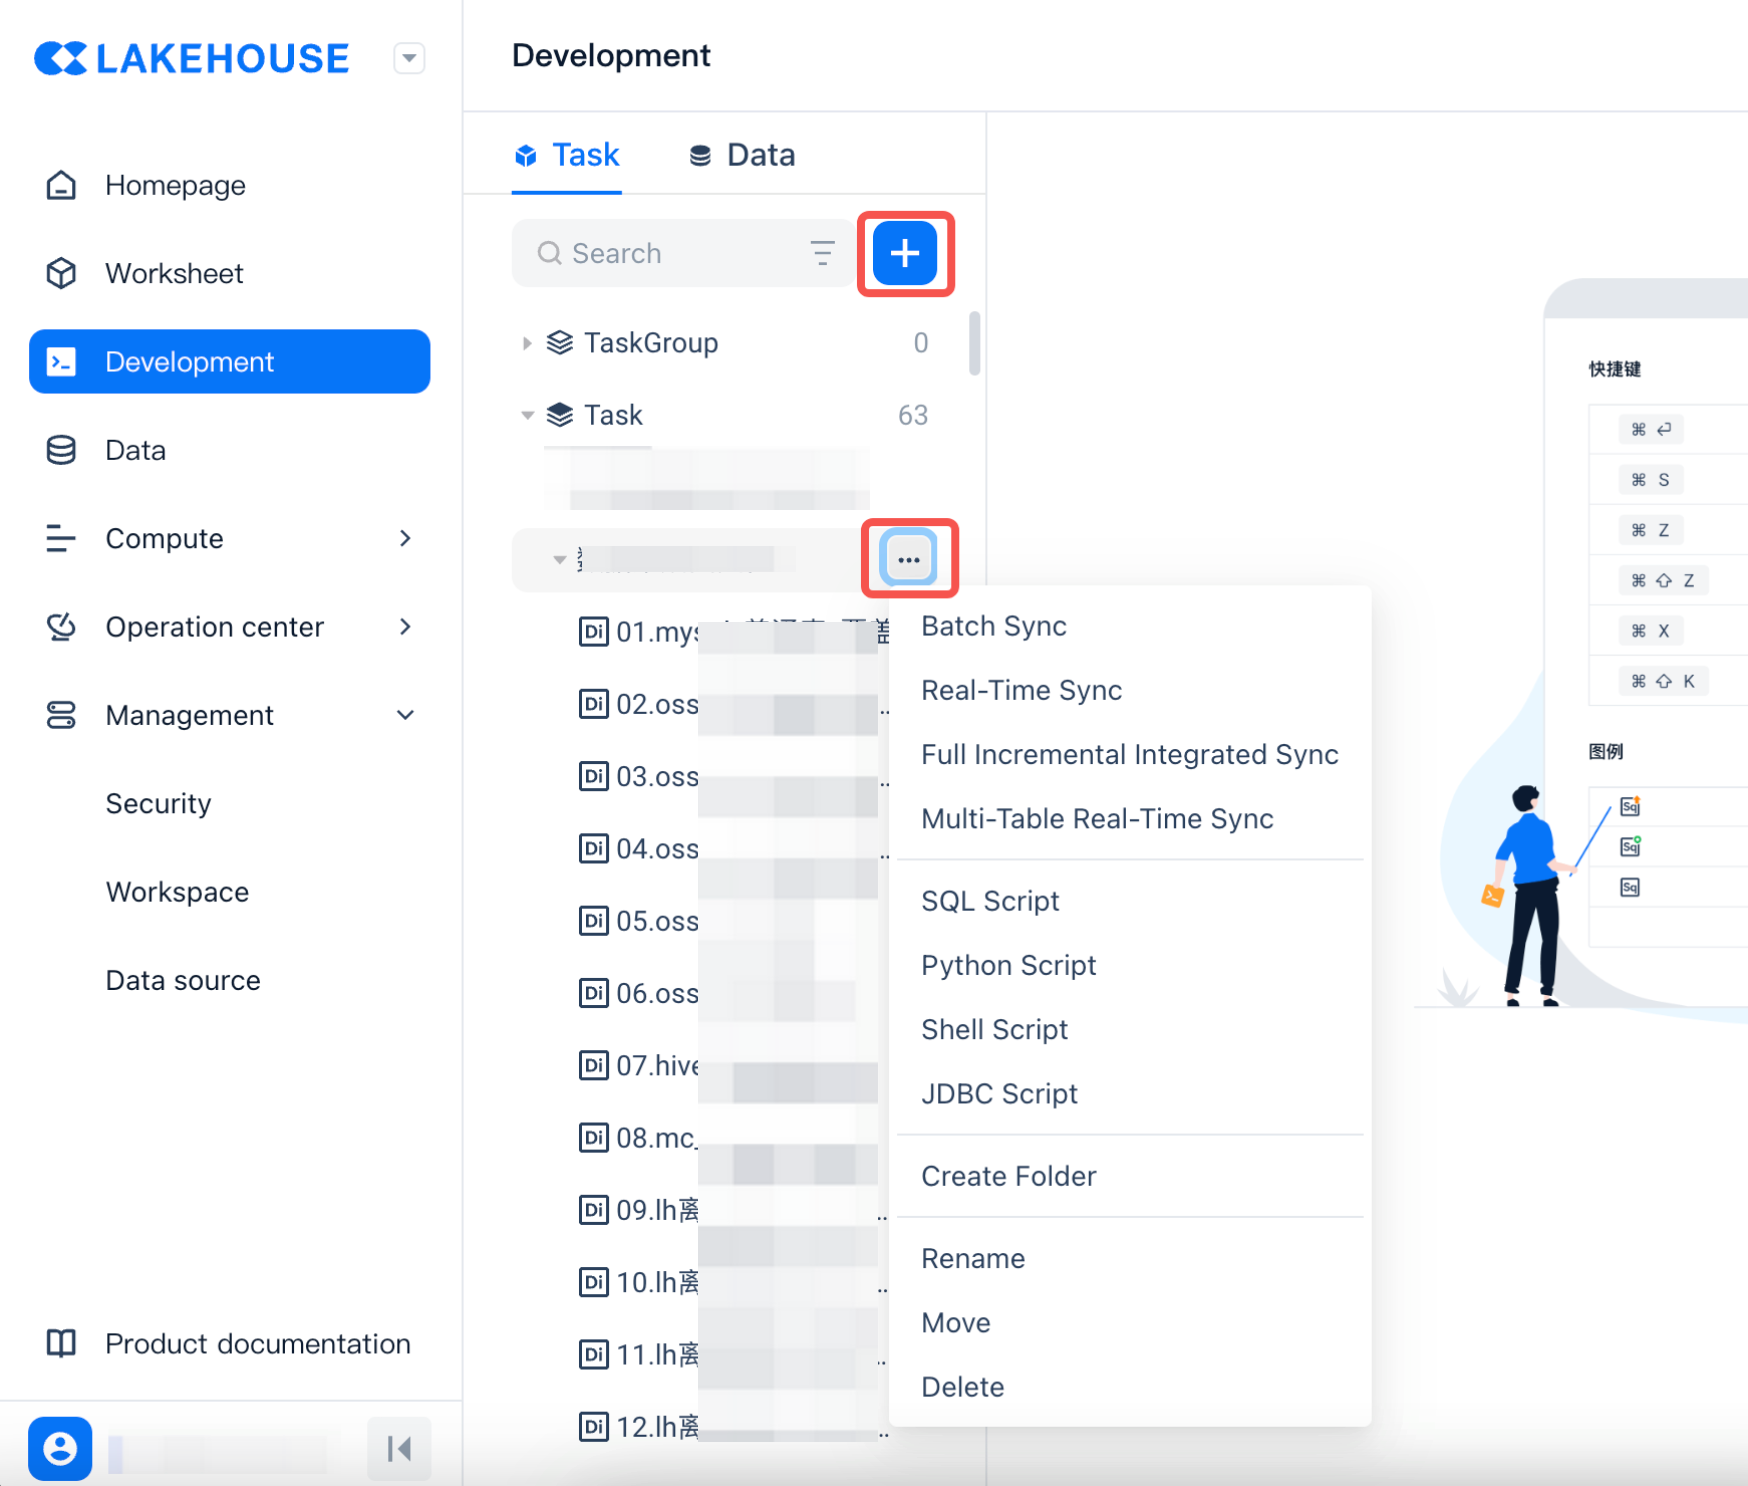
Create from Development Entry You can enter the "Development" page and select to create a new sync task in the specified directory in the task area.
Batch Sync Task Development
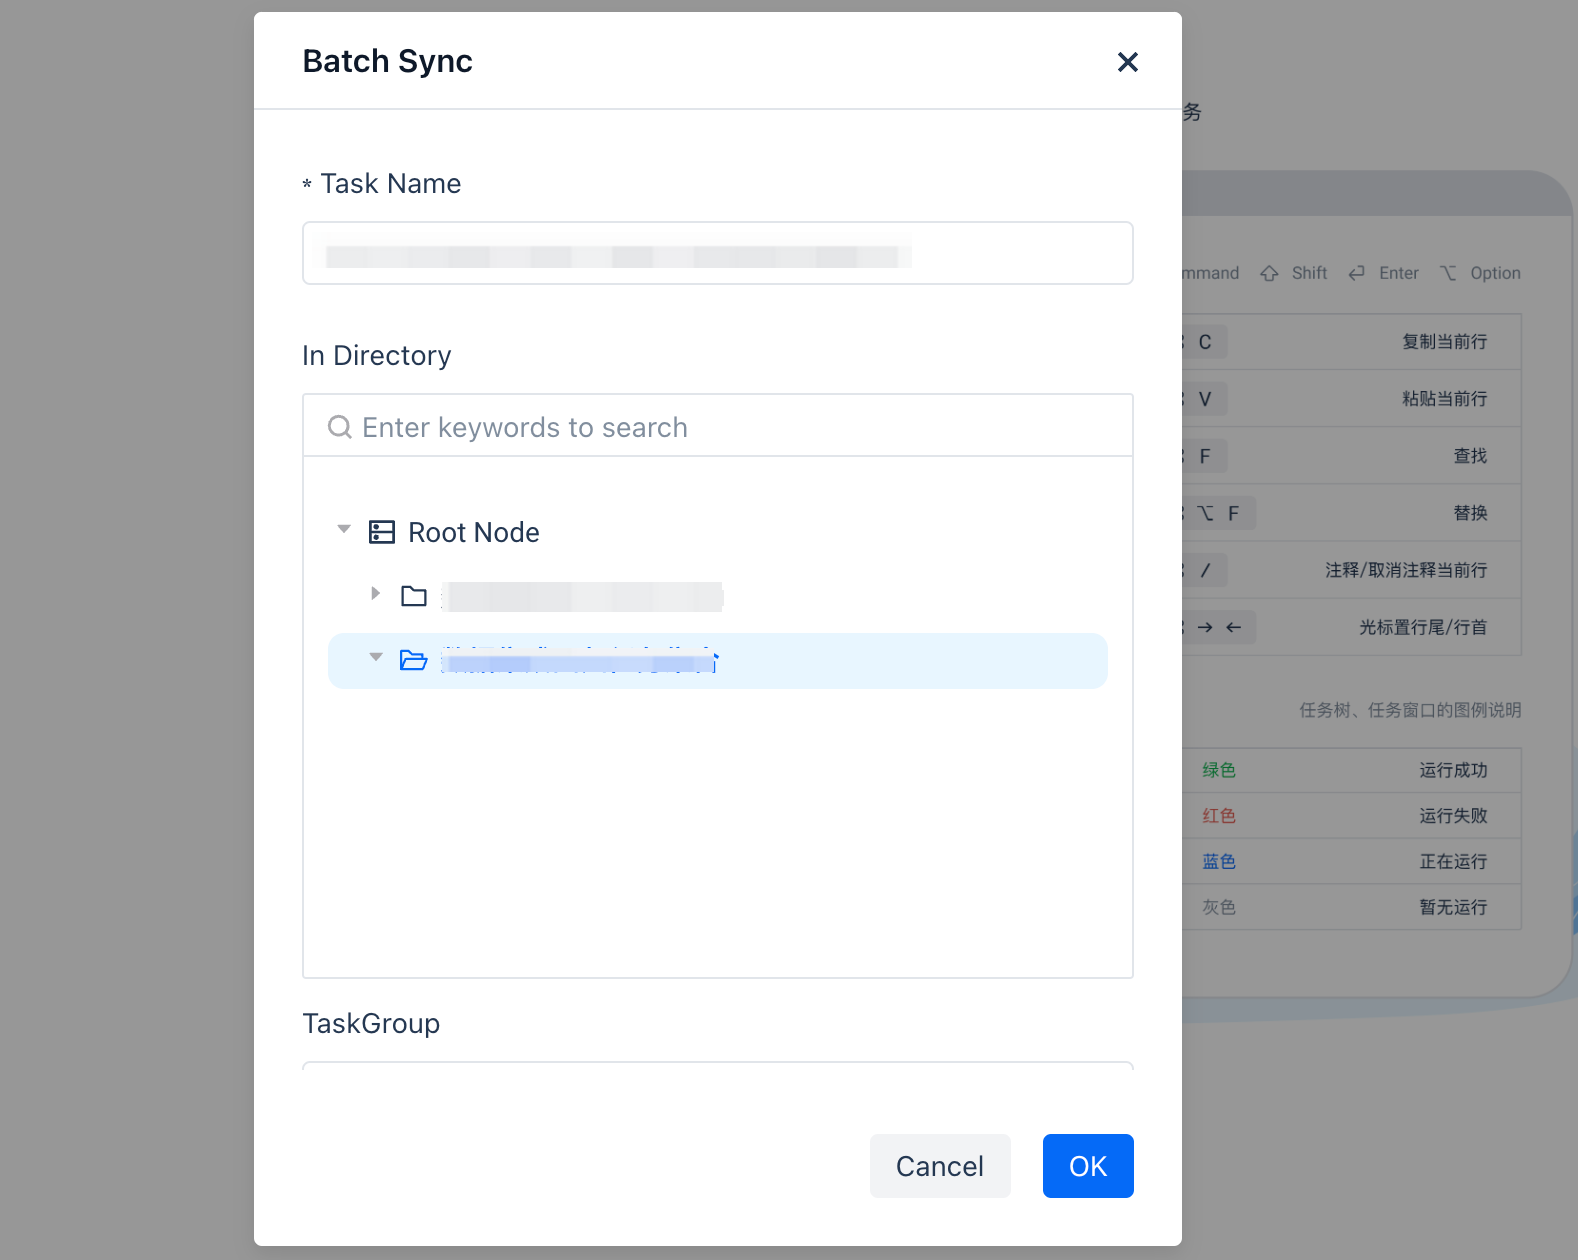
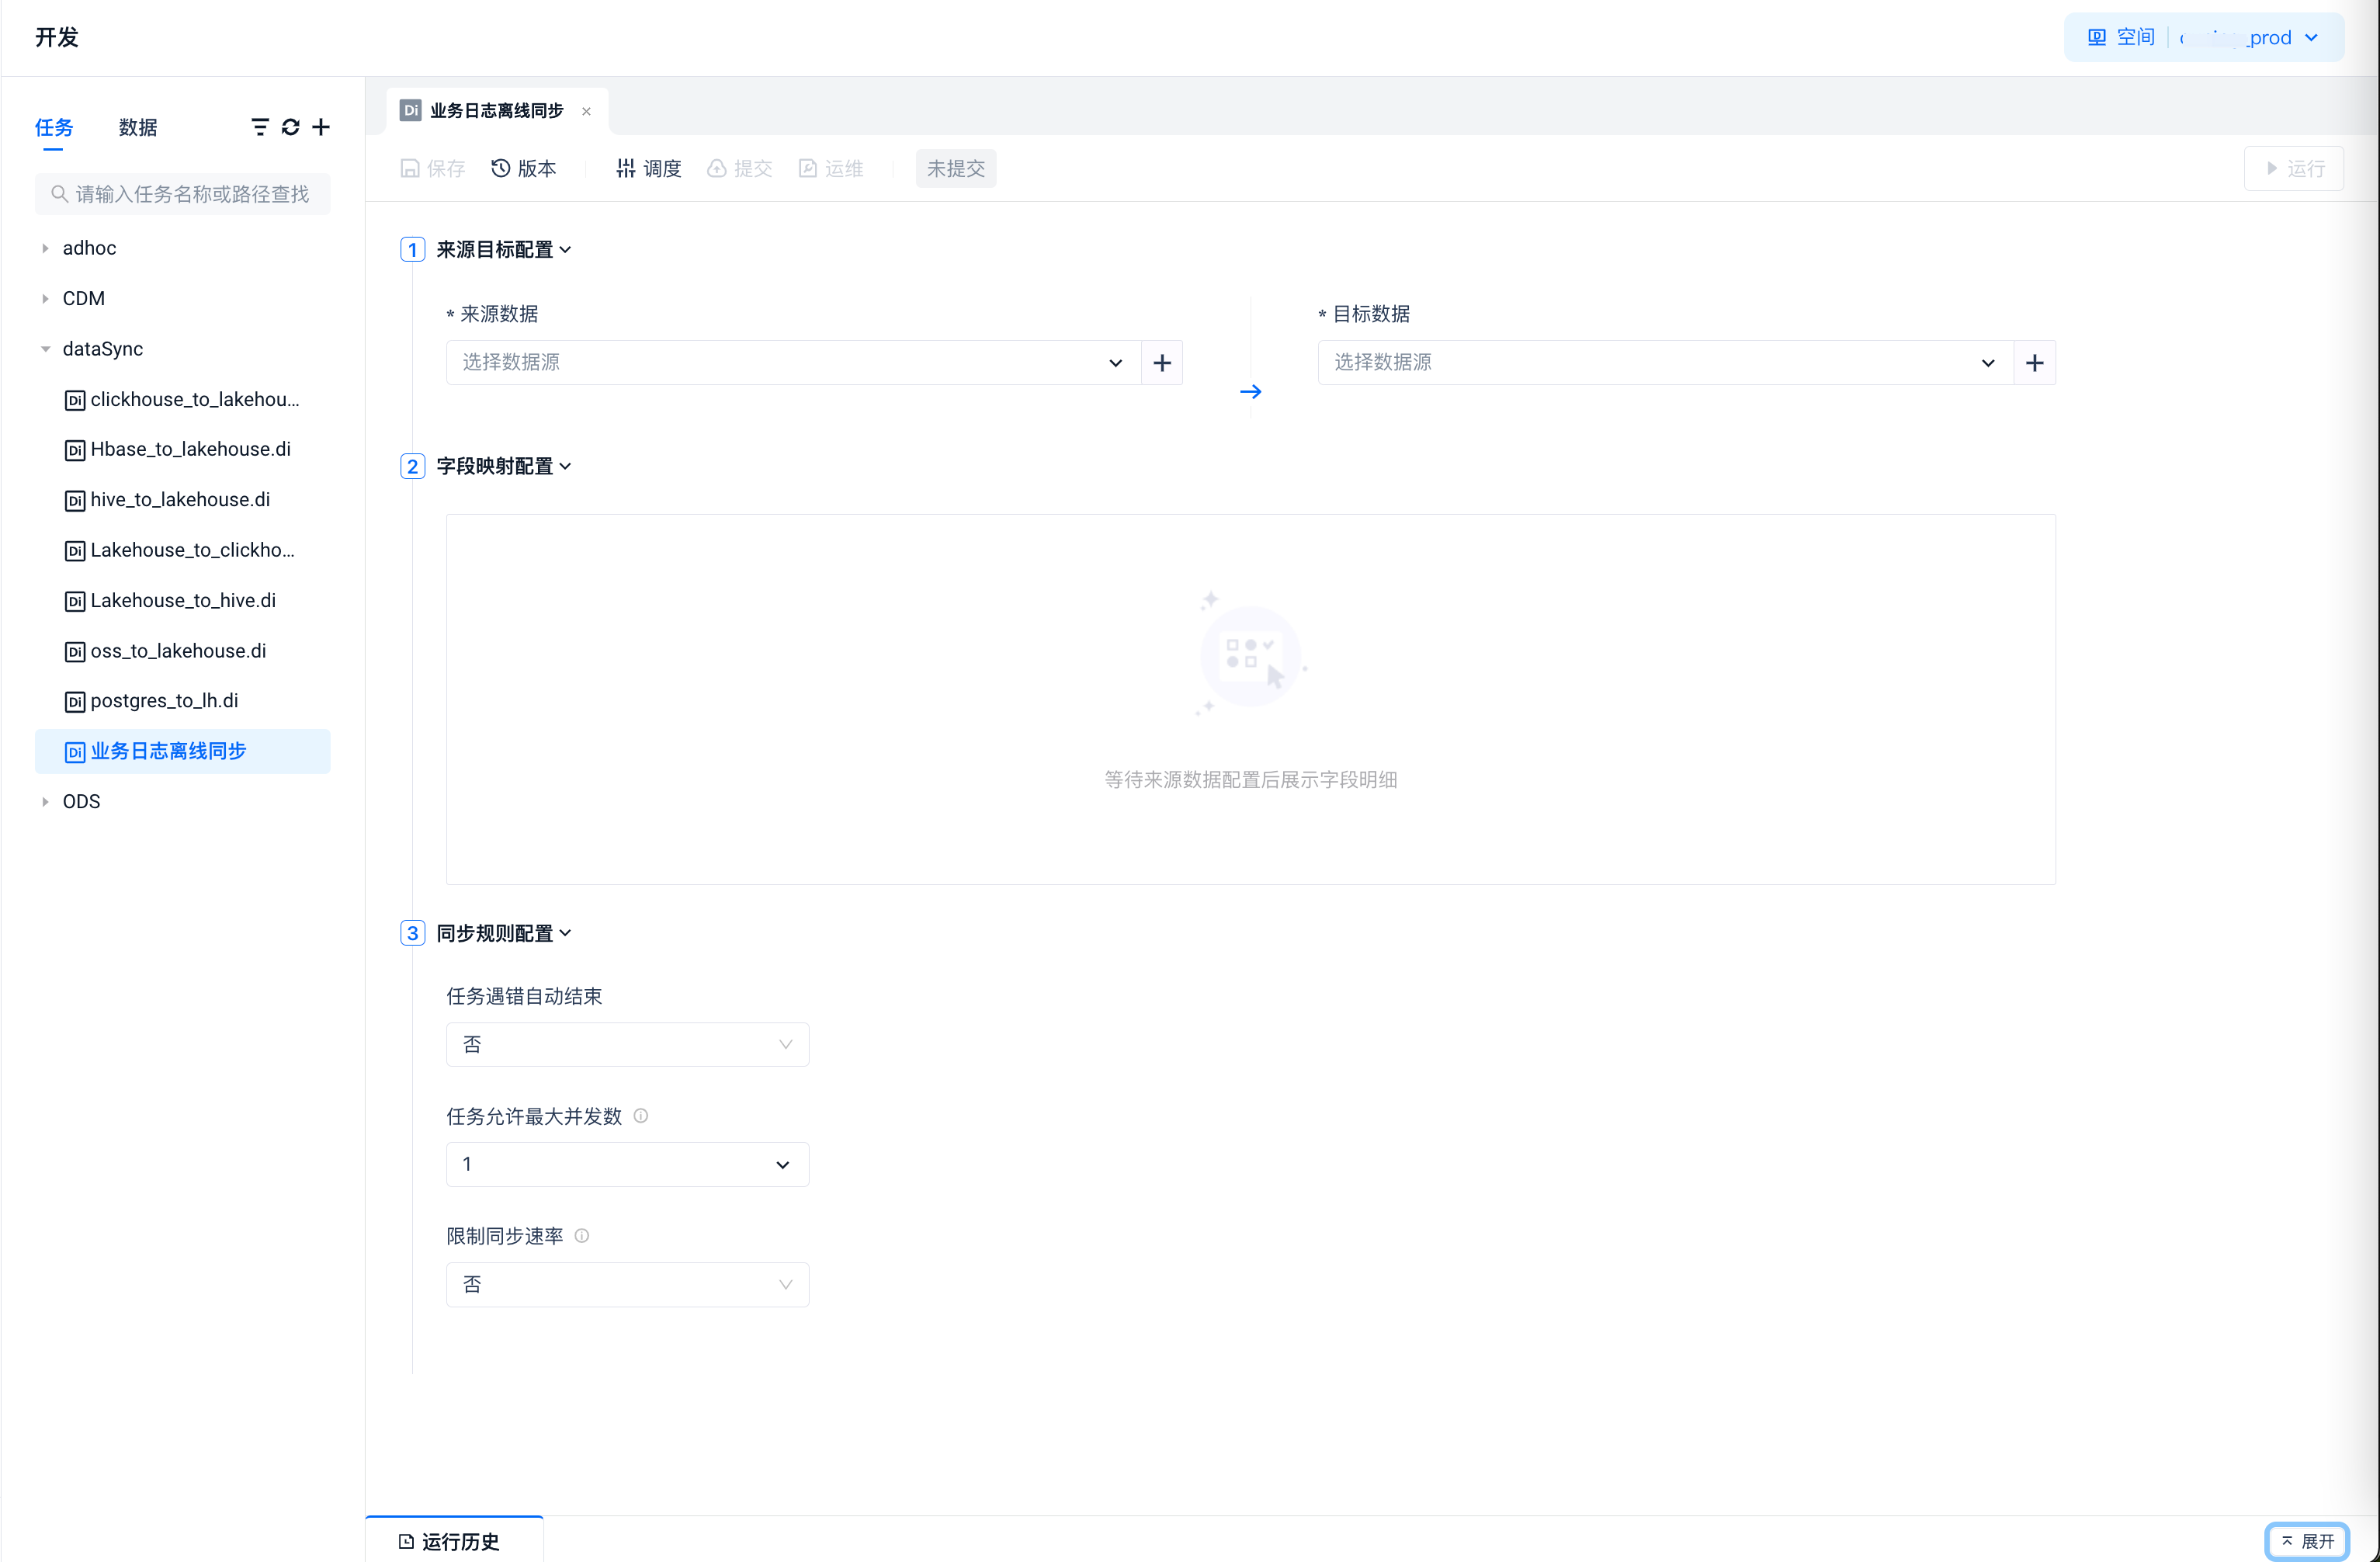
Step 1: Create a New Batch Data Sync Task Create an Batch sync task with a specified name in the specified task save location.
The system will generate the sync task and open the data sync task editor in the right area for user editing:
Step 2: Define the Sync Task
-
Select Source and Target Data Sources and Data Objects On the data source side, select an existing data source or create a new data source as the data source and specify the data object to be synchronized. On the data target side, select an existing data source or create a new data source as the target data. The write object of the target data supports specifying the data object or quickly creating it based on the source object.
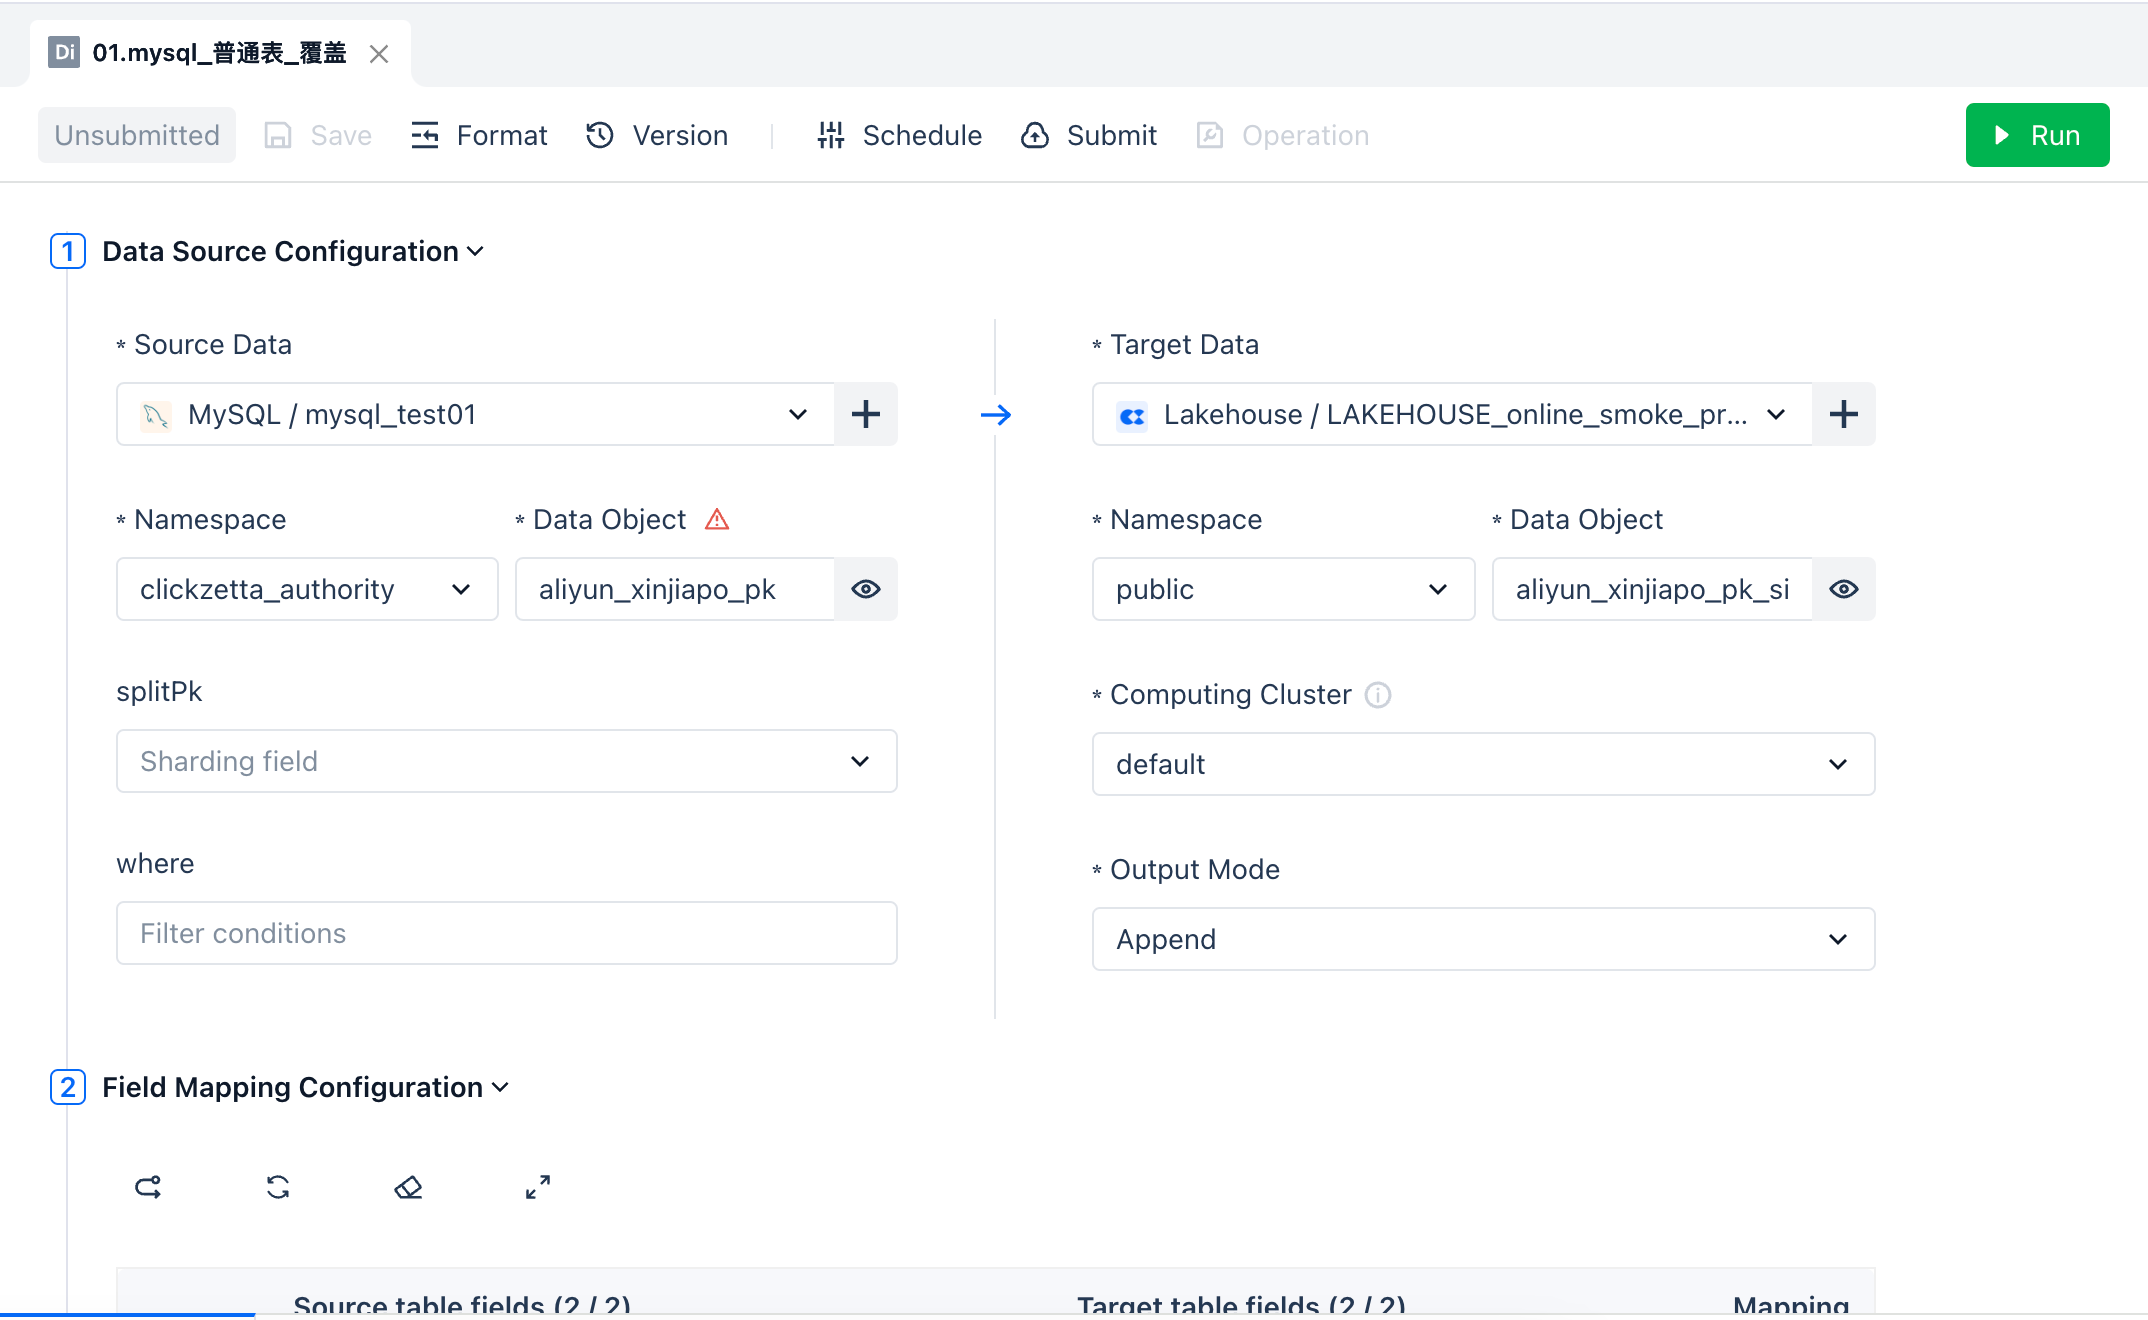
After determining the source object and target object, the data sync task will generate a field mapping between the source object and the target object. By default, the same row mapping rule is used, and the mapping between fields can be adjusted by dragging. It supports adding constant fields as source table fields for mapping and writing.
-
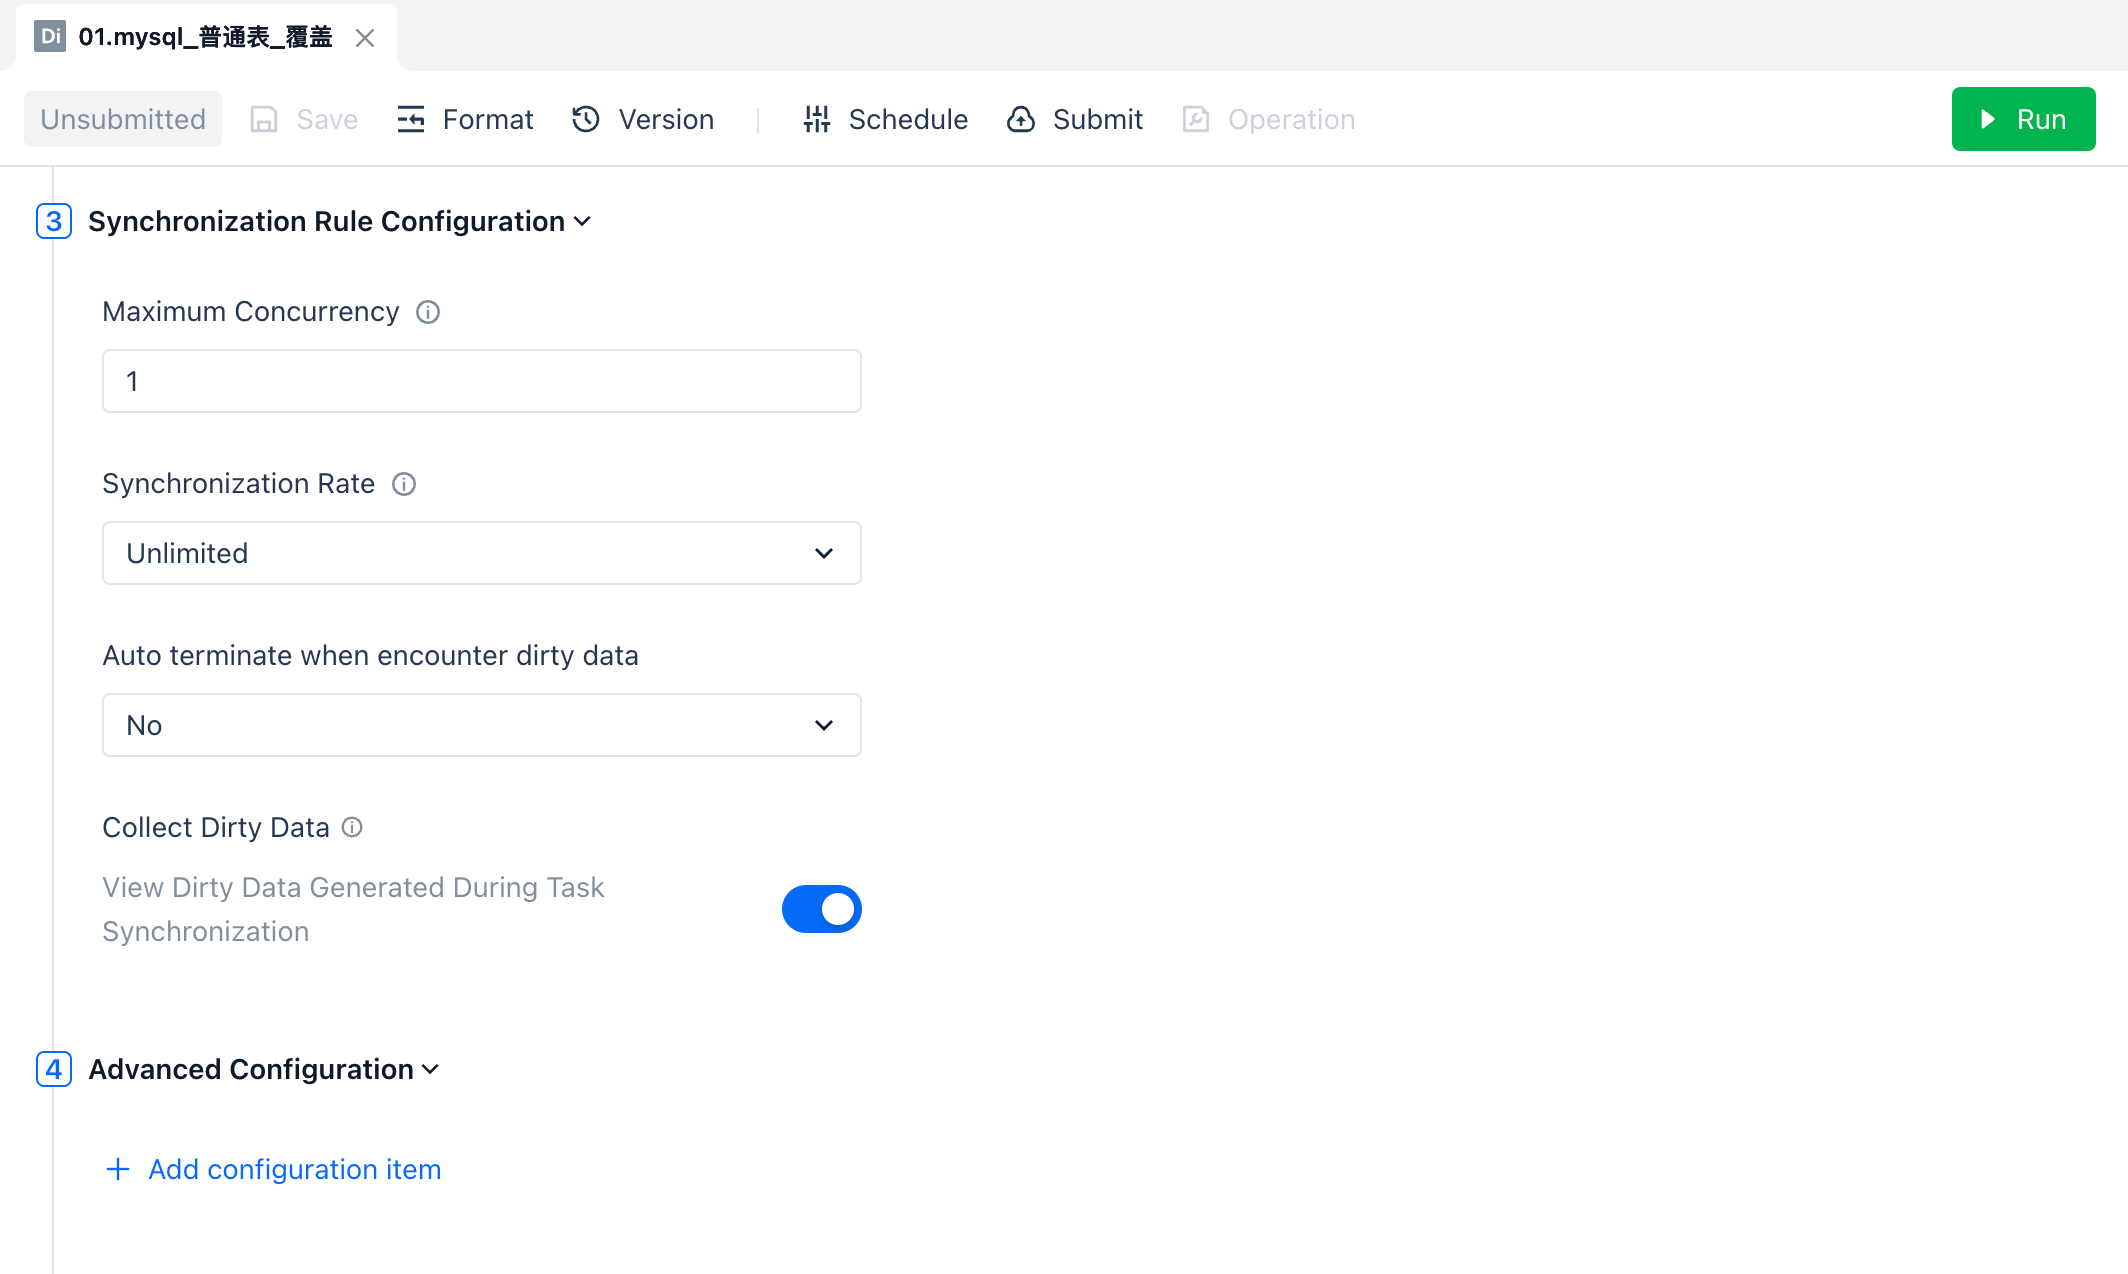
Set Fault Tolerance and Concurrency Rules for the Data Sync Task
-
Task concurrency, can be set to a minimum of 1 and a maximum of 10
-
Task sync rate, can be set to a minimum of 1MB/S, with no maximum limit
-
-
Advanced Configuration of the Task The advanced configuration area usually does not need to be configured and can be left blank. You can also expand to set advanced parameters for the task, such as adjusting the memory specifications used by the task. The supported parameters are as follows. For specific settings, please contact technical support.
- jobmanager.memory.process.size
- taskmanager.memory.process.size
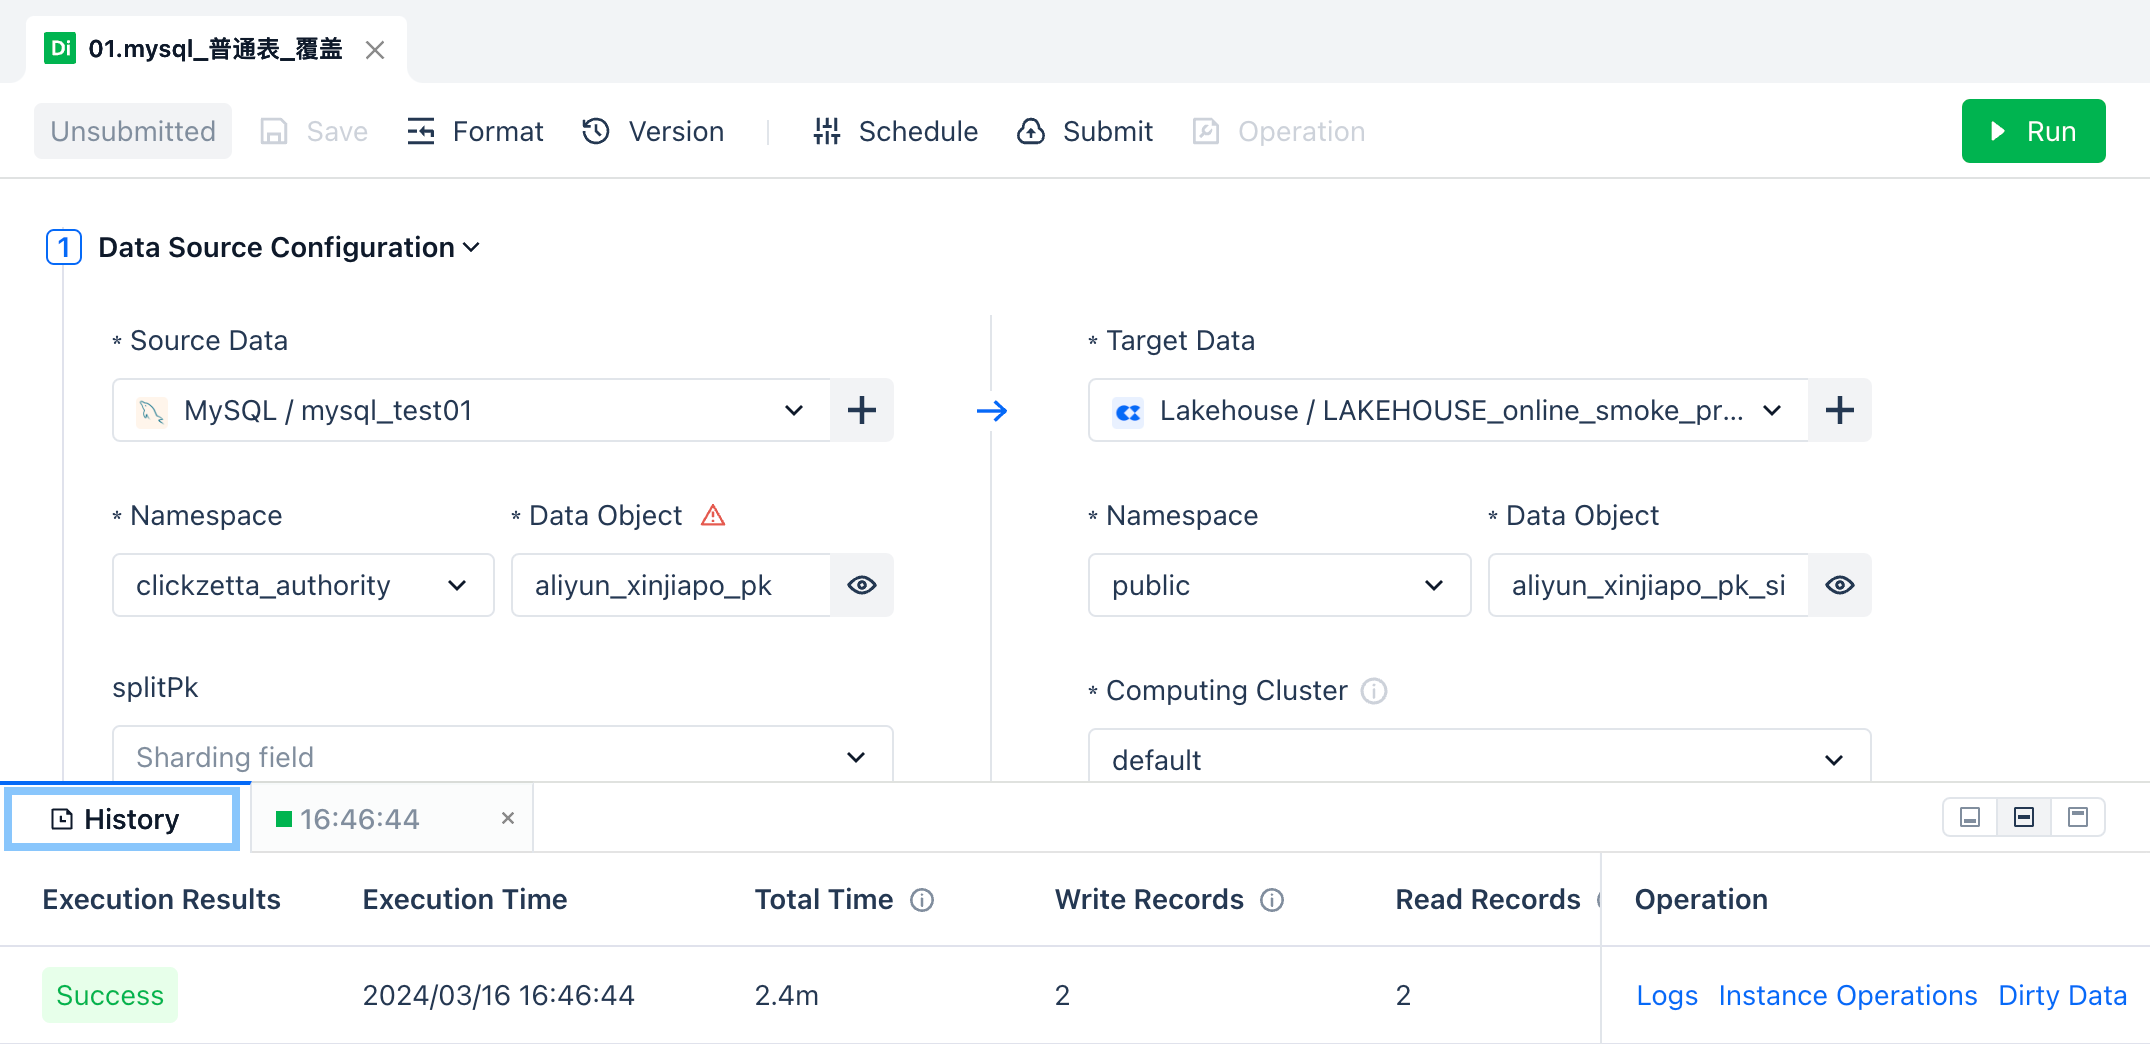
Step 3: Test the Sync Task Click "Run" on the development task interface to test the sync task. Observe the task execution status and logs, query the data changes in the target table, and verify whether the sync task is executed correctly.
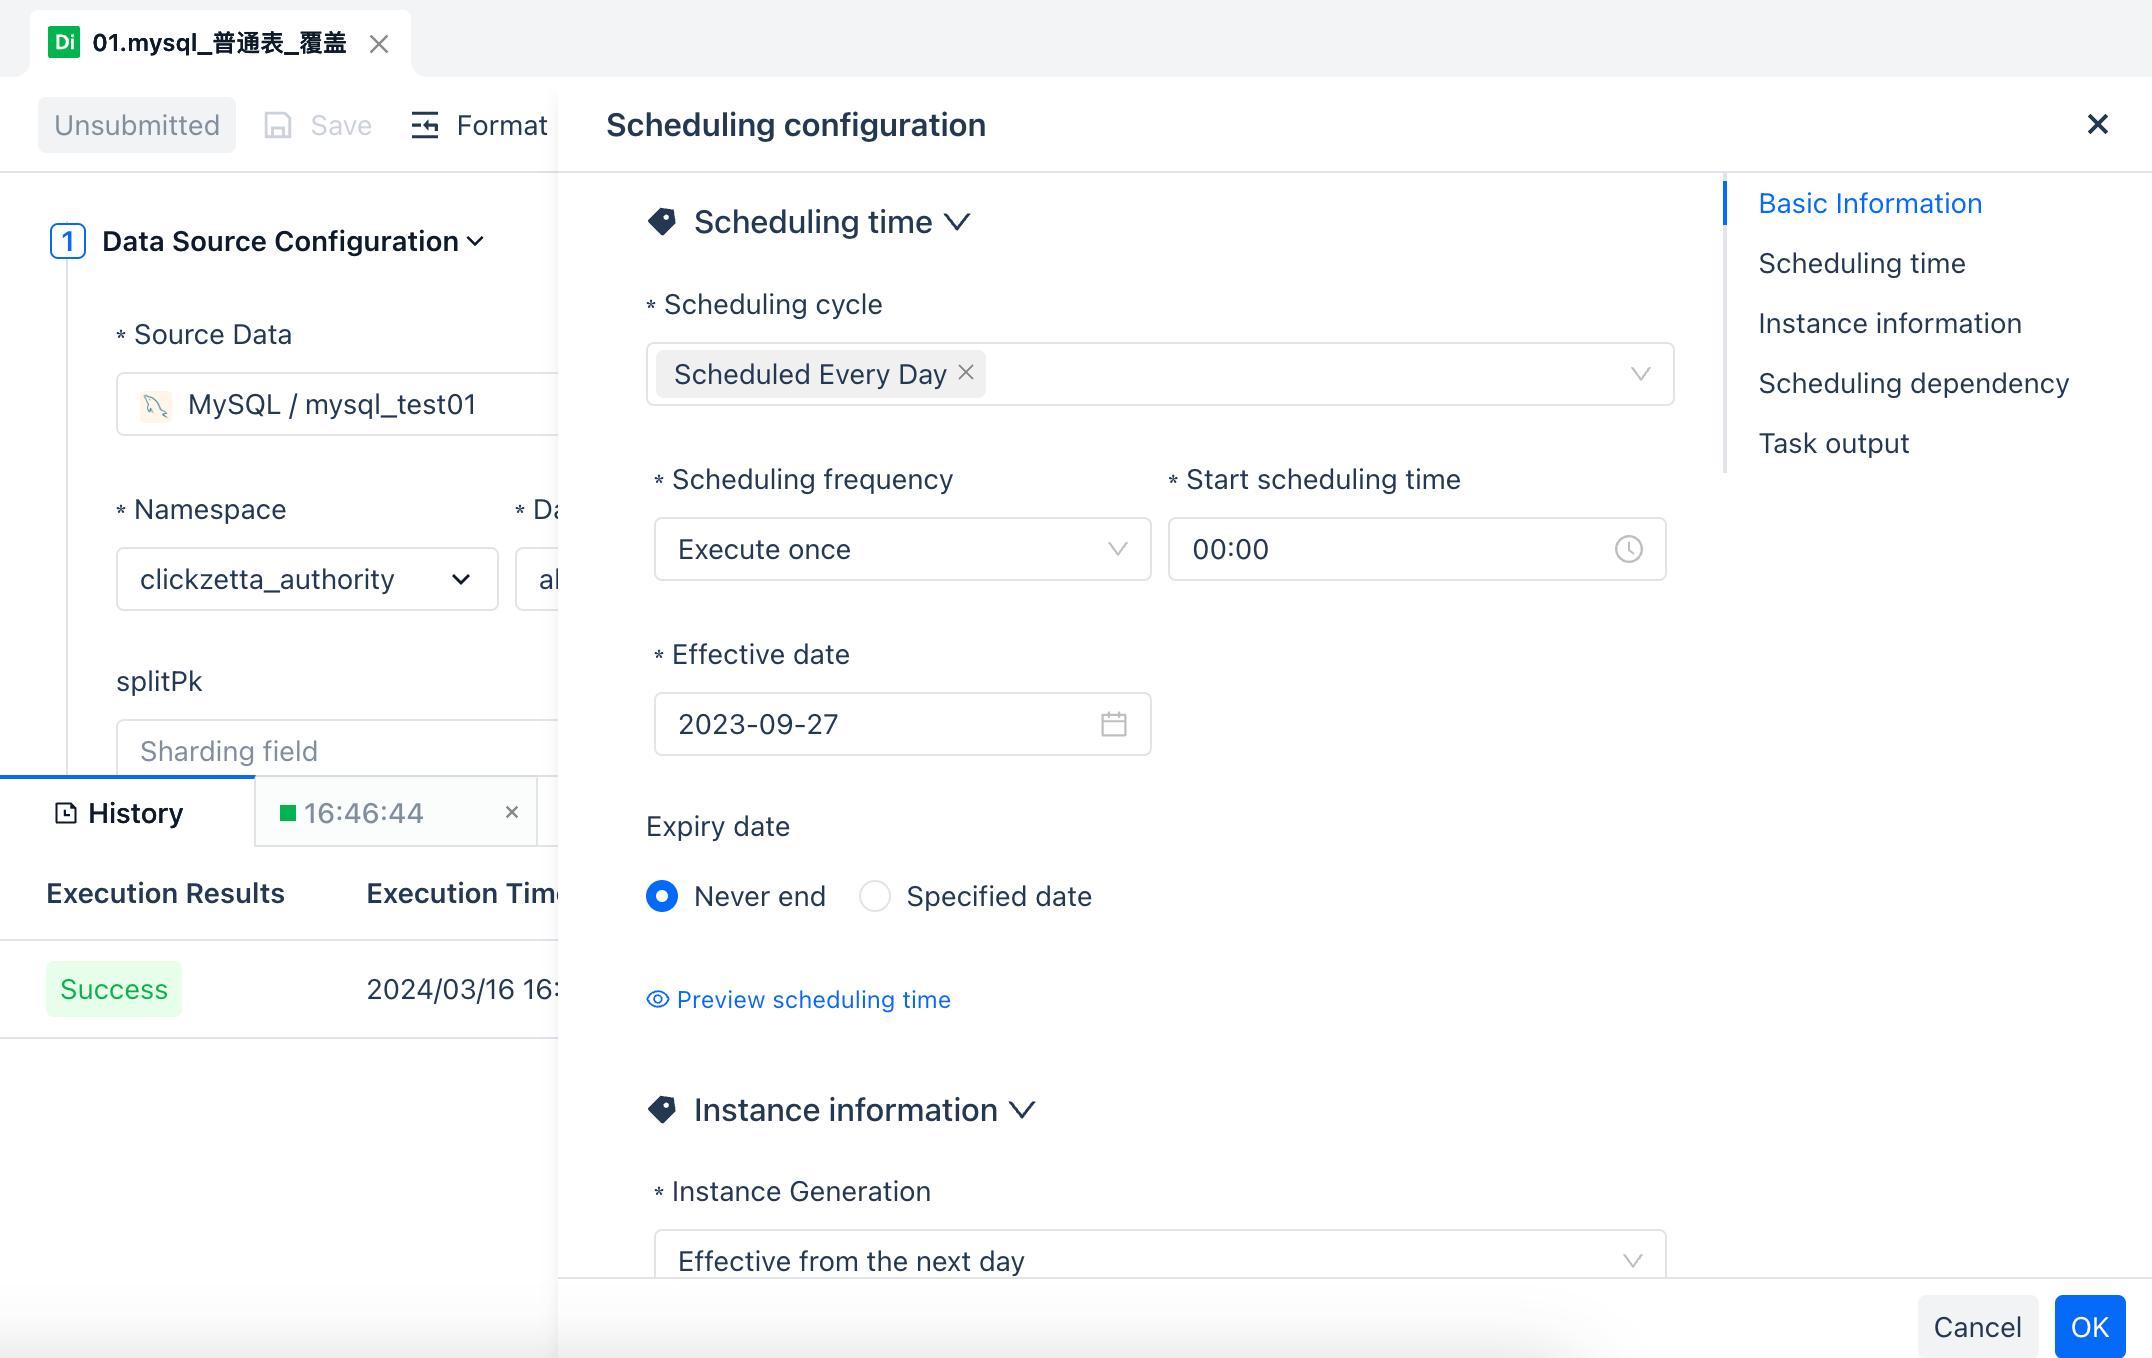
Step 4: Set Scheduling and Deploy to Production After the scheduling configuration is successful, you can click the "Submit" button of the task to deploy it to the scheduling system for periodic execution.
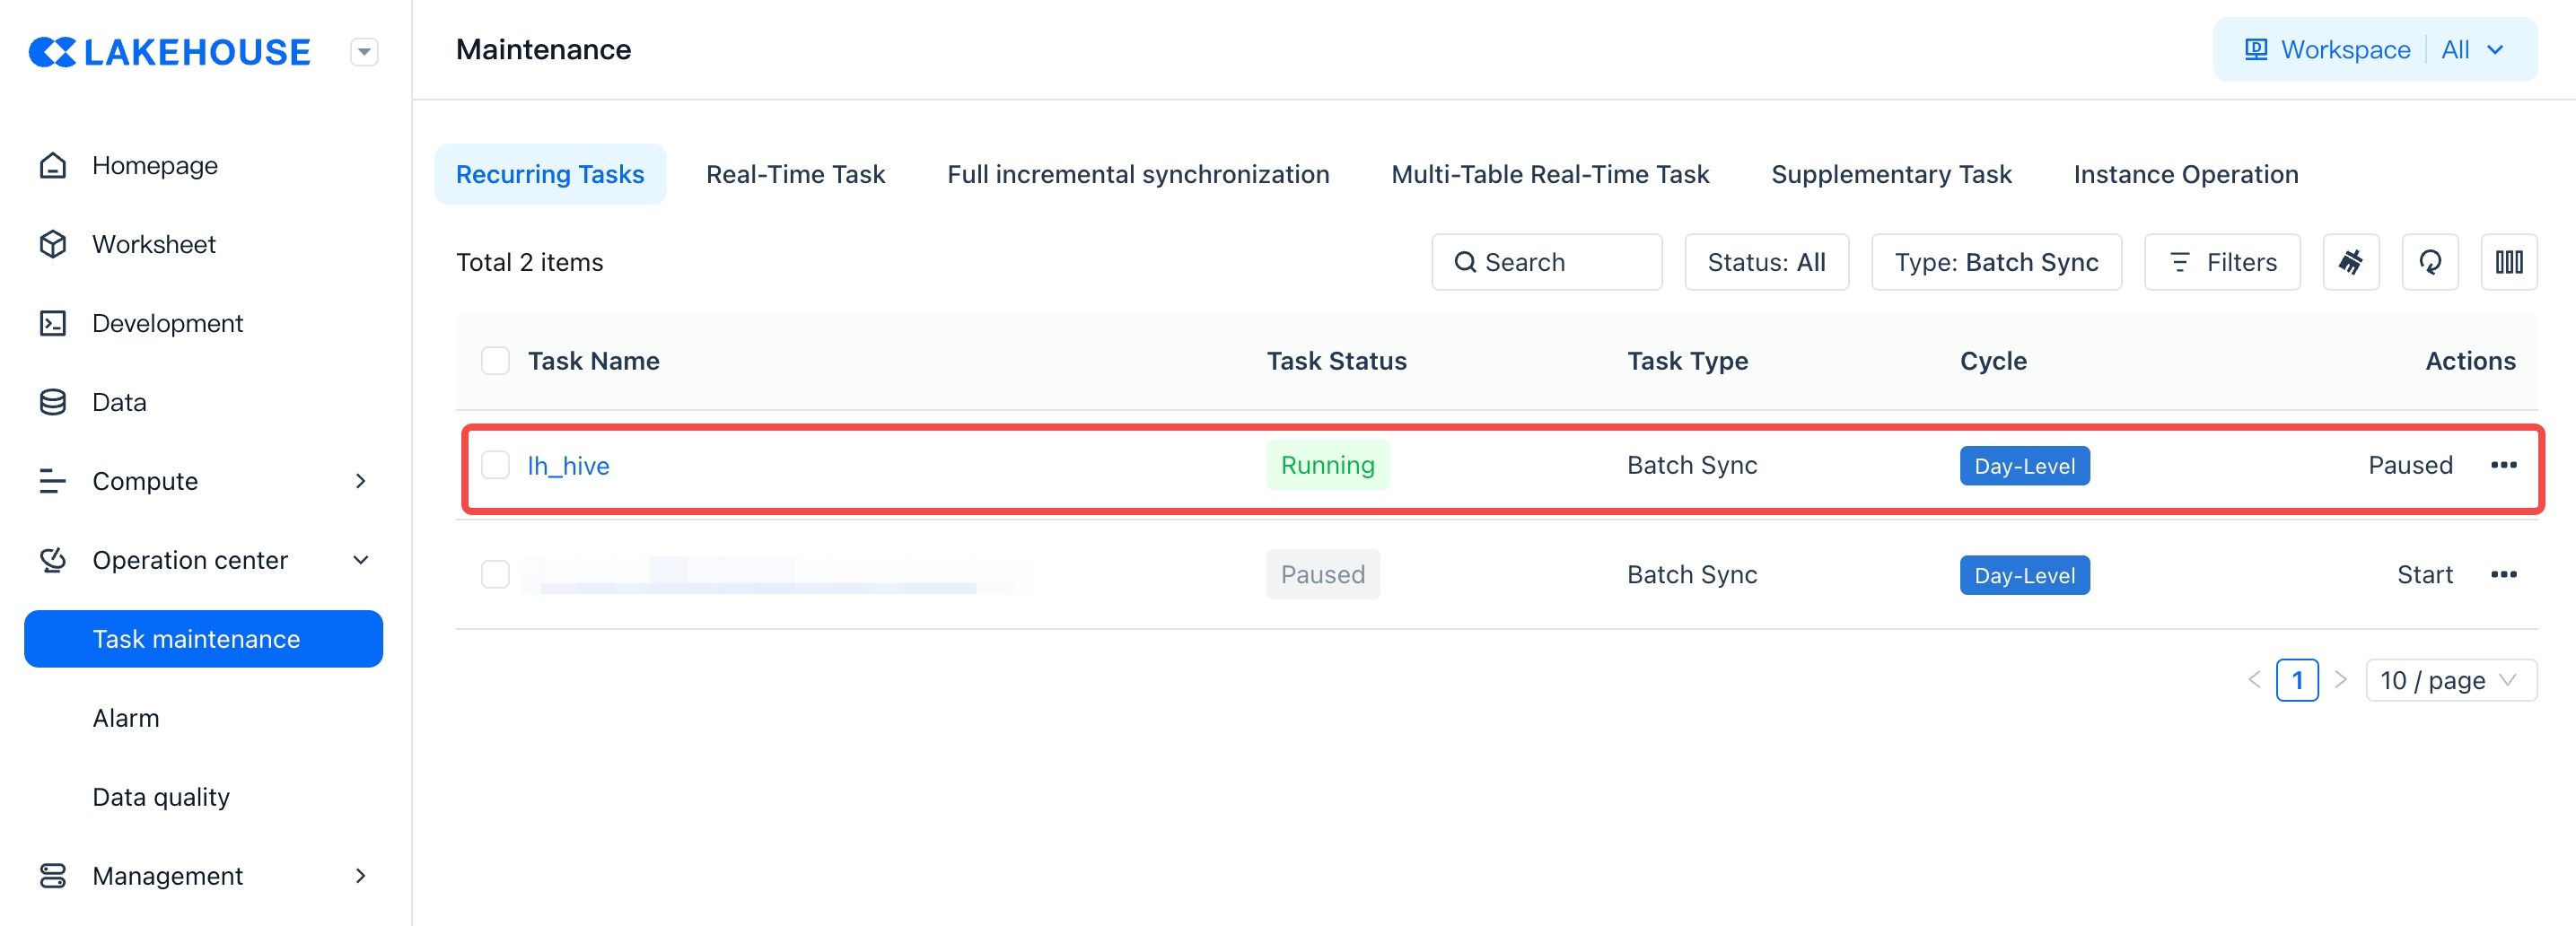
View and maintain the published sync tasks in the Operations Center