Connecting Airbyte to Singdata Lakehouse
Connecting to Singdata Lakehouse via Airbyte
Airbyte is an open-source data integration platform designed for ELT (Extract, Load, Transform) pipelines from APIs, databases, and files to data warehouses and data lakes. If you are already using Airbyte, you can write data into Lakehouse through the official Singdata connector.
Local Docker Installation
Airbyte Version
For version v0.50.41, follow the installation steps in this guide, which use the run-ab-platform method.
For Airbyte 2.0 and later versions, which use the abctl installation method, refer to the Airbyte installation documentation instead. The installation method provided in this guide does not apply to those versions.
System Requirements
This guide has been tested on the following operating systems: macOS, Windows 10, and Ubuntu 22.04.
Installation Steps
- Ensure that Docker Engine is installed on your computer, along with the Docker Compose plugin. For specific installation methods, please refer to the official documentation.
- After installation, start Airbyte locally with the following command:
- Visit http://localhost:8000 to open the Airbyte web interface in your browser.
- The system will prompt you to enter a username and password. By default, the username is
airbyteand the password ispassword. You can modify these credentials in the.envfile:
Deploy on Windows
After installing the WSL 2 backend and Docker, you can run containers using Windows PowerShell. Additionally, we recommend building Airbyte from source on Windows to install docker-compose. Below is the recommended guide for installing Airbyte on Windows.
Setup Guide
- Please review the system requirements in the Docker documentation.
- Follow the steps for the system requirements and ensure to download and install the Linux kernel update package.
- Install Docker Desktop on Windows. Download link: Docker Desktop.
- Make sure to select the following options during installation:
- Enable Hyper-V Windows feature
- Install the Windows components necessary for WSL 2 (a computer restart is required after installation)
- Access http://localhost:8000 in your browser.
- The system will prompt you to enter a username and password. By default, the username is
airbyteand the password ispassword. Please change these credentials after deploying Airbyte to the server.
Install Singdata Lakehouse Destination Connector in Airbyte
Configuration Reference
Connector display name: Clickzetta Lakehouse
Docker repository name: clickzetta/clickzetta-airbyte
Docker image tag: 0.1.0
Connector documentation URL Optional: https://www.yunqi.tech
- Create a new connector in Airbyte, and select "Clickzetta Lakehouse" as the display name.
- Configure the connector by filling in the necessary parameters, such as database address, port, username, and password.
- Create a data sync connection from other data sources to Singdata Lakehouse and start data synchronization.
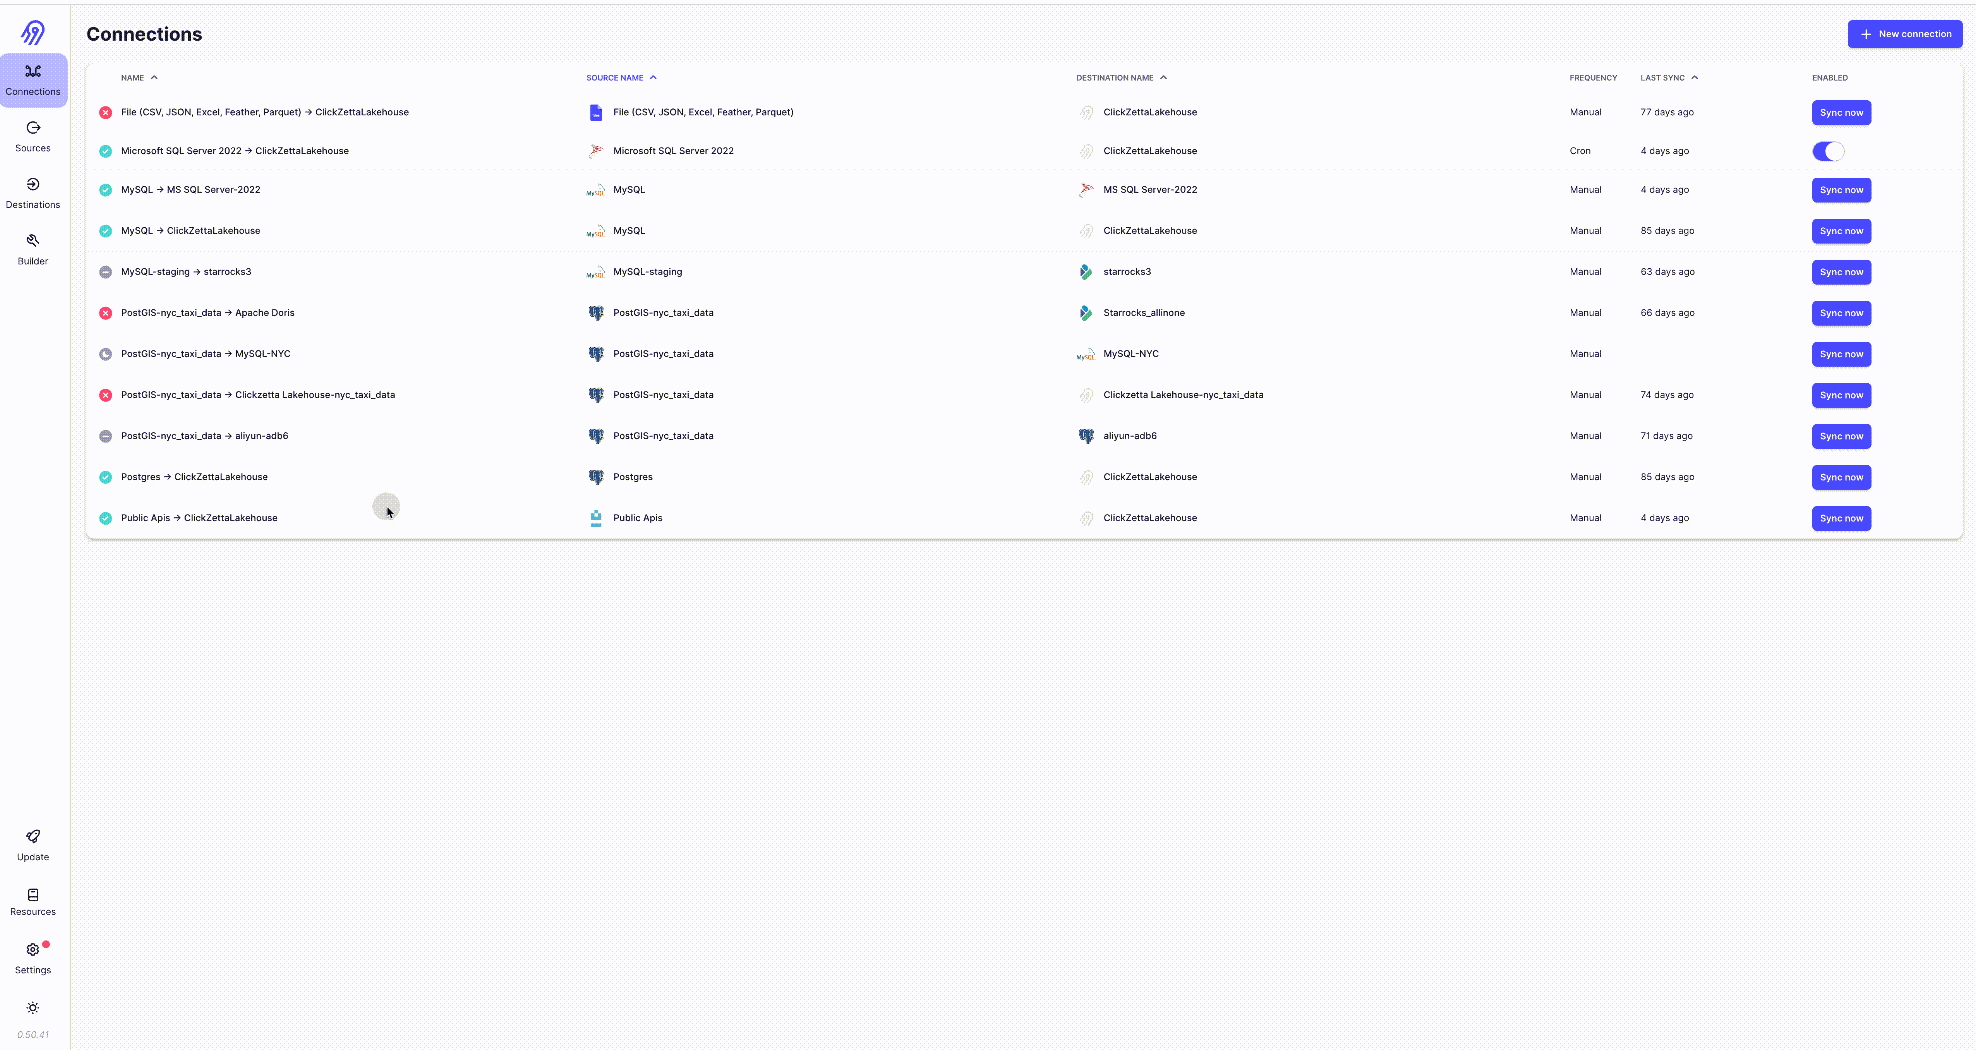
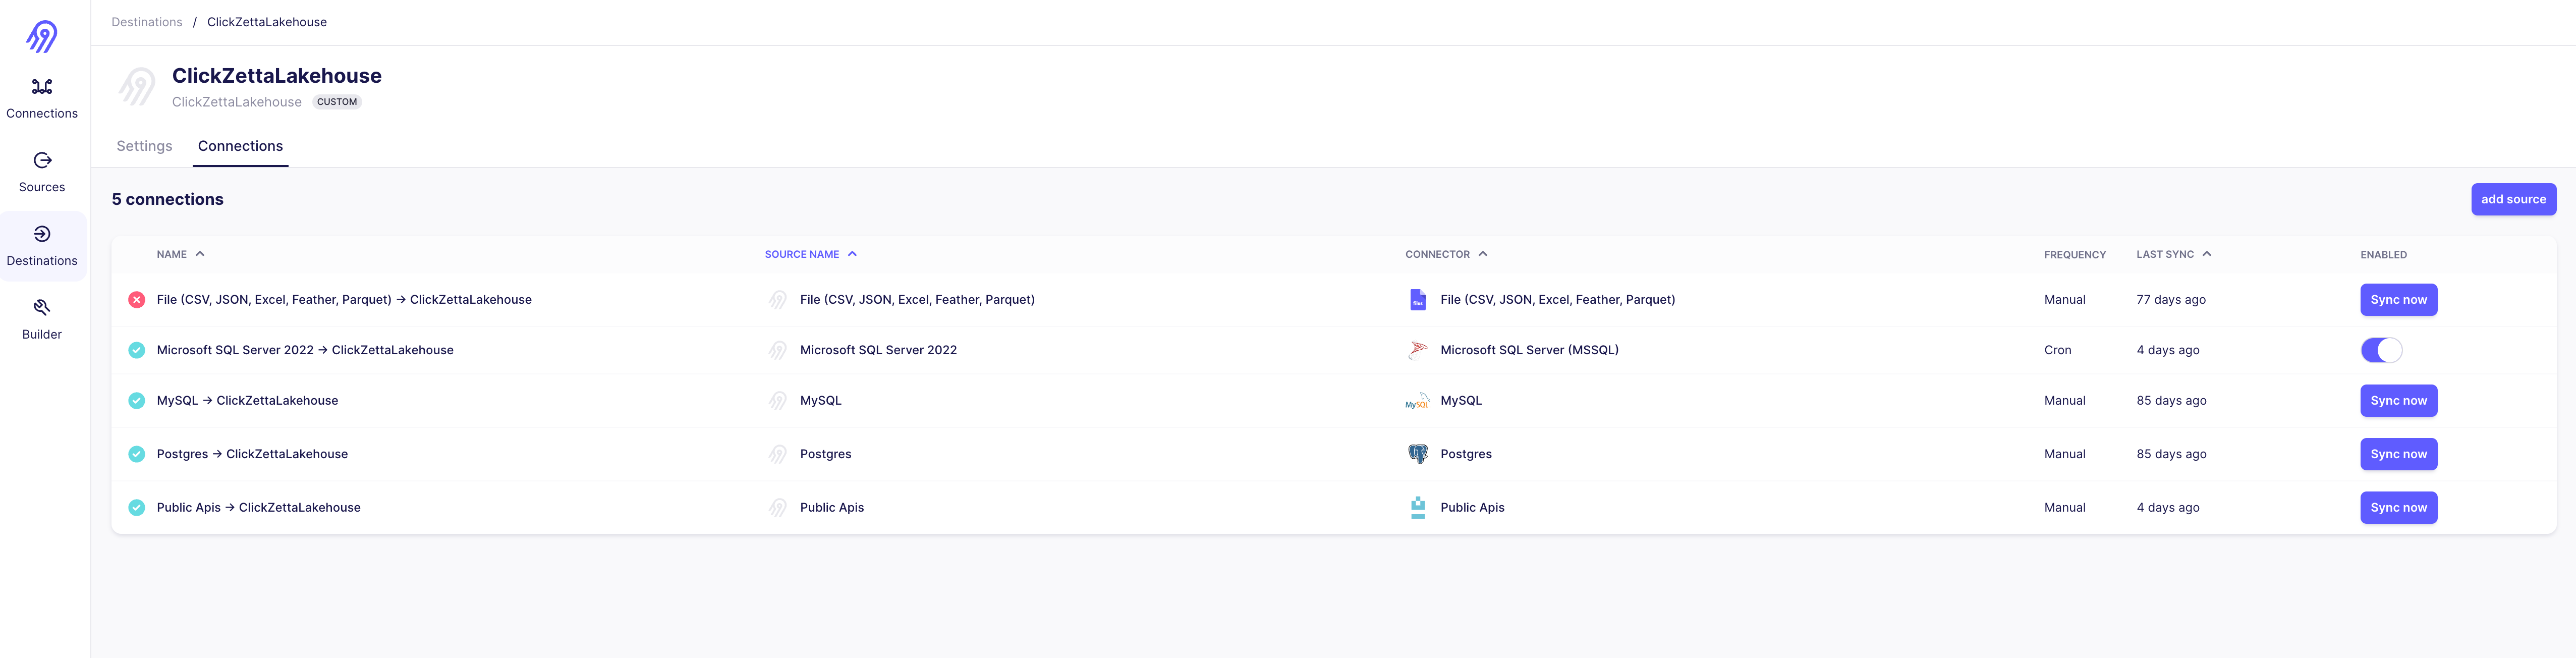
Establish Connection and Sync Data to Singdata Lakehouse
- Create a new connection and select the "Clickzetta Lakehouse" connector that was just created.
- Fill in the connection configuration information, such as database address, port, username, and password.
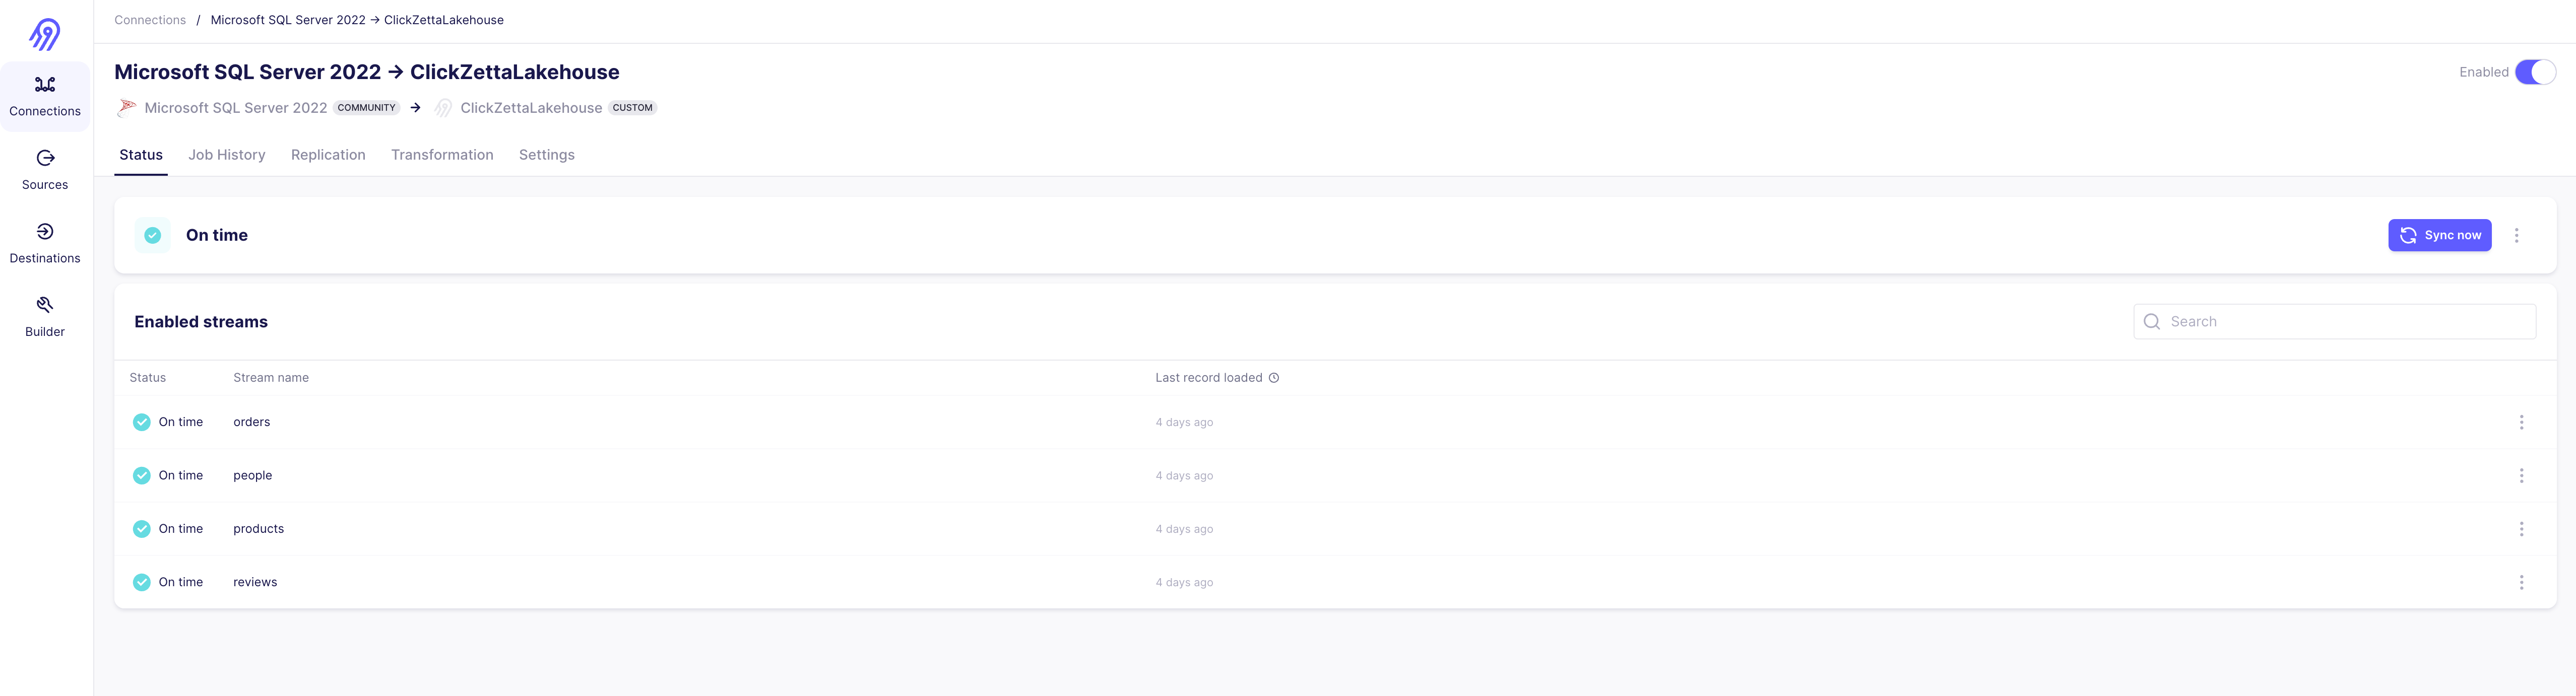
- Configure the sync task by selecting the source data source and target data table, setting the sync frequency, and filtering conditions.
- Start the sync task to begin synchronizing data from the source data source to Singdata Lakehouse.